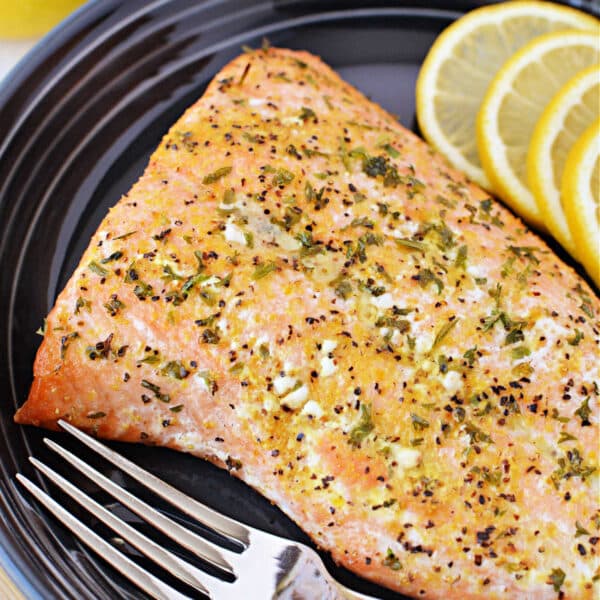
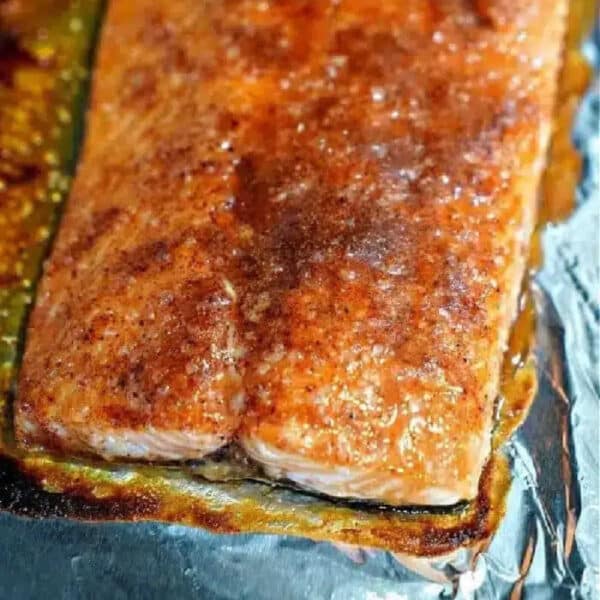
This is how to cure salmon with beets, sugar, salt and herbs that is delicious and easy to do at home. We’ll share lots of ways to serve cured salmon such as our popular salmon cups, on bagels and cream cheese, sashimi and other ways as well.

Curing salmon is a method of preserving and flavoring the fish by using a mixture of salt, sugar, and sometimes other seasonings. This process is commonly used to make smoked salmon or serve it on bagels with cream cheese. (affiliate links present)
Beetroot Cured Salmon Recipe
There are a few ways you can do this. The “old fashioned” method just uses a mixture of salt and sugar, you may have had that before. Occasionally fruit zest may be added for flavor, or diced fresh herbs like dill can be a nice add in. Here we will discuss another way using cooked or Instant Pot beets pureed with salt, herbs and seasonings.
This version a lot more flavor, color and deliciousness you will likely love much more than the original way of the past. I mean this veggie is very healthy too so that just adds to the benefit of this method in that regard too so win win……
Ingredients
To start to salt cure salmon you want a clean and boneless fillet. Remove any pin bones using fish tweezers or pliers. Mix the curing mixture in a bowl. You can combine equal parts coarse kosher salt and granulated sugar. The amount you need will depend on the size of your salmon fillet, but a general guideline is about 1/4 cup of each for every pound of salmon.
How to Cure Fish with Beets
- In a bowl, combine ingredients; You can adjust the ratio of salt to sugar to your taste, but make sure you have enough of the mixture to evenly coat the outside.
- Prepare Fish Curing Mixture
- Lay a sheet of plastic wrap or aluminum foil on a clean surface. Make sure it’s large enough to wrap around the fillet completely.
- Apply
- If you remove the skins (recommended) and don’t want to waste it, make fried Fish Skin chips with it.
- Sprinkle a layer of the curing mixture on the plastic wrap or foil, creating a bed for the fish. Place your piece, skin-side up, on top of the curing mixture.
- Cure salmon
- Evenly coat the skin side with the remaining curing mixture if you want to flavor that too. Press the mixture onto the surface to ensure it’s completely covered.
- Wrap and refrigerate
- Wrap the container tightly with the plastic wrap or foil, making sure there are no air pockets. Place it in a shallow dish or on a rimmed baking sheet to catch any juices that may be released during curing.
- Refrigerate wrapped salmon for the curing time. The length of time will vary depending on the thickness of the fillet, but it typically ranges from 24 to 48 hours. Check occasionally and pour off any excess liquid that accumulates.
- Rinse and serve
- After the curing time is complete, remove from the refrigerator and carefully unwrap it.
- Rinse the cured fish fillet under cold running water to remove the excess salt and sugar. Pat it dry with paper towels.
Slice thinly at an angle, starting from the thin end of the fillet. Serve the cured pieces slices as a topping for bagels, crackers, or as part of an appetizer or sandwich. It can also be enjoyed with a salmon mustard sauce or a simple drizzle of olive oil.
Cured fish can be a delicious and versatile brunch menu item. You can customize the flavor by adjusting the curing time and adding your favorite seasonings. Properly cured salmon should have a firm texture and a delicate, slightly salty-sweet flavor.
Can you cure frozen salmon?
Not really, it won’t absorb anything if it is still rock hard. You’d need to defrost previously frozen salmon overnight in the fridge first. Do not leave on the countertop for longer than 30 minutes or so. 24 hours in the refrigerator is usually plenty of time to soften the meat.
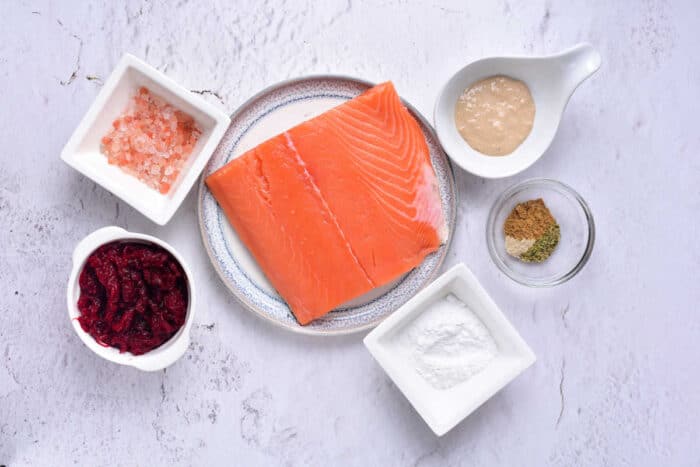
For this method we share below you are going to use 1 cup of fresh beets that have been grated. Remember that when you do this you will want to wear gloves. The color is very strong and will stain your hands as well as anything else that comes into contact with it. Then you need hearty rock salt which is different than table salt. And use diced freshly dried herbs that you love to add flavor.
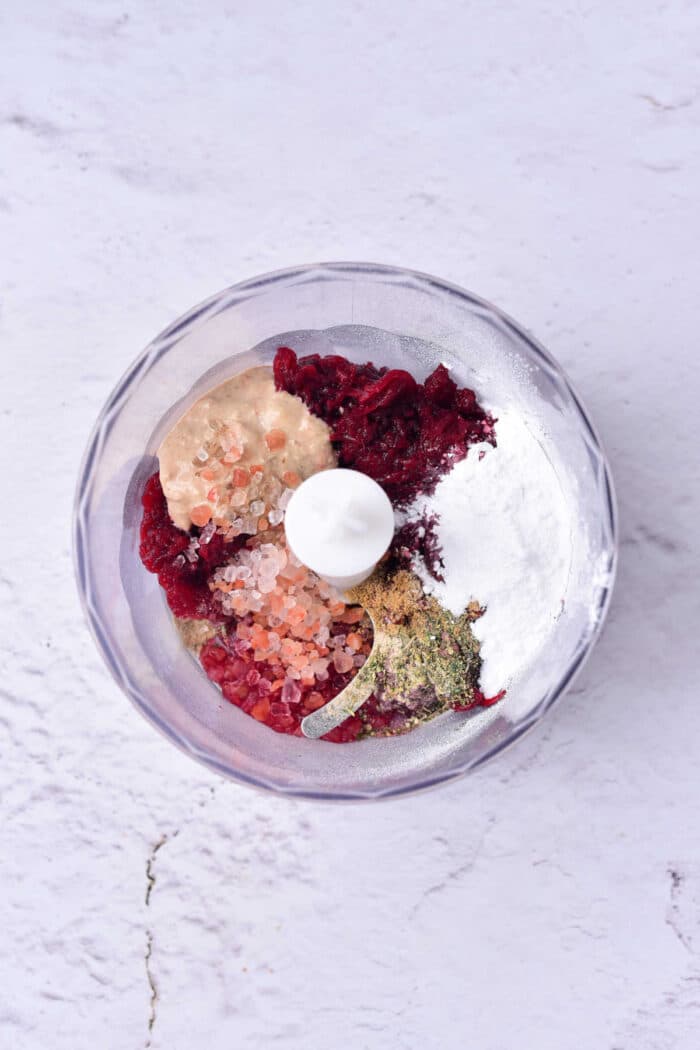
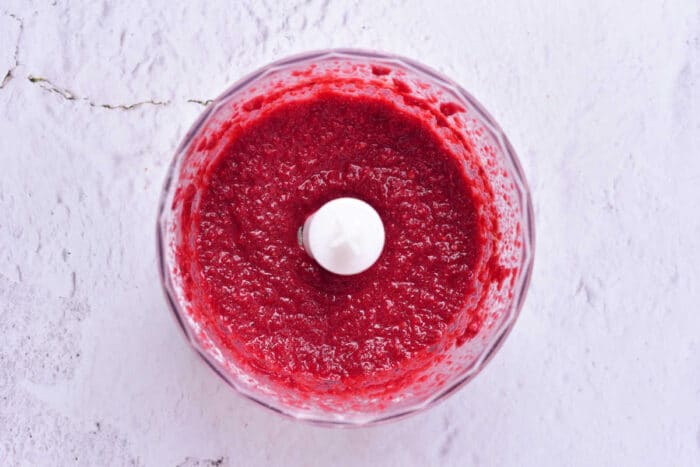
Put all the ingredients for the beet mass into a blender – shredded beets, horseradish, salt, powdered sugar, and spices. Beat until the mixture is paste-like.
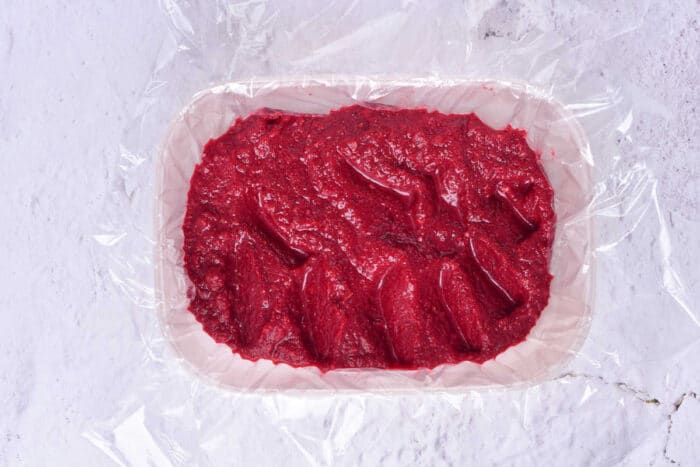
- Cover a plastic food container or deep bowl of suitable size with cling film.Transfer the beet mixture into the bottom and smooth it out. Rinse and pat dry the salmon with paper towels.
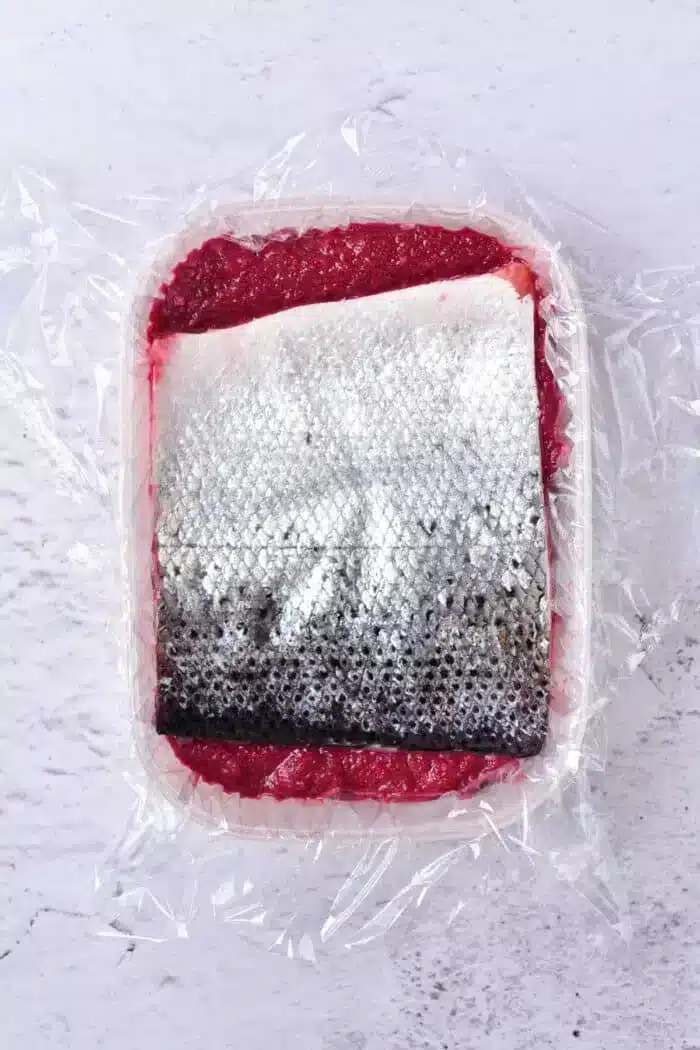
- Place filet skin side up in beet mixture and press down. Cover the top with cling film and refrigerate for 48 hours.
After two days, remove the fish, rinse the fish, and dry with napkins. Slice thin with a very sharp knife and enjoy. We will talk about ways to serve below. Store leftovers in a container in the refrigerator for no more than 2-3 days.
Cured coho salmon, sockeye, fresh water or farmed versions is often served with a variety of accompaniments to enhance its flavor and texture. Here are some common options:
How to Serve Cured Salmon
- Spread cream cheese on toasted bagels and top with thin pieces of cold smoked pieces of salmon with a pinch of lemon zest on top. You can then add capers, red onion slices, and fresh dill for extra flavor.
- Serve the sliced salmon on thin rye bread or dark bread, traditionally with mustard-dill sauce or a honey-mustard sauce.
- Arrange the salmon on crisp crackers or crisp bread for a simple and elegant presentation.
- Create cucumber rounds or slices to serve as a base for the salmon. Top each cucumber slice with a small piece of cured salmon and a dollop of cream cheese.
- Thinly slice red onions and pickle them with a mixture of vinegar, sugar, coriander seeds and salt. The tangy pickled onions complement the fish’s richness.
- Offer dried lemons, wedges or lemon slices for a citrusy contrast to the overall flavor.
- Sprinkle fresh dill over the thin slices for a burst of herbaceous freshness.
If you want to make something else with this vegetable, air fryer beets bring yet another texture to any dish you make with this.
Yes, you can use cured salmon, such as gravlax or lox, for sushi. While traditional sushi often features raw fish, cured salmon can be a delicious and safe alternative, especially if you prefer a milder flavor and slightly different texture. This should be in fact done if you haven’t bought sushi grade fish and want to use it as such.

Does cured fish need to be refrigerated?
Yes, whether you make salmon in air fryer or cold like this it should be refrigerated to ensure its safety and quality. Curing is a preservation method that involves using salt, sugar, and sometimes other seasonings to draw moisture out and stop the growth of harmful bacteria. While curing helps extend it’s shelf life, it doesn’t eliminate the need for proper storage.
How to store
- This ideally should be stored in the refrigerator at temperatures between 32°F to 40°F. This range helps maintain it’s freshness and safety.
- Place in an airtight container or wrap it tightly in plastic wrap or aluminum foil. This prevents moisture loss and exposure to air, which can cause the fish to dry out and lose its quality.
- Pay attention to any use-by or expiration dates provided by the manufacturer or the date when you prepared it at home. Consume it within the recommended timeframe to ensure its safety and flavor.
- Always use clean utensils and handling the pieces to avoid cross-contamination with other foods.
How to freeze
If you have a large quantity of cured fish and cannot consume it within a reasonable time, you can freeze it. Wrap your piece tightly in plastic wrap and then place it in an airtight container or freezer bag. It can be stored for several months this way safely, defrost in the refrigerator when ready to eat again.

How to Cure Salmon
Equipment
- 1 Bowl shallow, flat, 9×9" size or so
Ingredients
- 1 lb. salmon, fillet
- 1 c beets, grated
- 3 tbsp rock salt
- 3 tbsp powdered sugar
- 2 tsp horseradish
- 1 tsp coriander
- 1/3 tsp white pepper
- 1/2 tsp dried herbs, fresh, diced, thyme or basil are great
Instructions
- Put all the ingredients for the beet mass into a blender – shredded beets, horseradish, salt, powdered sugar, and spices. Beat until the mixture is paste-like.
- Cover a plastic food container or deep bowl of suitable size with cling film.Transfer the beet mixture into the bottom and smooth it out. Rinse and pat dry the salmon with paper towels.
- Place filet skin side up in beet mixture and press down. Cover the top with cling film and refrigerate for 48 hours.
- After two days, remove the fish, rinse the fish, and dry with napkins. Slice and try. Store leftovers in a container in the refrigerator for no more than 2-3 days.
Video
Nutrition
Nutrition information is automatically calculated, so should only be used as an approximation.
