
This is a simple way of how to can jam or jelly for beginners. Canning food allows you to store it safely for years. Here is a step by step method of how to start preserving food so you can make larger batches and enjoy jars all year long.
If you want to know how to can jam and other foods so you can enjoy them year round, this is how! Never done this before? NO problem, we were new to the whole thing recently too. It’s easier than you might think and once you get the hang of canning foods you’ll open up a whole new world.
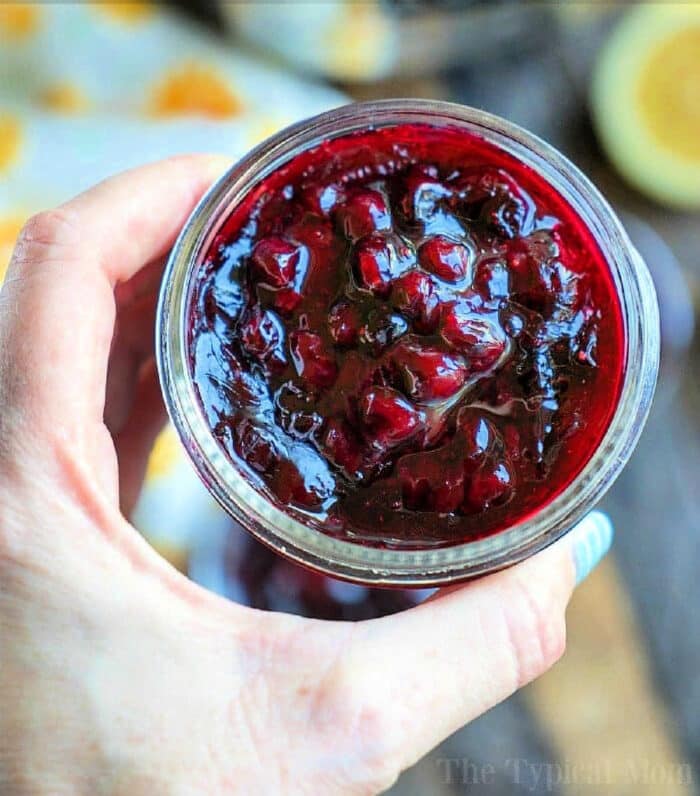
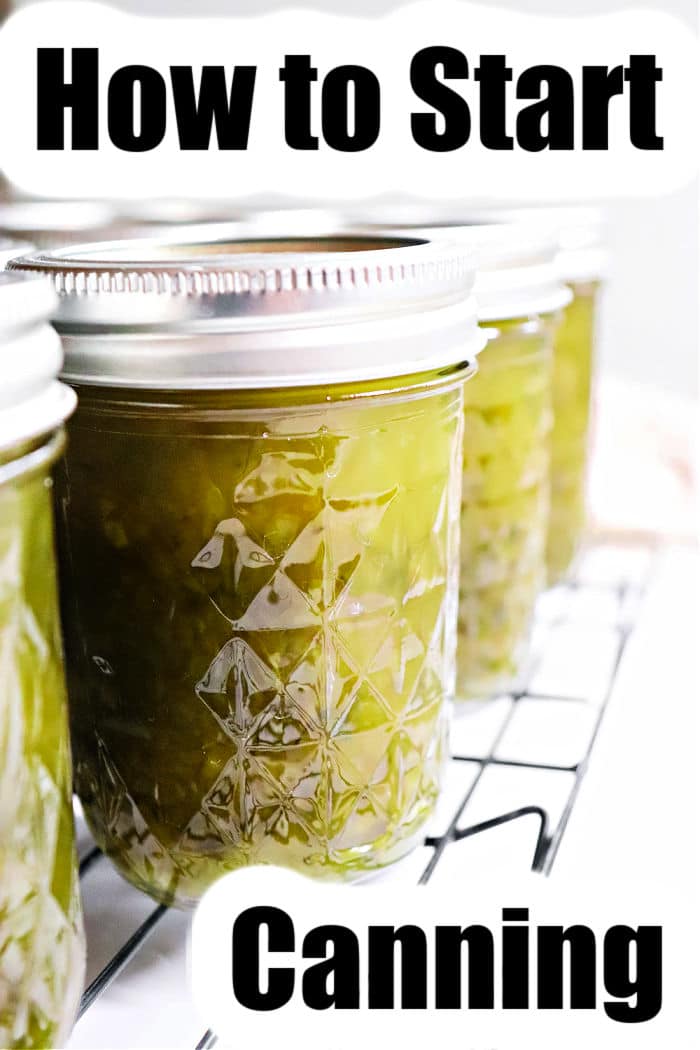
It doesn’t really matter what type you love, you can can it. 😉 These pictures feature green pepper jelly you can make too, but we’ve made other flavors too. It all depends what produce is fresh or we have picked lately as to what gets filled. Want to make homemade bone broth? That is great to can and use in recipes as well.
No matter what you have a bulk of and want to enjoy later, you should start canning plum jelly or fruit of choice. There are automatic machines that do a lot of work for you but that isn’t necessary really. It is cheaper if you use the items you see below but either way works. Note: Regular pressure cookers will NOT reach a high enough temp. to safely can food properly.
Let’s talk about the items you’ll need to get started. It doesn’t matter what brand of jars you use. Just ensure that your choice has proper lids for this type of storage.
Canning Starter Kit
Make note: Every time you want to can a new batch you need to replace and buy new canning lids. NOT the bands that you twist and seal, those are fine to reuse but the middle flat piece that suctions on it can only be sealed once. The gasket compound in used lids may fail to seal properly, thus letting air inside, making you sick. Just. Don’t.
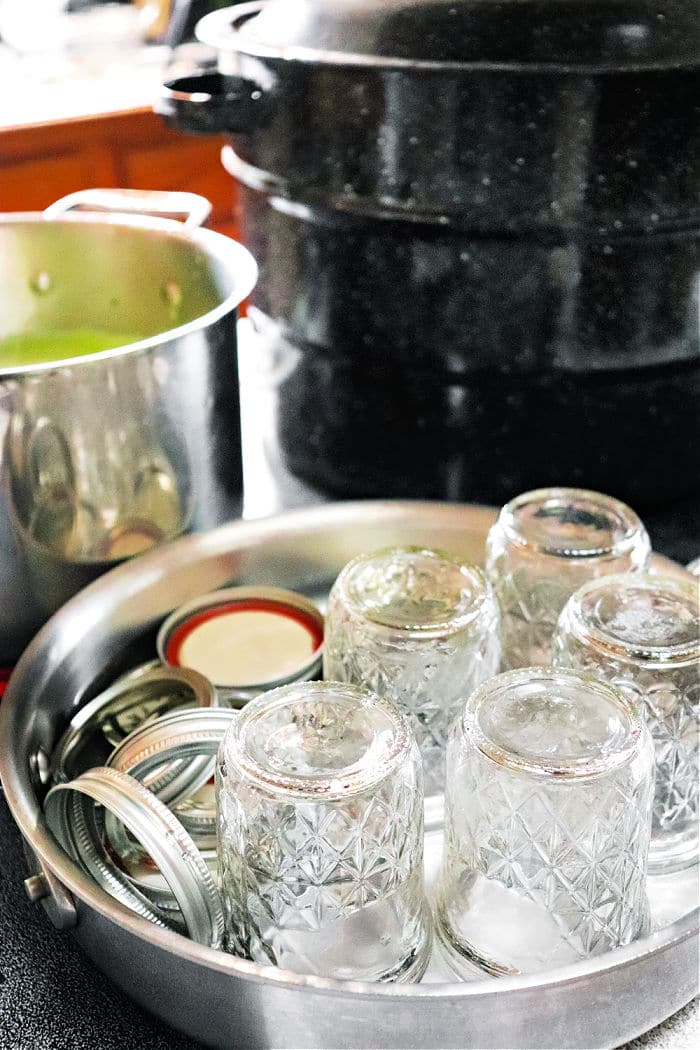
This is what you’re going to need if you don’t want to just buy a canning machine that kinda’ does all the work and timing for you;
- Canning pot and rack
- 16 oz. Ball jars and lids
- A pair of tongs and funnel
This is for a water bath canner. If using an electric unit there will be instructions contained in that box to follow instead. Those will have a thermometer built in and will automatically heat to the right temperature until the safe temp. is reached. If you want more of a hands off approach you might want to go that route.
Beginners Guide to Canning
This isn’t that hard though. Do it once or twice and you’ll see it’s just ensuring it gets hot enough to seal the tops properly is really it. The amount of time to set aside from start to finish is a good 45 minutes to an hour. You can use this method for freshly made fruit jellies, or one you made after the jam sets a few days later.
A great way to make things last a lot longer than just in the fridge. If you love batch cooking this is vital to get a grasp on. That way you can take the time to make a large amount of syrups, fruits, jams etc. and enjoy them all year long. Clear out a spot in your garage for storage and you may never buy pre-canned stuff again.
Pot holders are handy to have to lift on and off the lid as well. Note: Safe canning temperatures are 180 F – 250 degrees F in order to adequately kill all bacteria and make it shelf stable.
Water Bath Canning Directions
Here is how it is done y’all. Decide what size jars you want. I suggest the amount y’all will consume in one week left in the fridge opened. Remember, once you pop that lid open fruits will only last a few days ideally, jams will last about 2 months. So keep that in mind when choosing how large of the containers you’d like to use.
Time needed: 30 minutes
How to Can Jam
- Fill Pot
First fill pot 3/4 of the way full of water and bring to a boil. When it does, turn heat down and cover until you are ready to add your sealed jars.
- Clean Jars
Fill a large saucepan halfway with water. Heat cleaned jelly jars and lids upside down for 5 minutes to sterilize. Make sure both pieces of lids are in the water too. Watch the jars as water can get sucked up inside, just use tongs to tip jars and release the water.
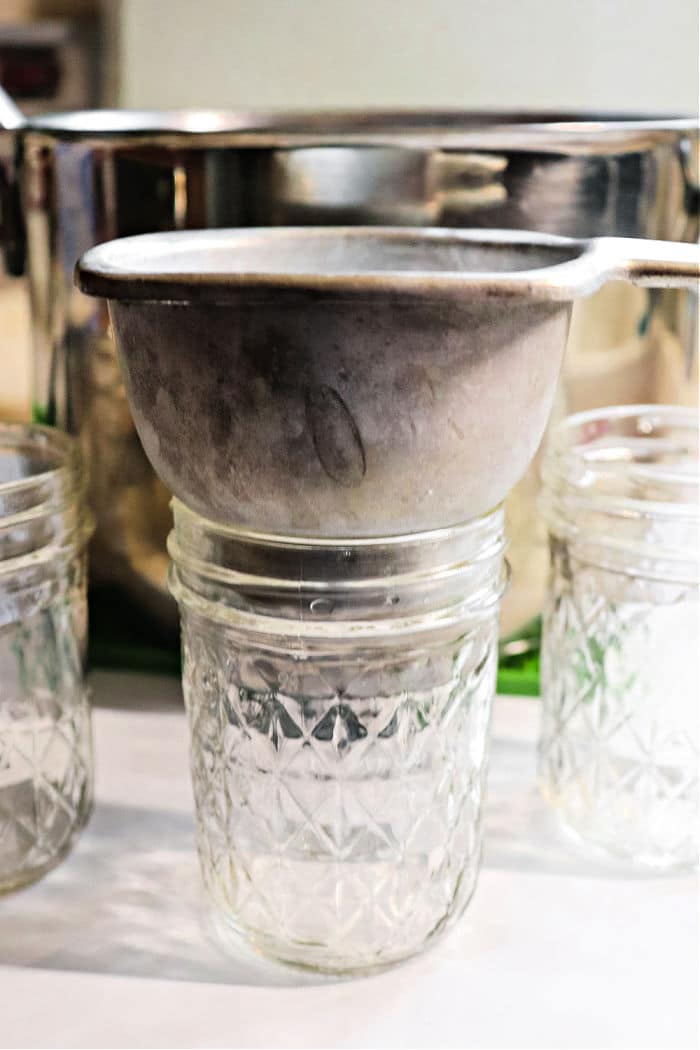
- Fill Jars
Carefully place hot pint jars and lids on paper towel to dry. When you’re ready to fill, place canning funnel over glass jars. Fill jars with homemade hot jam or jelly. Leave 1/2” space on the top that is empty.
Wipe rim of canning jar to remove any liquid or debris. Secure lids, but do not over tighten.
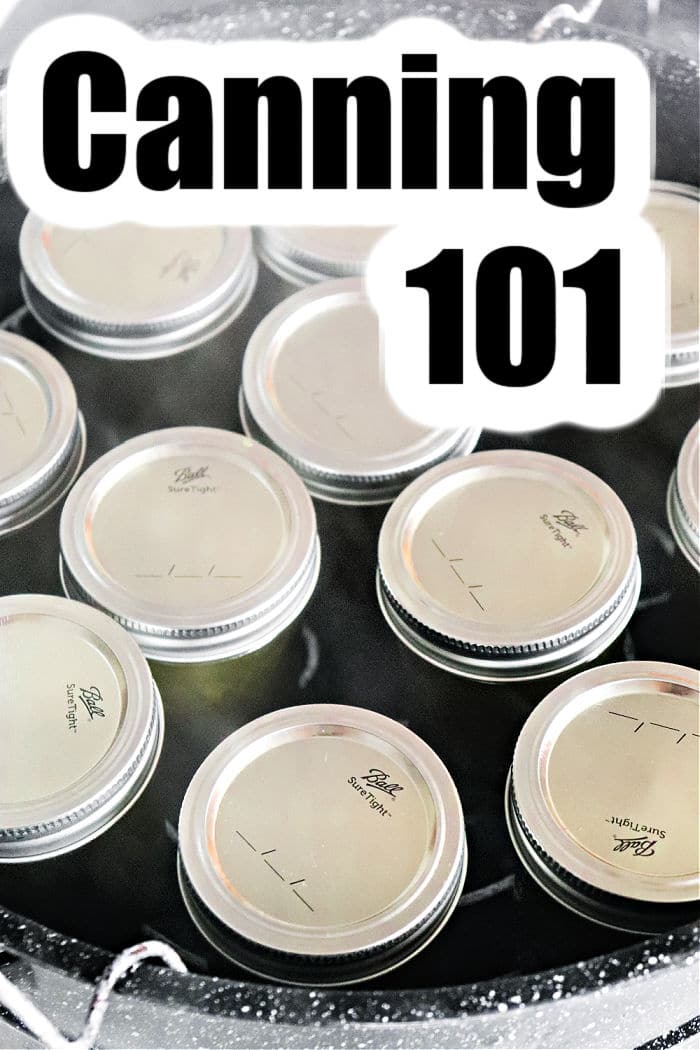
- Boil
Place jars in canner with tongs (will be hot) and make sure jars are completely covered with water. Bring water to a rolling boil again, cover and boil jars for 10 minutes.
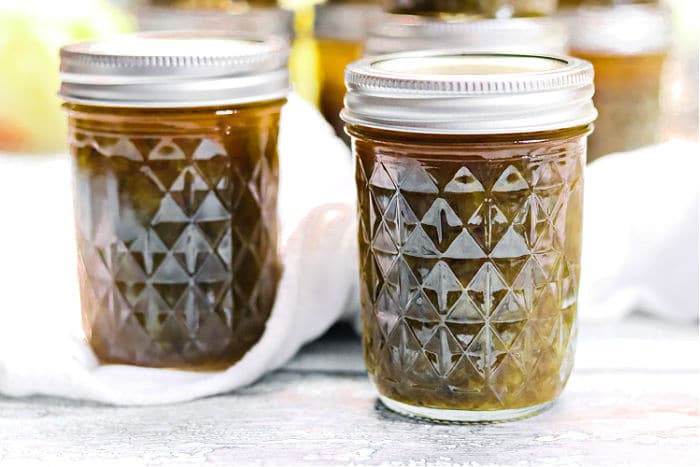
- Remove and Cool
Use canner tongs to remove jars from hot water and place on a cooling rack or kitchen towel. Let them sit overnight until cooled.
After 24 hours listen for the pings that the jars have sealed, the middle should be sucked down as a sign. Gently press on the middle of the lids if you are unsure if they sealed. There shouldn’t be any bounce. - Store
Write dates on jars and place in cool dry storage area. It will safely last for a year when sealed and canned properly.

How long does home made canned food last?
It depends on what you have inside them. If done and stored in sterilized jars properly, technically it should stay safe to eat indefinitely. BUT the flavor will definitely start to go downhill well before that. SO the general rule is 2-5 years but 1 year shelf life is really ideal for the best flavor and textures.
How long do home canned jellies last?
One year is ideal, but you could stretch it a bit beyond that with it still tasting good. Many times you’ll be using fruits which can start to break down a bit over a long period of time. Best thing to do is make the amount you and your family will enjoy in the next 12 months. If you have WAY more than that then share with your friends!
- We have made Instant Pot jam recipe using strawberries and blackberries
- Huckleberry jam after a day of picking is amazing on toast or over overnight oats
How can you tell if canned jelly is bad?
If the middle of the Ball canning lid is not pushed down in the center it has not been sealed properly and the contents should be thrown away. Other things would be obvious; smells funny when opened, liquid inside appears strange, mold inside the jar, etc.


I had to refrigerate my apple pie filling because I ran out of time. Can I can this pie filling directly from fridge to canner?
I would allow to sit on counter for a good hour to come to closer to room temp.
What’s your opinion about the IP Pro Plus? It has a canning setting. Do you think it’s safe to can with it?
I haven’t read enough about that yet