
This is how to make sourdough starter from scratch with AP flour without yeast! With just all purpose flour and water you too can bake homemade sourdough yourself to make bread or sourdough focaccia from there.

Jump To
- Do you need special flour to make a sourdough starter?
- What is the ratio of flour to water for sourdough starter?
- How to Make Sourdough Starter Without Yeast
- How to Make Sourdough Bread Starter
- What consistency should sourdough starter be?
- How to Feed Sourdough Starter
- Sourdough Starter Float Test
- How do you keep sourdough starter alive?
- Can I use sourdough starter straight from the fridge?
- How to Use Sourdough Starter
- How to Make Sourdough Starter From Scratch Recipe
This is a beginner version of how to make sourdough starter if you have never done it before. It was a challenge for me as I had never done it before and took me months to perfect. Once I had it down pat I wrote this post showing you how to do it yourself, without yeast.
I was on the quest to learn how to make sourdough starter from scratch this year and I did it! I’m not much of a baker, more a creator of dinner recipes, but this was a challenge I had for myself this year. Let me help you if you’re a beginner too.
Do you need special flour to make a sourdough starter?
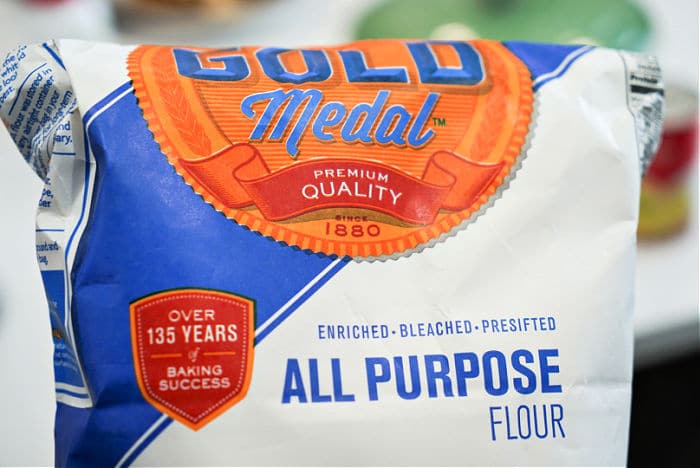
NO! You can use regular all purpose and “feed it” regularly in a warm area in your home to make your base. There is no need for special ingredients or worrying about yeast, use what you have in the cupboards at home with the step by step directions below.
I suppose it was crazy 2020 that lead me to want to learn how to bake homemade bread. For a while you couldn’t find yeast anywhere though. Everyone was making homemade sourdough bread, but I’d never done that. Quite frankly, it was intimidating. Once 2021 arrived and I was making goals for the year I thought it would be fun to learn how to make homemade sourdough starter. Then I’d figure out how to bake my loaf from there.
What is the ratio of flour to water for sourdough starter?
I started by reading articles on the internet but there was SO much variation I had to figure out what worked best for beginners. Some said 1/4 c. of water was enough. I definitely needed 1/3 cup and it needed to be warm. I’m sure altitude and temperature in your home would make a big difference. We aren’t high up but do live in a very cold climate (Northern Idaho).
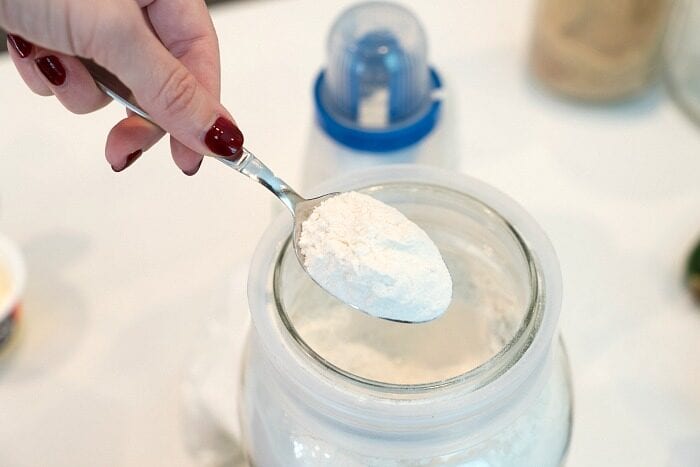
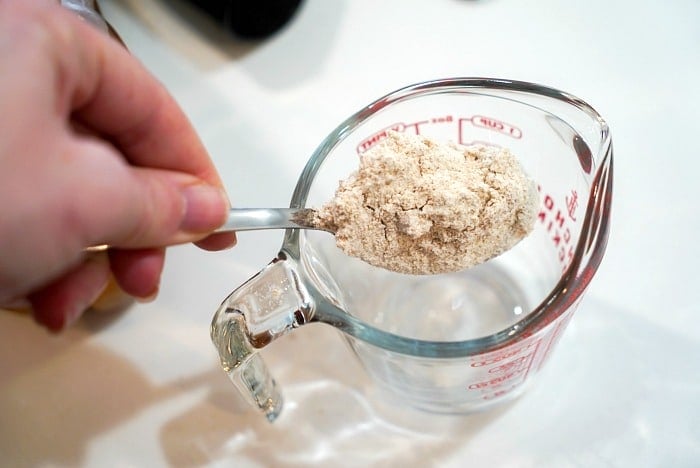
If you’re not a big baker there is one thing you need to remember, always. When it comes to measuring any sort of flour you need to know how to measure flour properly. Do NOT scoop it out of the bag, you’ll get too much. You could use a kitchen scale too I suppose.
How to Make Sourdough Starter Without Yeast
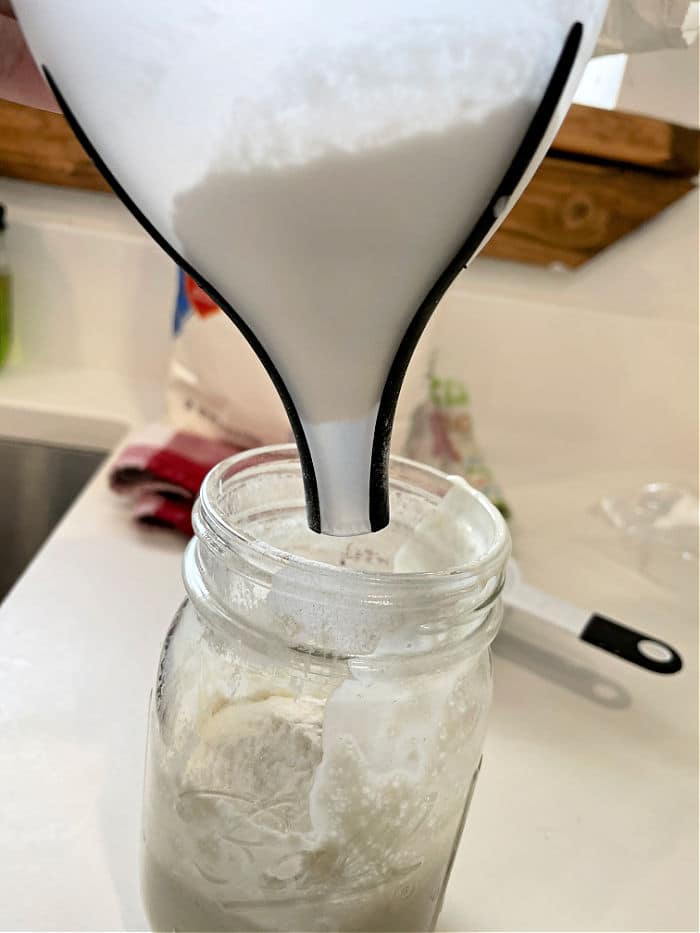
When it comes to the container, use glass. A 16 oz. mason jar and / or 32 oz. jar will work great. They’re quite inexpensive and can be used for a multitude of things beyond this recipe. We use these for glasses and smaller ones to make cupcakes in a jar.
I did experiment with both white unbleached all purpose flour as well as whole wheat flour. I didn’t really have great success until I used bleached white flour.
How to Make Sourdough Bread Starter
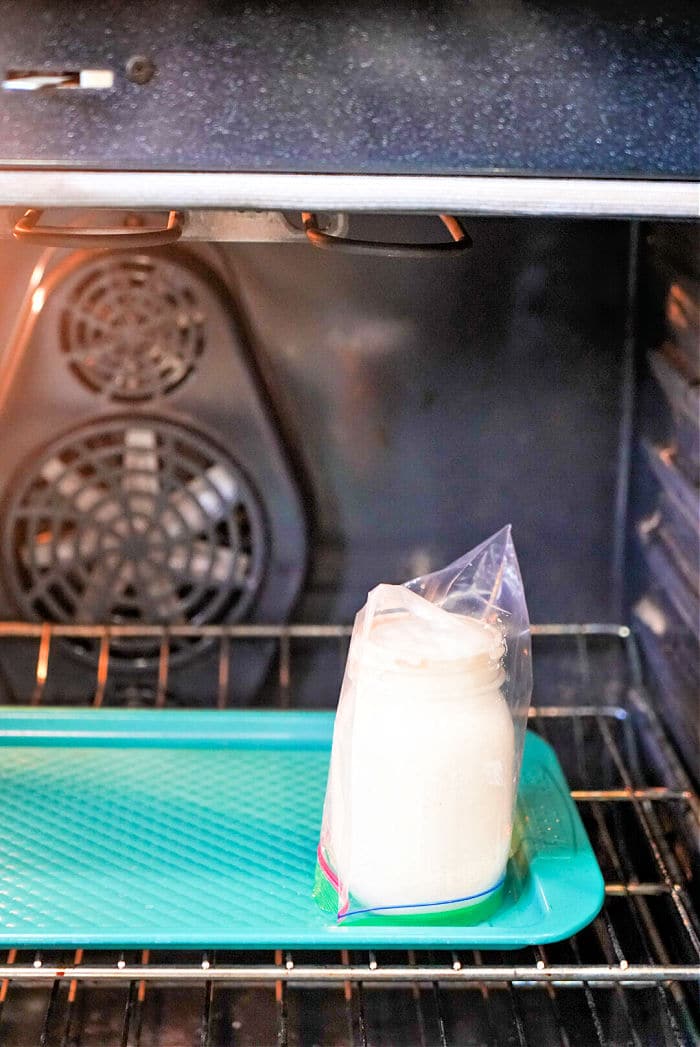
I decided to start this whole journey in February which I will say now is probably the hardest, so it can only get easier from here. LOL. With days that are 12 degrees F outside it is quite chilly and had to mess with where to put it once the mixture was created. That was challenging. It did rise and fall with the temp changes until I put them on in our oven with the light on.
- More specifically the best spot was on a baking sheet in the corner the furthest away from the light itself.
- Believe me, I fooled around with the spot a lot with many batches and this made it get lots of bubbles and perfect.
After a few batches I had it down pat where the starter was rising quite a bit. The other adjustment I made was to use a funnel so I got every bit of flour measured out. Now lets talk about what it should look like once you combine these two ingredients:
What consistency should sourdough starter be?
This was tricky at the beginning. It should look like pancake batter, seriously. You wouldn’t want it runny like a smoothie, or thick and hard to stir. If you add 1/3 cup like we needed but it is still a bit stiff then add just a tiny touch more and stir until consistency is like pancake batter.
If it is too thin it won’t work to incorporate the other ingredients to make bread or something else like Sourdough Pie Crust. Too thick and the consistency won’t allow your product to turn out right either.
You need to prepare this properly in order to create bread dough or Sourdough Croutons later.
How to Feed Sourdough Starter
Time needed: 7 days
Sourdough Starter
- Day 1
Use a glass jar (I started with an 16 oz. mason jar). Add 1/2 cup bleached all purpose flour + 1/3 measuring cup full of warm tap water. Stir until combined. Put a sandwich baggie over the top of the jar. Put this in a warm place, not just room temperature, warm. Let this sit for untouched 24 hours.
- Day 2
Remove the baggie, stir once and pour half of this mixture out into the sink.
Measure out and add 1/2 c flour + 1/3 c warm water again into your jar. Stir to combine. (should look like pancake batter) Put bag back on and back into your warm spot for another 24 hours. - Day 3
Do the same thing as yesterday.
- Day 4
Day 4: Do the same thing as day 1 and 2 except you’re going to “feed your sourdough” twice today. So set your phone reminder to do it when you get up + before you go to bed. About 12 hours between feedings.
- Day 5
You’re going to do this removing 1/2 mixture, then adding flour and water TWICE again today. Once in the morning & once in the evening. Add 1/2 c flour + 1/3 c warm water into your jar. Stir to combine. Put ziploc back on and back into your warm spot.
- Day 6
Feed the starter the same as day 5, removing 1/2 mixture and adding flour and water TWICE again today. If this is rising a lot you can pour it into a 32 oz. jar when you are removing 1/2.

- Day 7
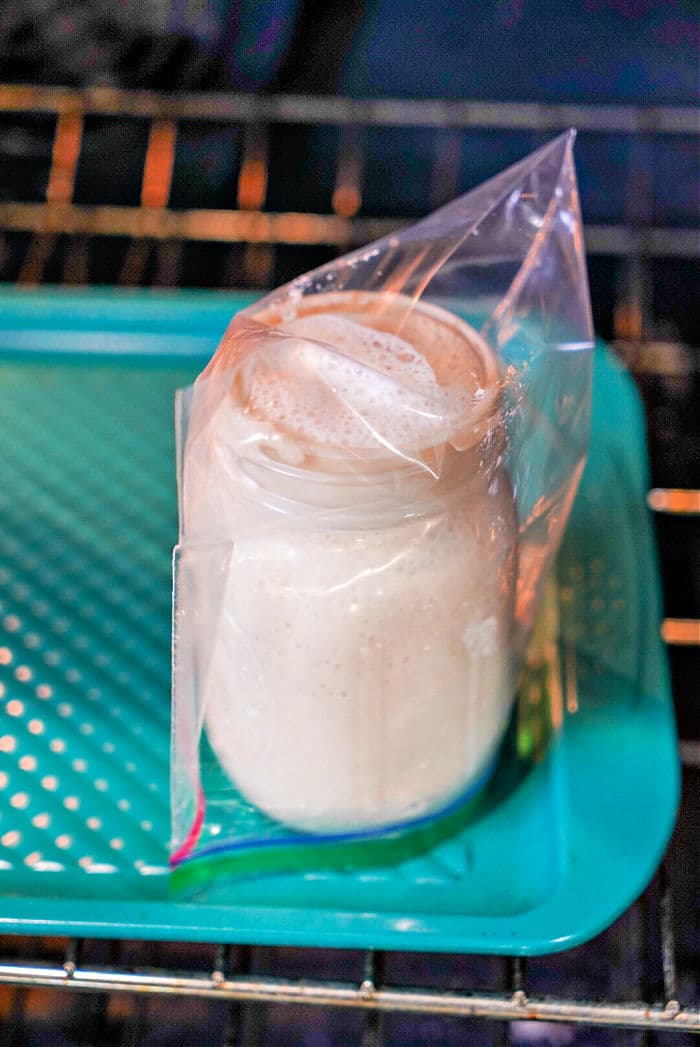
Sourdough starter should be very bubbly, frothy and doubled in size now, smelling a bit sour. If so your starter is ready! If you think it needs to be a bit more “smelly” do the same day 6 on day 7 and bake on day 8.
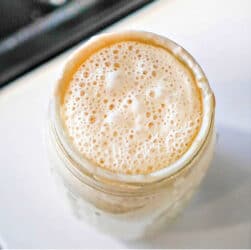
Here’s how bubbly it should look on the top.

Sourdough Starter Float Test
Not sure if it is ready or not, I get you. I was there at the beginning and used it when it was not fully ready and was super disappointed. SO here’s a way to tell for sure with a glass of warm water. Just plop a drop of your starter into it and see if it floats!
Some people do this, I did not. To see if you’re ready to start baking you can get a glass of lukewarm water. Take a small 1/2 tsp of your starter and drop it inside. If it floats to the top then it is ready! This does not always determine readiness fyi.
Nope, just open the lid and test it. If it doesn’t rise to the top of the water then remove 1/2 of mixture, stir in 1/2 cup flour + 1/3 cup warm water again and stir, repeating day 6 in our recipe again.
You should see lots of bubbles on the sides of the jar like you see here. I found the baggie worked better than the paper towel and rubber band technique on the top.

When you’re ready you will use the discard as an ingredient to bake your bread. That day just measure out how much you need and then feed it as you had in the past days.
How do you keep sourdough starter alive?
If you think you will use it every or every other day to bake then just keep it on your countertop and feed it once daily. Not using it that often? Then put a lid on your jar and put it into your fridge. Feed it twice a week this way.
Can I use sourdough starter straight from the fridge?
When you want to use it again take it out and let it come to room temperature. If you need to use it straight out of the fridge you can, it will just take longer to proof your dough. Just plan ahead about an hour to get it done properly right from the get go or it may frustrate you.

How to Use Sourdough Starter
When you’re ready to bake there are a lot of sourdough bread recipe ideas out there. Some require you to let it rest overnight, others just need to be tucked and rotated a few times a day. It is a great alternative to yeast to get your baked goods to rise. It gives it another angle of flavors too with the fermentation process. From breads to pancakes, Pumpkin Sourdough Bread, muffins and more try it!!
Let me tell you that it is a lot of work. I did bake 2 loaves and that satisfied my need to fulfill my goal for the year. It isn’t something I would do often though. I am glad I accomplished how to make sourdough starter from scratch though!
- To convert yeast to sourdough starter look at this article.
- Then you can use it to bake just about everything!!
How to Make Sourdough Starter From Scratch instructions are below for ya’.
How to Make Sourdough Starter From Scratch
Equipment
- 1 16 oz mason jars or use 1 larger jar, 32 oz.
- 1 Spoon
Ingredients
- 4 c all purpose flour, unbleached
- 2 2/3 c water, warm
Instructions
- Day 1: Use a glass jar (I used an 16 oz. mason jar). Add 1/2 c unbleached all purpose flour + 1/3 c warm water and stir until combined.
- Put a baggie over the lip of the jar. Put this in a warm place, it was winter time here so I put it into the oven with just the light on. If you do this put it on a baking sheet and in the corner furthest away from the oven light. It really likes warm, not just room temperature to work in 7 days. Let this sit for 24 hours.
- Set an alarm for 24 hours for the next 3 days so you can "feed it".
- Day 2: Remove the baggie, pour half of this mixture out into the sink. Measure 1/2 c flour +1/3 c warm water again into your jar. Stir to combine. Put baggie on top again and back into your warm spot for another 24 hours.
- Day 3: Do the same thing as yesterday and back into your warm spot for another 24 hours.
- Day 4: Do the same thing as day 1 and 2 EXCEPT you'll do this twice today. Once in the morning and once before bed. If it is really starting to rise in the jar you can transfer to a larger 32 oz. jar (if not already in this size).
- Day 5: You're going to do this twice a day again.
- Day 6: Do the same thing as day 5, removing 1/2 mixture and adding flour and water twice again today.
- Day 7 it should be really bubbly, smelling sour now. If so your starter is ready, use this to bake your first loaf of sourdough bread!
- If you think it needs to be a bit more "smelly" and bubbly, do the same day 6 on day 7 and bake on day 8.
Video
Nutrition
Nutrition information is automatically calculated, so should only be used as an approximation.


In your info you said you had best results with reg all purpose flour. In the written recipe you say use unbleached flour. Please which is it?