This is how to make silly putty at home! Just as you remember it from your childhood you can transfer images easily and play with it as you did years ago in that little red egg. You’ll be amazed just how easy it is to make silly putty yourself. Fun for kids once it’s done, and a great rainy day activity.

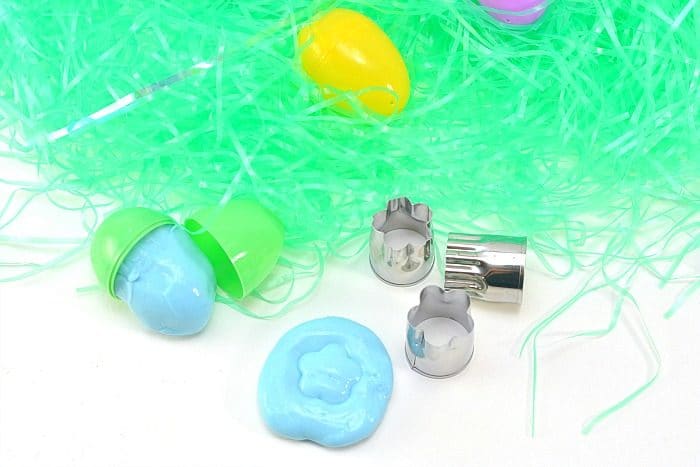
If you’re looking for fun activities for kids this is a great one for rainy or snow days! Make a batch and include it inside some plastic Easter eggs inside their basket, or as a summertime craft. The possibilities are endless. How to make silly putty is actually rather simple. (affiliate links present, originally published 2/18)
Silly Putty Recipe
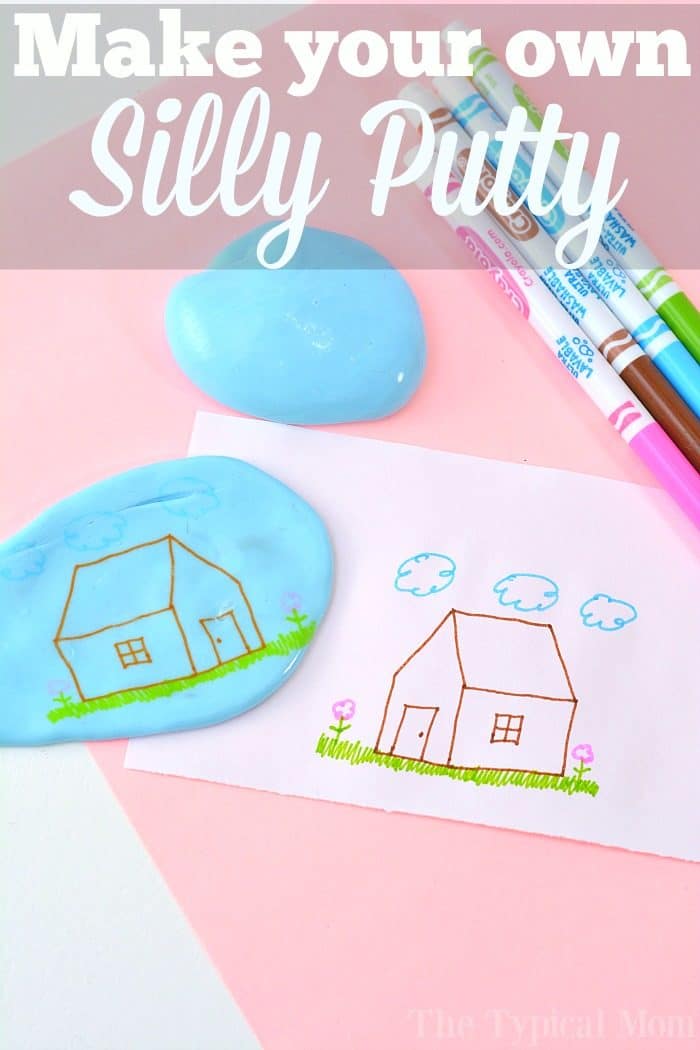
You remember this as a child I am sure. Transferring your favorite comic from the newspaper on to that flat piece of pink silly putty, and bouncing it on the kitchen floor…you can now do it yourself with a few items! Using small cookie cutters is fun too.
Play putty doesn’t have to be be pink you know. You can literally make it any color you want. If you are making a big batch for a birthday party you can match the decor and find pictures for your theme.

How to Get Silly Putty out of Clothes
Of course with any experimenting it needs to be done by a parent or with strict parental guidance with older children. Please read our safety disclosure before starting any project like this one. Once it is done of course children can play away and have a blast.
Always make sure hands are washed after playing with it though, and especially before eating. If it does get stuck on clothes and fabric you can try hand sanitizer, the clear kind, to dissolve it. Another idea is freeze with ice cubes, then scrape to remove silly putty with a butter knife. Rub dish soap on to try for stain removal. Then wash as normal.
Homemade silly putty
One uses liquid starch and one uses Borax. Liquid starch has some Borax in it so either way parents need to handle all products when making this but especially if you are using instructions #2 it is really fun to do it in front of them so they can see the liquid turning into a solid like you see here!
It is always fun doing science experiments with kids. Even if you are the one handling the items they can see right in front of them the way elements change and gets them excited about learning more.

Silly Putty Ingredients
Instructions #1
- 1/4 c. liquid starch (not corn starch, the laundry type)
- 1/4 c. white glue
- Mix the liquid starch and glue mixture together well. It will be a blue color unless you add food coloring (if you’re using blue starch like we do).
- If putty is too sticky add just a touch more of starch and mix again until tackiness is gone
These are very similar to how to make slime really if your kids have made lots of versions of that. If they have they know how to adjust the texture. Just add a touch more starch to firm it up, more glue to loosen it up.
Instructions #2
- 1 bottle white school glue
- 2 c. hot water
- 1 tbsp. Borax
- Place 1 tbsp. of Borax into a bowl – do not allow children to handle Borax, read our safety disclaimer before doing any experiments with your children
- Mix in 2 c. of hot water and stir until it is dissolves
- Let Borax water sit until it is almost clear again
Mix white glue with drops of food coloring if you are coloring it. Now you don’t want to add too much or it will loosen it up too much. Too much of it too won’t absorb sorta speak and may end up on their hands for longer than you’d like. I personally think it is just better to leave as is the blue starch color.

How to Make Silly Putty
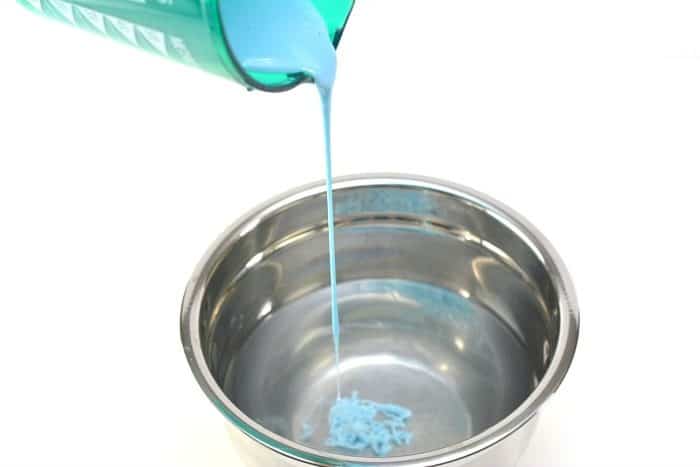
Hold the bowl with your glue in it above the bowl with the hot water mixture in it and slowly drizzle the glue into that bowl. It will form a small pile of wiggly looking glue (seen above)
- Reach into the bowl and pick up the glue pile
- Knead int in your hands until the excess water is gone and it forms a silly putty substance
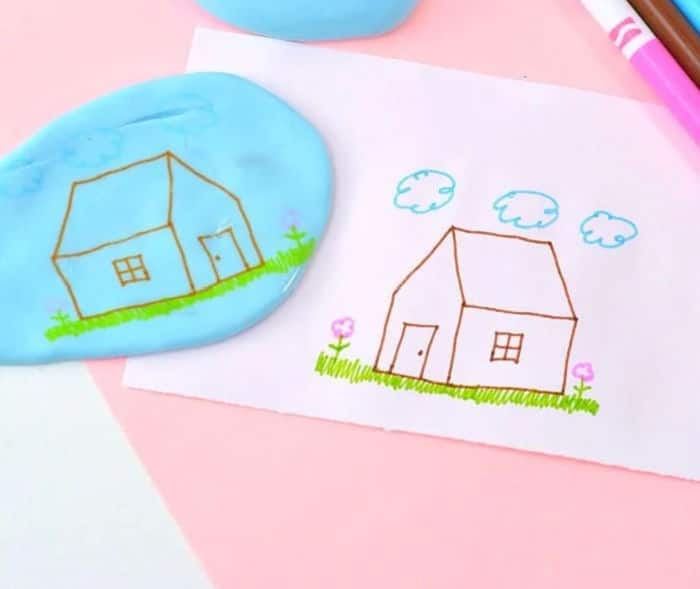
- It will transfer pictures using markers or pencil
- Press putty onto picture, then on to a clean sheet of paper
- Use cookie cutters to make pictures on it as well
Does Silly Putty Dry Out
The bought type is oil based so it takes a really long time even if it is left out of the plastic eggs. This however really should be stored in some sort of airtight container or bag. I like freezer bags so you can really press all the air out vs. containers. You could use those plastic Easter eggs though to store it too!
Before you go I want you to sign up for my free newsletter!! You will get all my new recipes emailed to you a few times a week that will help with meal planning for the week.
Want to see a few of my favorite things that I am totally obsessed with?? Take a peek and see how many you might already have…twinsies!
Looking for more easy family recipes and tips? LIKE The Typical Mom Facebook page because we share all our new creations there every single day. And follow me on Pinterest for more inspirations! 😉
***** If you LOVED this recipe give it 5 Stars below and let everyone know what you thought about it. 😉


