Baking bread at home for newbies tips are here so you can make homemade bread loaves yourself. It isn’t as scary as it sounds once you understand the step by step tips and tricks necessary to make it light and fluffy.

Jump To
- Tips for Baking Light and Fluffy Bread
- Homemade Sandwich Bread Recipe
- Is it better to bake your own bread?
- What are the benefits of baking your own bread?
- What you need for baking bread at home
- Easy Homemade Bread Recipe
- How do you freeze fresh baked bread?
- How long can you keep homemade bread in the freezer?
- Other homemade bread recipes you’ll love
I once was totally against even the idea of how to bake bread at home because it just sounded too hard, until we tried it! I will now say we’re believers that homemade when it comes to honey wheat and white bread.
This was kind of an experiment and a way to get my girls involved in the kitchen when we started this journey. We didn’t get it right the first time around, or the second, that is why I wanted to write and explain how to bake homemade bread to share with all of you too. Let’s start off with;
No I don’t make homemade bread on a regular basis. But now and again when I want to make a treat I will make a few loaves of this (or my slow cooker bread) for all of us to enjoy.
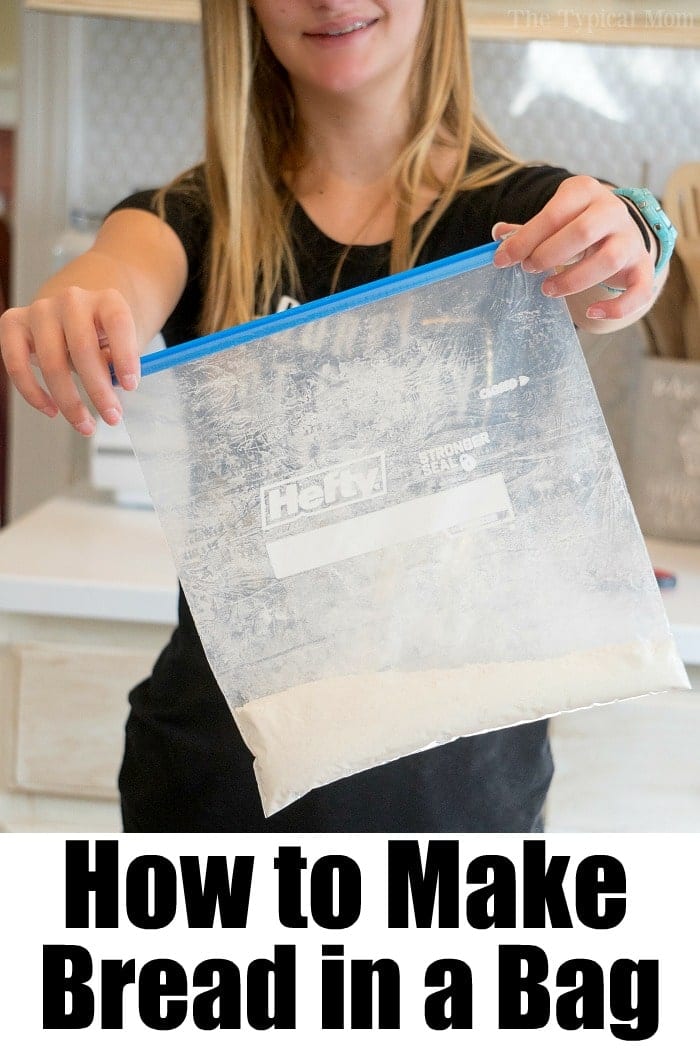
This and our bread in a bag recipe are great when you want to bake with your kids too. For this one you make a honey wheat bread. The recipe below is for white bread.
Use the right flour, bread flour is the best type of flour to use for making bread as it has a higher protein content which helps to create gluten, the protein that gives bread its structure.
Tips for Baking Light and Fluffy Bread
Activate the yeast first and properly to ensure your bread rises properly. Dissolve the yeast in warm water and a little sugar and let it sit for a few minutes until it becomes frothy. Knead the dough to develop gluten, which gives bread its structure and texture. Knead the dough for at least 10 minutes until it becomes smooth and elastic.
- Let the dough rise in a warm draft free place until it has doubled in size. This can take anywhere from 30 minutes to 2 hours, depending on the recipe.
- if you are in cold weather use the oven with JUST the light on to keep at room temperature
- Punch down the dough: After the dough has risen, gently punch it down to release any air bubbles.
- Shape the dough: Shape the dough into the desired shape and let it rise again until it has doubled in size.
- Bake at the right temperature: Bake the bread at the temperature specified in the recipe. Too high of a temperature can cause the bread to burn on the outside while still being raw on the inside.
- Use steam: Adding steam to the oven during the first few minutes of baking helps to create a crisp crust and a light, airy interior.
By following these tips, you can create a delicious and fluffy homemade bread. Happy baking!
Homemade Sandwich Bread Recipe
Equipment
- 2 bowls
- 3 9×5 pans
Ingredients
- 4 cup all purpose flour
- 6 cup bread flour
- 1.5 tbsp active dry yeast
- 2 tbsp sugar
- 2 tbsp butter
- 4 cup milk
- 1.5 tbsp salt
Instructions
- In a bowl mix together 4 c all purpose flour, your yeast, salt, and sugar.
- In another bowl pour 4 c milk and your butter. Put in microwave until butter is melted and mixture is warmed using 45 second intervals until reached.
- Pour milk/butter mixture into the flour mixture, mix well.
- Add 1 c of bread flour at a time mixing in between each add in.
- Knead bread for 8-10 minutes until it is nice and has an elastic texture.
- Spread a bit of oil into a bowl and put the dough in the bowl, cover and let rise for about an hour or until it has doubled in size.
- Punch down the dough after that and divide it into 3 loaf pans. Cover and let rise again for an hour.
- Bake in loaf pans at 375 degrees for 35 minutes or until tops are golden brown.
- Allow to cool before slicing.
Video
Nutrition
Nutrition information is automatically calculated, so should only be used as an approximation.
Is it better to bake your own bread?
Of course homemade is always best no matter what it is you’re eating right?? Whether you do this on an ongoing basis, or just want to try it out this is an easy bread recipe to try.
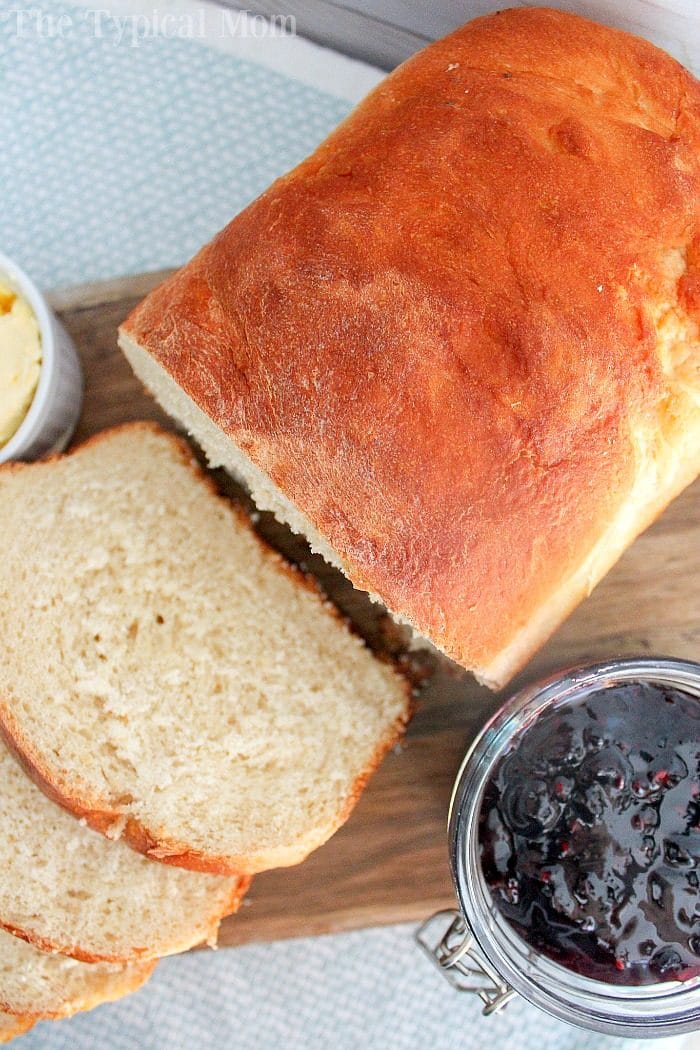
I will tell you it is amazing for french toast, sandwiches, for breakfast with some of our pressure cooker jam spread on top and once it starts to get a bit stale we use it to make apple pie bread pudding!
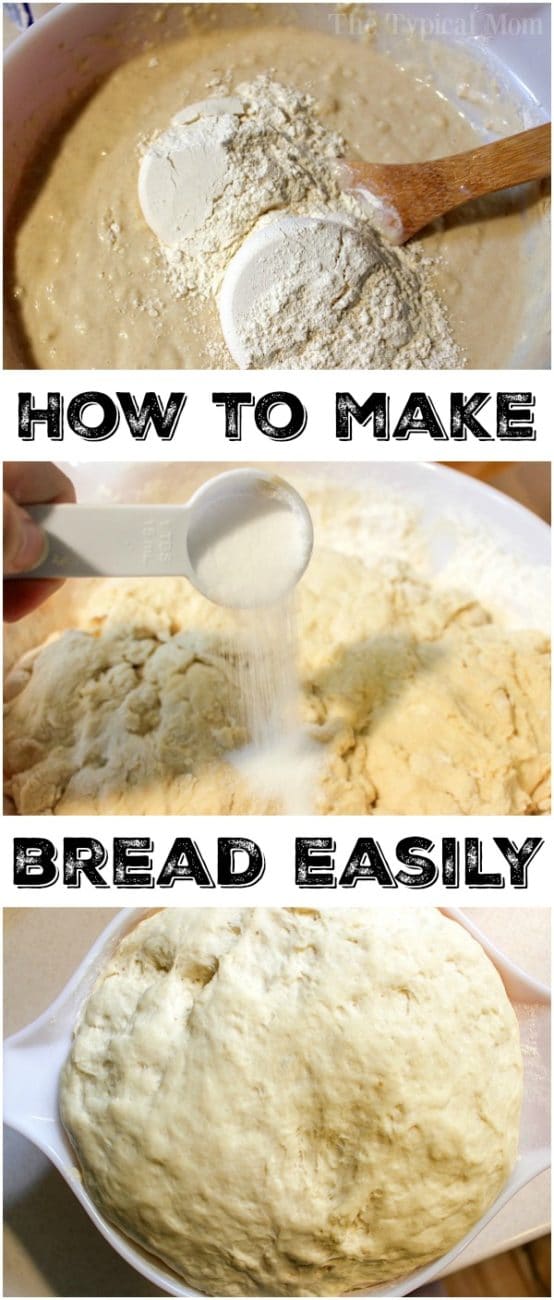
Here’s a picture showing you a few of the steps you take to make this easy homemade bread recipe. This is white bread, we’ve made honey wheat as well using our bread in a bag process too.
What are the benefits of baking your own bread?
Tips and tricks are coming which you should read thru if you are a beginner and never attempted this before. We will walk you thru it. If you are feeling a bit nervous already though let us share how come we bother doing this period. Why would you bother making homemade bread?
- The most obvious reason to bake homemade bread is to save money.
- It has an amazing flavor, nothing like store bought
- You know exactly what is inside, since you put all the ingredients in yourself
- There are no preservatives
- You can control how crunchy or soft your crust is
- Making homemade yeast bread opens up a world of possibilities when it comes to making different types of breads
- Add rosemary
- Include some garlic
- Make it sweeter with a bit more sugar, cinnamon and raisins
- It is a fun learning experience in the kitchen you can share with your kids, let them help you bake some…they will love it!
- You can make a month’s worth of bread, freeze it, and be prepared for quite some time
Baking time is 30 minutes to 40 minutes which isn’t long and you can double or triple it to make a bunch!
What you need for baking bread at home
You will need a few dishes since the yeast needs to be activated with a warm liquid at the beginning. It is handy to have a stand mixer with a dough hook if you have one but a hand will work. Worse comes to worse some elbow grease will work too. You want to integrate but over kneading will yield a tougher texture so don’t overdo it.
All purpose flour is the base of the dry ingredients. Always make sure to measure flour properly or this won’t work right. Active dry yeast allows it to rise properly, we will use milk instead of warm water for this. Sugar, just a pinch, will essentially feed the yeast and allow it to bloom properly. Butter should be salted, dairy free alternative works too. We add some bread flour to make it lighter with some salt for flavor.
Easy Homemade Bread Recipe
If you ONLY have bread flour you can follow our white bread recipe that doesn’t use all purpose at all. Bread dough recipe below makes 3 loaf pans of bread. Seriously….that is all you need. No bread machine needed to make it this way.
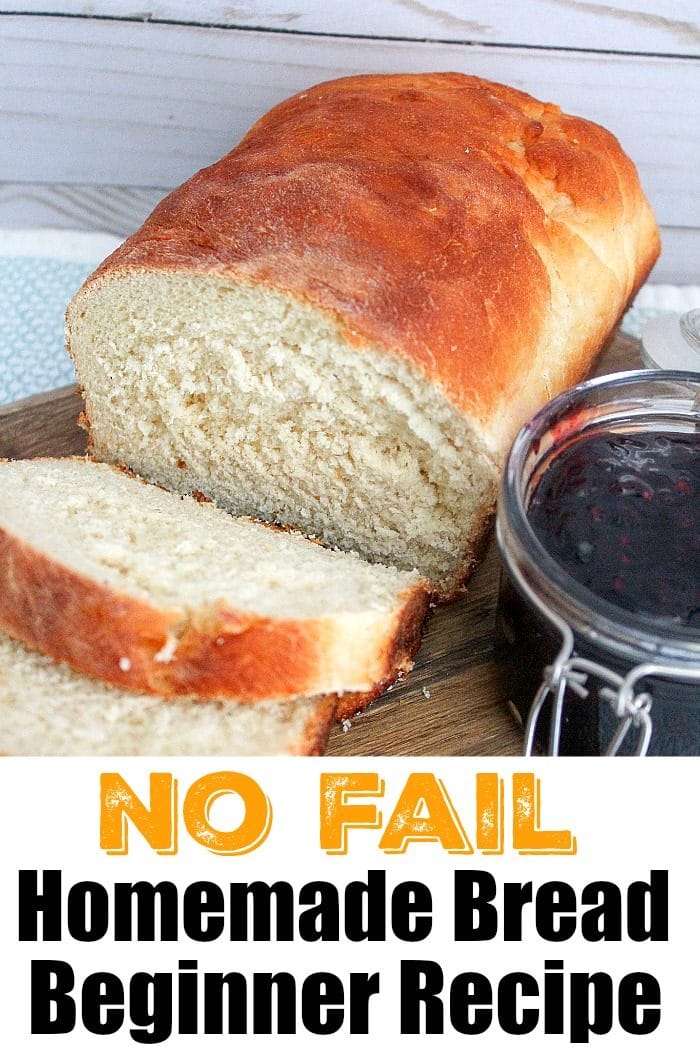
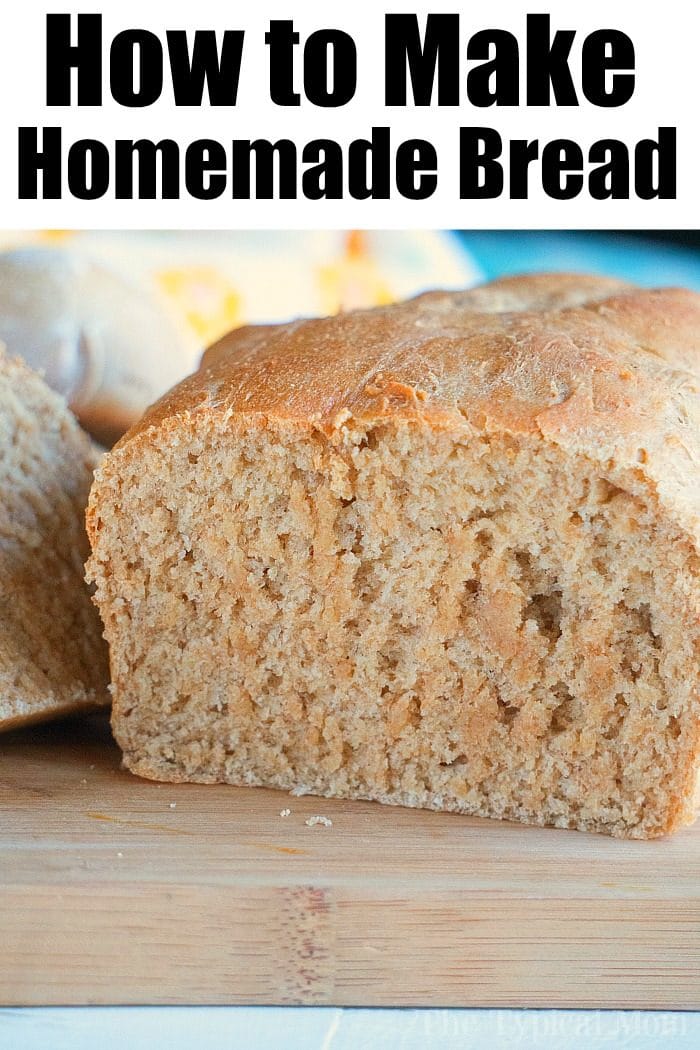
I will tell you it takes a bit of patience but it is worth it if you are up for trying something new. Plus it tastes amazing. Here’s a photo of the honey wheat homemade bread in a bag we made before. Comes out nice and golden brown on top. It’s a great recipe too.
If you do batch cooking and bake a bunch of loaves to save and freeze for the long haul the question then becomes; First, you’ll want to wrap each loaf tightly inside a large piece of plastic wrap.
How do you freeze fresh baked bread?
Then wrap that in foil or inside freezer paper. Double wrap them for ultimate freshness. Now here’s a freezing bread tip: Slice each loaf before wrapping and putting inside your freezer so you can remove only one or a few slices each time!
This means you can keep the rest frozen solid and it will last longer. Especially helpful if you are only a 2 person household and if you defrost the whole thing it is likely to go bad before you are able to eat it.
How long can you keep homemade bread in the freezer?
Storing it in the refrigerator makes it turn stale rather quickly. To keep bread soft, store in an airtight plastic zipper bag. For longer term storage, homemade bread should be kept in the freezer where it will keep fresh for up to 3 months.
Other homemade bread recipes you’ll love
Want to go a step further and try other versions like on a baking stone or a loaf of dutch oven bread? Go for it and see which one you like the best.
This is how to make Challah if you want to try that version too. Recently we made a batch of this easy soft pretzel recipe that was the bomb! Plain or wrapped
What to serve with your homemade bread with yeast is our Instant Pot pumpkin butter is fabulous especially during the fall.



I’ve been making bread forever, and I love this recipe! So great!
When do you add the salt?
Yay!!
I love homemade bread I can eat just this and nothing else its so good! great recipe!
Ok it doesnt say to freeze bread dough once its made. You can freeze the bread after you bake it and let it cool. Wrap in syran wrap .
Why should you freeze the bread dough, once made.
Many people freeze bread to preserve it.
Do I oil the bread pans? And what’s this about freezing the dough? I intend on baking it right away do I still need to freeze it? Looks like a very good easy recipe thank you! Comment section threw me for a whirl though would appreciate feedback!
I literally have no idea why you all find this recipe confusing.
Very confusing recipe for someone who has never made homemade bread to say the least! It has 4 cups of flour with yeast and sugar, salt and later 6 cups of bread flour, one cup at a time. You use 10 cups of flour total? All bread flour or what? A video would have helped sort out what you were talking about.
You’re reading the recipe incorrectly. Same 4 cups flour, just add to wet mixture 1 cup at a time and then knead the whole thing 8-10 minutes.
That doesn’t sound right… It should be a total of 10 cups of flour. A mix of all purpose flour and bread flour.
It doesn’t say that…
This says for beginners, BUT
What does “punch it down” mean??
When you initially put flour in the bowl, it is all purpose? Self rising? You specifically mention adding bread flour after that, was bread flour the only type that was used? When do you add salt? I probably wont be able to try this recipe since its, imo, incomplete.
Take your fist press down in the middle.release ,wash hand.
You don’t mention when to add salt. Also do I just divide up visually in to 3s, oil bread pan? Am I missing part of the recipe?
Add salt with dry ingredients.
Just cut dough into 3.
The recipe is all there. Try it
Do you freeze the dough after you punch it back down?
Yes
Don’t freeze the dough!! You can freeze your finished bread. But do not freeze dough!!