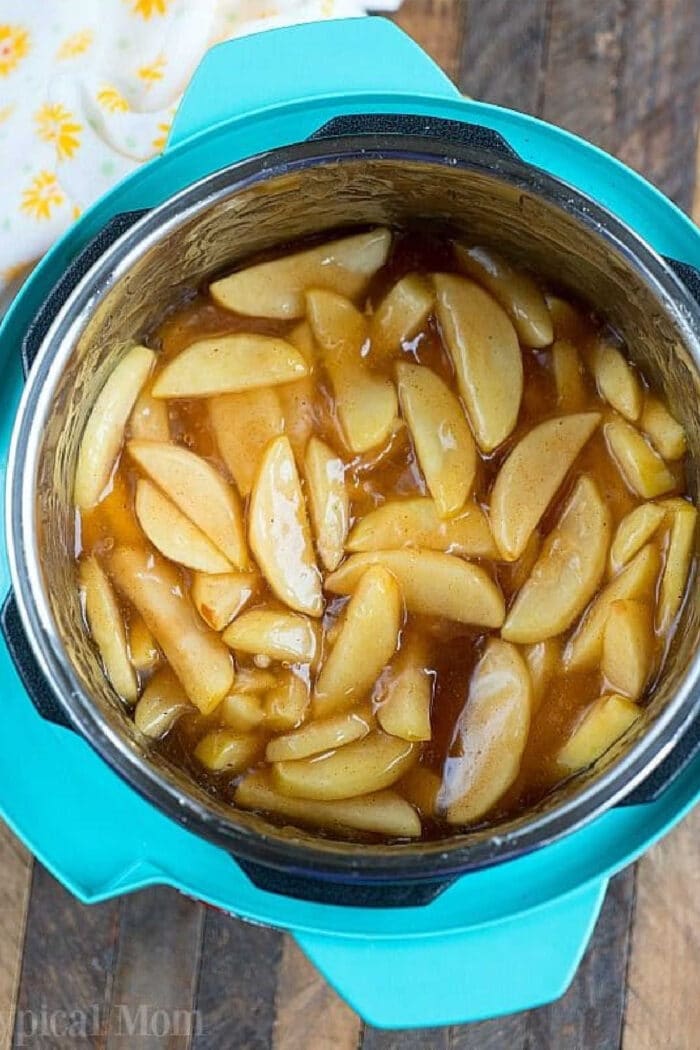
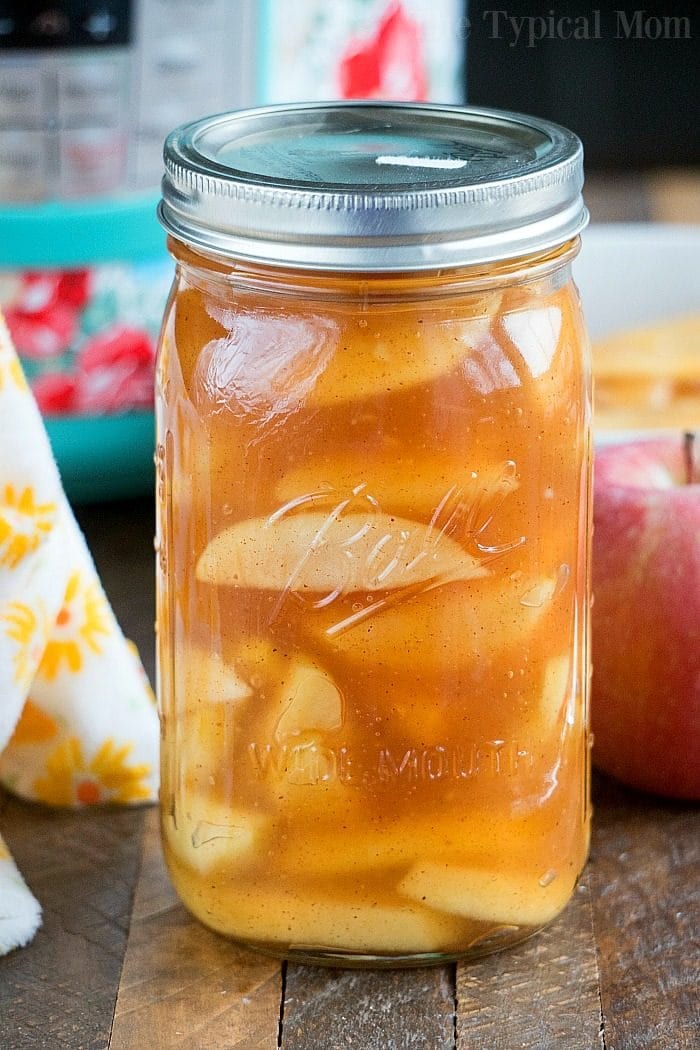
Easy homemade pressure cooker apple pie filling recipe you can make in about 20 minutes! Like our Instant Pot apple crisp but thicker to make lots of desserts with fresh fruit. You can use your Ninja Foodi to make this too!
Jump To
If you have about 20 minutes and a bowl full of Fuji or Granny Smith apples you can make this easy pressure cooker apple pie filling at home! Just another favorite added to our long list of easy Instant Pot recipes. (affiliate links present)
Instant Pot Apple Pie Filling Recipe
Have you ever made an easy apple pie filling recipe before? You may think it’s complex and opt for canned but it is really SO easy! If you don’t have an Instant Pot, you can make homemade apple pie filling as a Ninja Foodi recipe or in a Crockpot Express machine too! It can be used in oh so many desserts, or just enjoyed as is right out of the pot like baked apples!
If you’ve been a fan of The Typical Mom Facebook page, or have been reading my blog recently you know we went apple picking and loaded up on 65 lbs. of Fuji apples! Needless to say we’ve been busy with apple everything, and this was the latest creation (we’ve still got about 20 lbs. left so stay tuned for more). 😉
If you are new to pressure cooking we have a lot of easy one pot meal recipes for you here. To begin with let’s start with a few basic tips:
- Make sure to Bookmark our InstaPot recipes page. We add new ones each week!
- Then PRINT this —–> Instant Pot cooking times cheat sheet that will help you understand how long meat, vegetables and beans take to cook in your pressure cooker.
- I HIGHLY recommend you buy this non stick pot.
- You should know how to deglaze a pressure cooker after sautéing but it won’t have as many issues with this better liner.
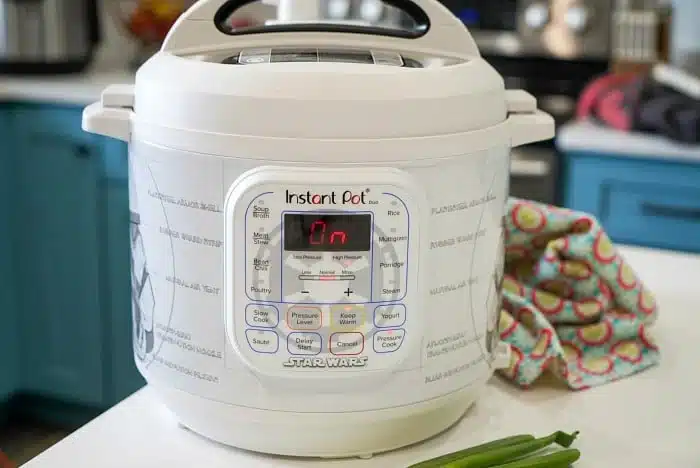
For reference, this is the model I have (a 6 quart) and use for all recipe creations.
Ingredients
- Apples – duhhhh, you choose the variety but I love Fuji, red and yellow varieties aren’t as firm if you prefer really soft apples
- Sugar to make it sweet
- Lemon juice – I rarely have fresh on hand and just use this
- Cinnamon is optional but a nice touch
- Nutmeg and Vanilla are not necessary but I like the additions, this is how you make homemade vanilla extract
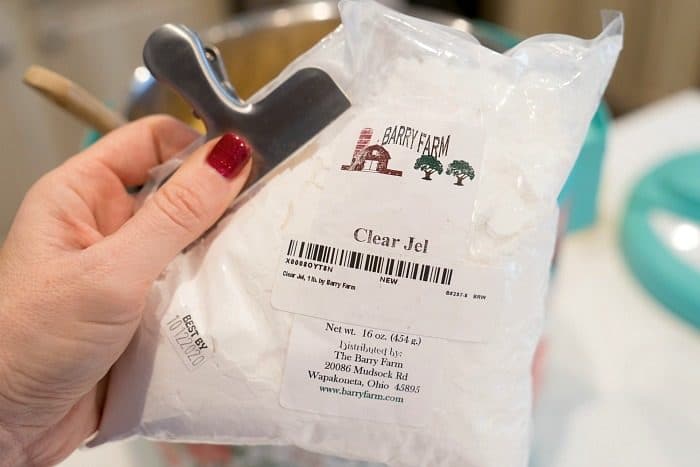
- Clear Jel – you probably don’t have this but can grab a small bag you see here linked below in the recipe.
Equipment Needed
If you’re canning you’ll need mason jars and everything in regards to saving for later. We use immediately so you’ll want your machine, a wood spatula or spoon is all.
In this case we aren’t even using the high pressure function, all you need is saute. So yes you could do the same thing in a pot on your stovetop but this comes in handy if you already have this out for dinner and want to use the same device which heats up very quickly. You will want to stay close as it doesn’t take long and you’ll want to turn it off once the texture is to your liking.
Variations and Substitutions
I highly recommend clear jel, to me no other substitution will do. I have tried other thickening options but this is what works. As far as added flavors like vanilla and/or cinnamon that is up to your taste buds. You could use a sugar substitute such as Sweet and Low for sugar free versions.
Why we love this homemade recipe
Why would you want to make your own? If you use pie filling a lot and make a large batch you will save money in the long run. You can avoid the preservatives found in canned apple pie filling. Choose the type of apples YOU love to make it perfect for your recipe. Granny Smith are more tart but hold their shape better, Fuji are sweeter (our favorite), Gala will break down faster.
Making your own pie filling allows you to control how soft or firm your apples will be Add as little or as much sugar as you’d like to control the sweetness or create a sugar free apple pie filling recipe by using a sugar substitute .
Homemade Apple Pie Filling without Cornstarch
What I love about homemade is you can make it as you love. Need it gluten free? Use a safe clear jel vs. cornstarch that others use. Love cinnamon and nutmeg in all Fall treats? Swear by only using Granny Smith for all apple dishes? Use exactly what you love to make this and top it with 1/2 cup of ice cream and brown sugar at the end for the ultimate comfort food. 😉 We won’t tell.

If you want to how to can filling using mason jars you can do it yourself which means you can use the freshest apples during the winter months, can them, and enjoy it all year long! There is a link to instructions below in the recipe card for you for that.
I say this easy apple pie filling recipe takes about 20 minutes. Of course time with vary depending upon how long it takes you to peel, core, and slice your apples. Also time will vary a bit in the last step when the liquid and apples are bubbling together.
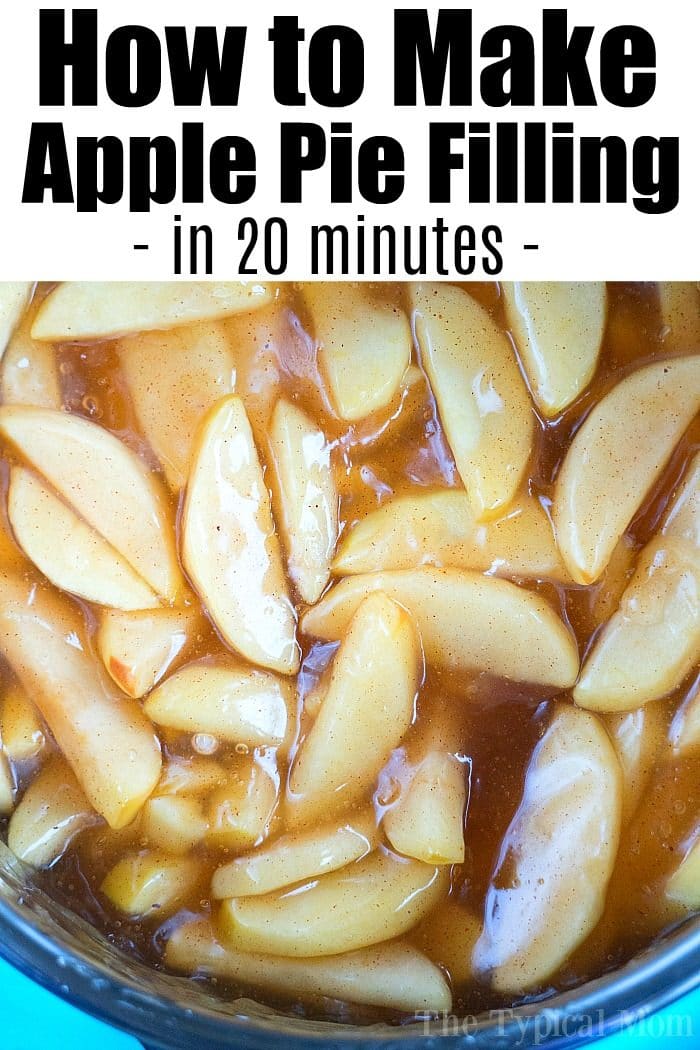
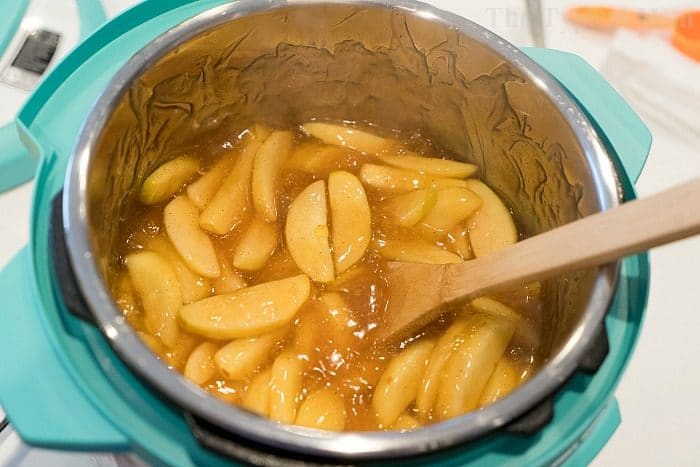
I prefer my apples to still have a bit of firmness to them. So I don’t cook them as long. If you love really tender apple pie filling then by all means just allow it to bubble longer. Just remember to stir intermittently so it doesn’t burn at the bottom.
How to Make Apple Pie Filling in a Pressure Cooker
- Prepare your apples (peel, core, slice, thinner if you want them soft or thicker if you prefer them firmer).
- Set your pressure cooker to saute, add your water.
- Once it begins to boil stir in your sugar, wait for other ingredients until it begins to dissolve.
- Sprinkle in your clear jel and whisk mixture together until it is smooth and starts to thicken. Whisk in your cinnamon, nutmeg and vanilla.
- Once mixture starts to continually boil while stirring regularly, pour in lemon juice and stir.
- Allow mixture to boil again, mixing so it doesn’t burn. Do this for about 1 minute.
- Add your sliced apples and stir together.
- Allow apple pie filling to thicken
- Stir every 30 seconds so sauce doesn’t burn.
- Do this continuously until apples are as tender you desire.
Total cook time for this is about 10 minutes or so. There is no need to even put on the lid, quick release the steam or otherwise. You are just sauteeing it the entire time. That is why you can transition it to stove top instructions so easily too. It’s basically the same in a pan.
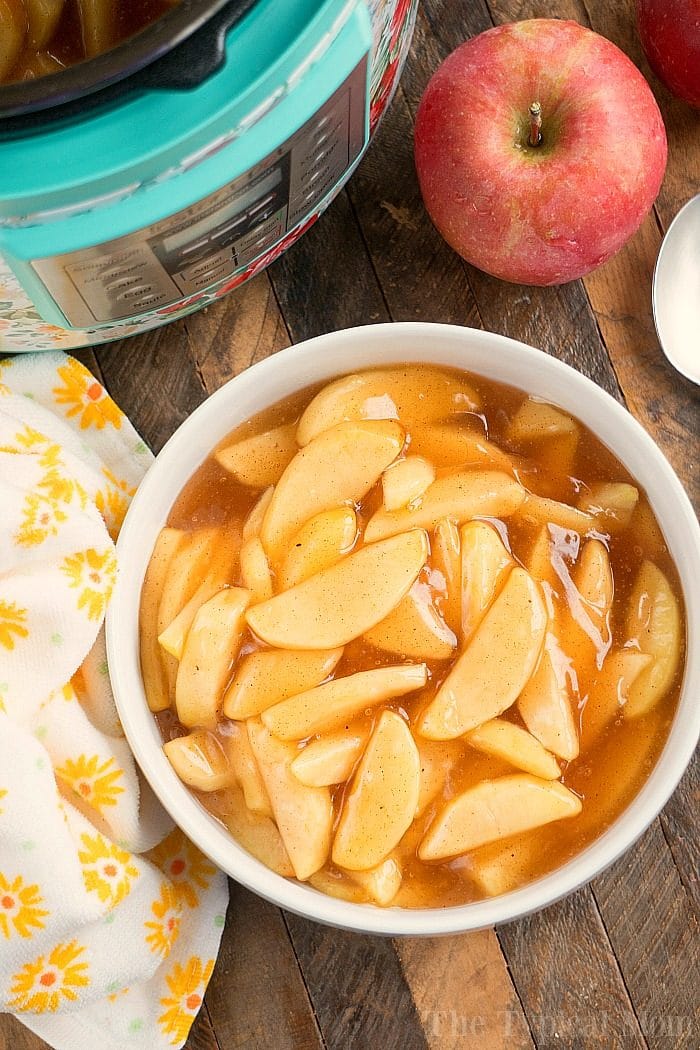
Tenderness is a personal preference so make it however you like, that is why I love this pressure cooker apple pie filling recipe! You can jump to recipe below but here is a quick rundown of how it’s done when you pressure cook it.
No, according to the website it is not recommended to can any foods in an electric pressure cooker. Pressure canning must be done in a stovetop pressure canner that reaches high enough temperatures for safe preservation or water bath can it for long-term storage.
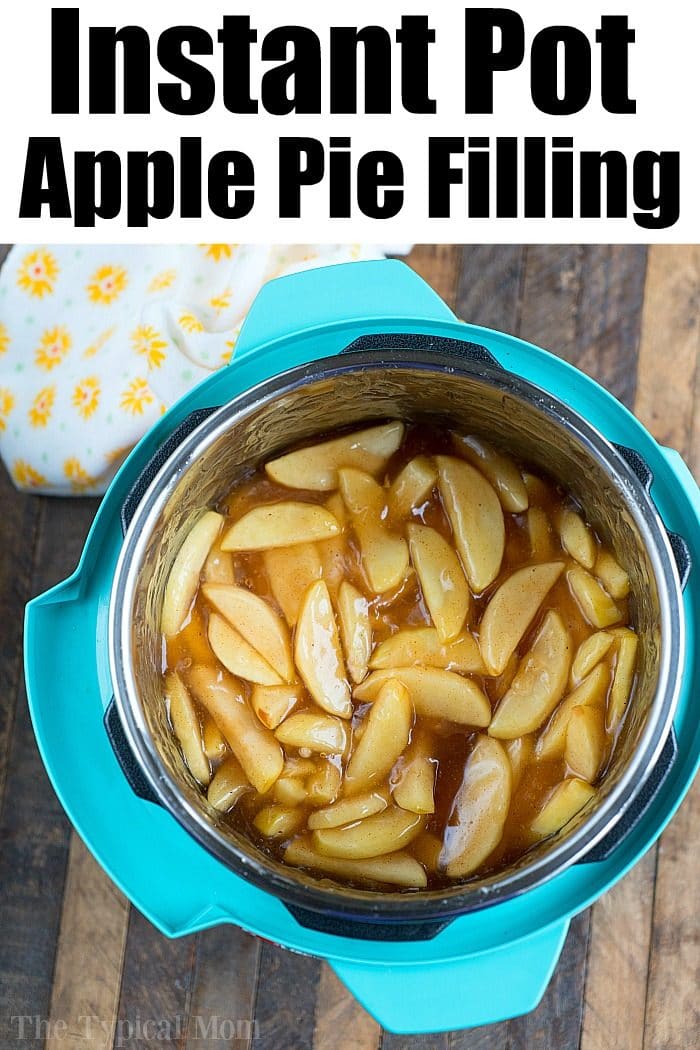
You are only going to use the saute button. No lid is needed to make this, you just need the heat of the pot and stay close so you can stir fruit and clear jel until thickened to your liking.
What would you make with pie filling?
Oh let me list the ways……I use it a lot in underneath our pour over the top pie crust that has just 4 ingredients in it.
- Apple pie bread pudding is a must during the holidays, or fill air fryer apple dumplings.
- Our Apple spice dump cake is pretty spectacular
- Then try some Gingerbread dump cake
- Using cinnamon rolls you can make monkey bread muffins
- Cinnamon roll waffles are WOW
AND our most popular recipe will be a hit in your house if you love this one as much as we do because it uses fresh apples. It is OH SO amazing, and must be tried immediately after you make this apple pie filling. (link at top of this post) Below is the printable recipe to follow as well.
Pressure Cooker Apple Pie Filling
Equipment
- 1 mason jar
Ingredients
- 6 apples, cored, peeled, sliced thin/thick depending on preference
- 2.5 – 3 c sugar, 2.5 c. makes it slightly sweet, 3 if you want sweet
- 3/4 c clear jel
- 1.5 tsp cinnamon
- 1/2 tsp nutmeg
- 1/2 tsp vanilla
- 3 3/4 c water
- 1/4 c lemon juice
- How to can
Instructions
- Core, peel and slice your apples (thinner if you want them soft or thicker if you prefer them to be on the firmer side). Set your pressure cooker to saute, normal, setting. Add your water.
- Once your water begins to boil stir in your sugar, wait for other ingredients until it begins to dissolve.
- Sprinkle in your clear jel and use a whisk to mix together until it is smooth and starts to bubble and thicken. Whisk in your cinnamon, nutmeg and vanilla.
- Once mixture starts to continually bubble, while stirring regularly, pour in your lemon juice and stir.
- Allow this mixture to bubble once again, mixing intermittently so it doesn’t burn, for about 1 minute or so.
- Then add your bowl of sliced apples and stir together.
- Allow thickened apple pie filling mixture to bubble again and stir apples about every 30 seconds so sauce doesn’t burn but long enough for apples to soften.
- Do this continuously until apples are the consistency you desire. I prefer mine to stay a bit firmer so it takes me about 5 minutes of this process, may take longer if you like your apples soft.
- Once they’re perfect for you turn your Instant Pot off and allow to cool, or use immediately in a pie or otherwise.
Video
Nutrition
Nutrition information is automatically calculated, so should only be used as an approximation.




Can this be frozen, defrosted and baked later? I got rid of my canner years ago.
If you use an air tight freezer container that should be just fine.
What do you mean by clear gel?
There’s a link in the post for that. It’s what I used.
You did not finish, how do you can and seal the jars using the instant pot?
I would like to know the answer to that question too!
I make this every yr, just fill hot jars with filling about 1 in from top place hot lid and ring that has been sterilized in boiling water. Place filled jars in 10 min water bath with water at least 1 in over jars. Once done remove jars and let cool on counter for 8 hrsthen store. I always place a towel over my jars while cooling
I’ve made this once and read dozens if recipes. Everything I’ve seen says that you eat bath the filling for 25 minutes or pressure can for 8-10 minutes. Do you really water bath for 10 minutes and what are the dangers of under water bathing ?
This is a lovely idea and I would like to make as Christmas gifts. If I don’t want to can the filling, how long will it keep in fridge? Thank you!
We’re going to bring desserts to a party this weekend and I’m going to try this apple pie filling for the pies I’m making. Thank you!
This was perfect for thanksgiving! thank you, everyone loved it.