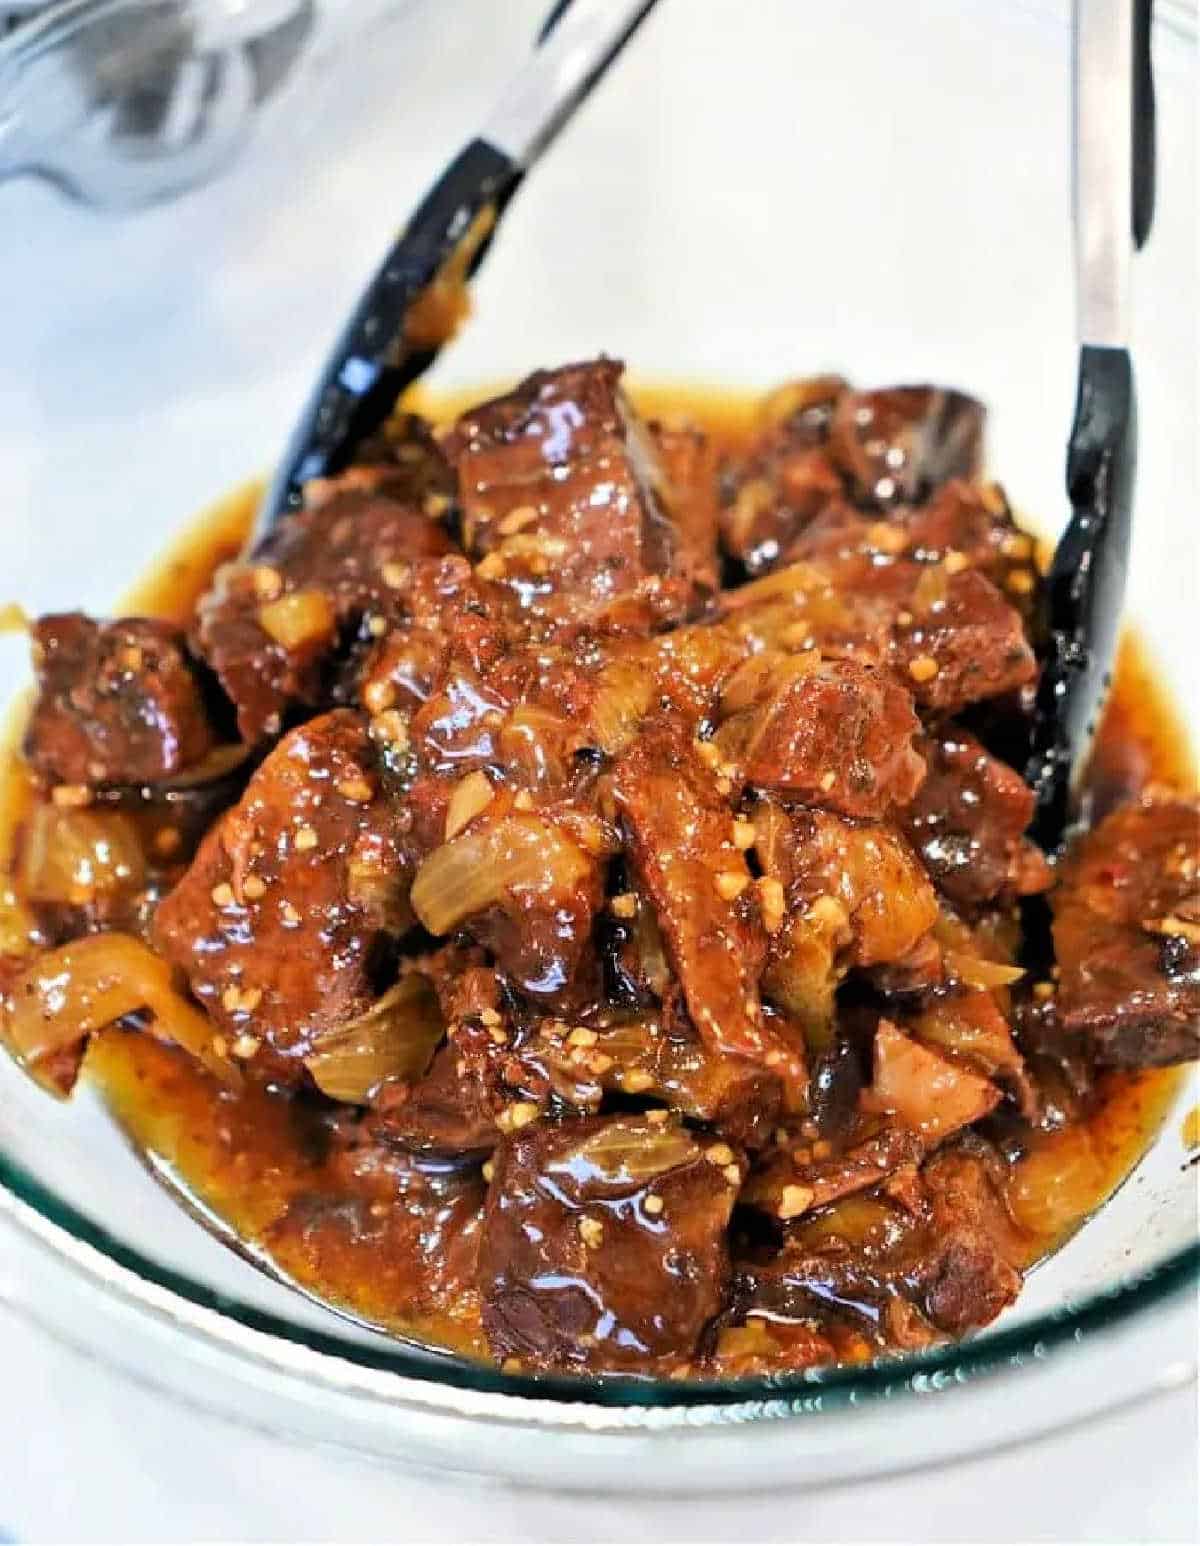
Our arm roast recipe in a pressure cooker is amazing! Made with balsamic vinegar and onions it’s packed with flavor and super tender in a Ninja Foodi or cooked as an Instant Pot recipe to fork tender.
Jump To
- Pressure Cooker Arm Roast Recipe
- Arm Roast with Balsamic
- How to Cook Frozen Arm Roast
- Is arm roast tough?
- Ingredient Notes
- Arm Roast with Gravy
- How Long to Cook Arm Roast in Instant Pot
- Frequently Asked Questions
- Beef Arm Roast Recipe
- What sides go good with roast?
- What is the difference between an arm roast and a chuck roast?
Ok so I was determined to come up with the best beef arm roast recipe this week and scored! This cheap cut is often overlooked but with the right sauce and seasonings it can be an excellent and.
Pressure Cooker Arm Roast Recipe
I’ve told you before that we buy half a cow at the beginning of each year from local farmers. If you’re new to The Typical Mom blog welcome, and you can buy bulk meat online too. It’s been a game changer for us.
Similar to a chuck roast, an arm roast has a wonderfully beefy flavor and can get nice and tender if cooked just right. You can make this as an easy Ninja Foodi recipe too if that is the pot you have.
If you are new to pressure cooking we have a lot of easy one pot meal recipes for you here. To begin with let’s start with a few basic tips:
- Make sure to Bookmark our InstaPot recipes page. We add new ones each week!
- Then PRINT this —–> Instant Pot cooking times cheat sheet that will help you understand how long meat, vegetables and beans take to cook in your pressure cooker.
- I HIGHLY recommend you buy this non stick pot.
- You should know how to deglaze a pressure cooker after sautéing but it won’t have as many issues with this better liner.
For reference, this is the model I have (a 6 quart) and use for all recipe creations.

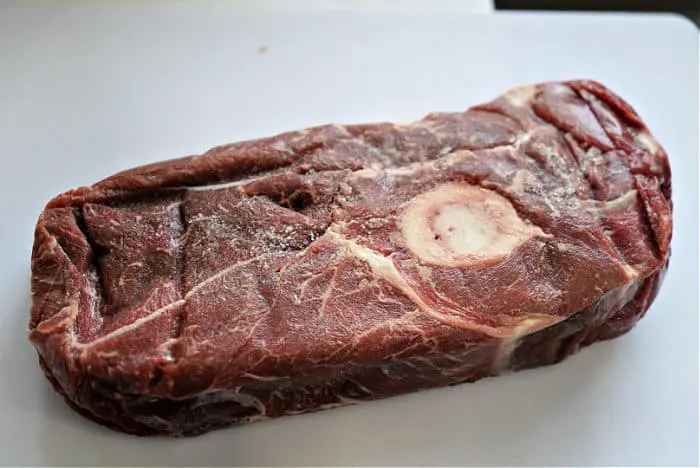
Have you seen one of these at your local grocery store with a little price tag on it but you thought “whaaaaat am I supposed to do with that?” I kinda’ did too when I got 2 packages in our cow delivery.
It wasn’t anything I had ever bought, cooked, or even eaten as far as I can remember. BUT I am always up for a challenge so I started experimenting.
I looked back at my Instant Pot carnitas recipe as far as the cook time was concerned. Like that one I decided to remove the bone, trim a bit, and cut into large chunks.
Arm Roast with Balsamic
You could saute and brown on all sides at first with a bit of olive oil, but I literally just threw it in with my favorite flavors, balsamic vinegar. Sometimes I am just in the mood for an EASY throw together one pot meal.
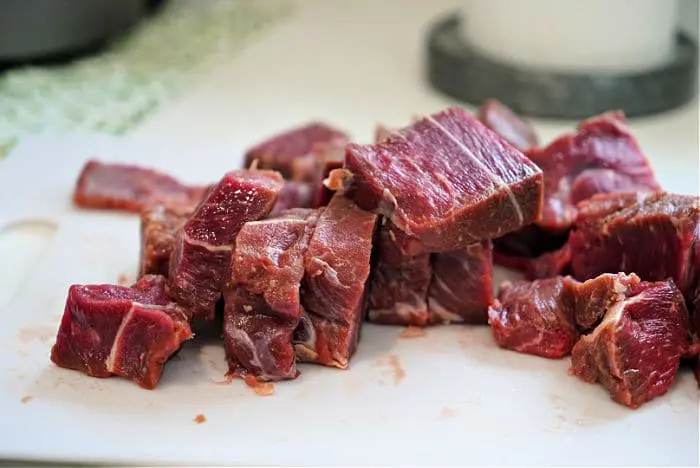
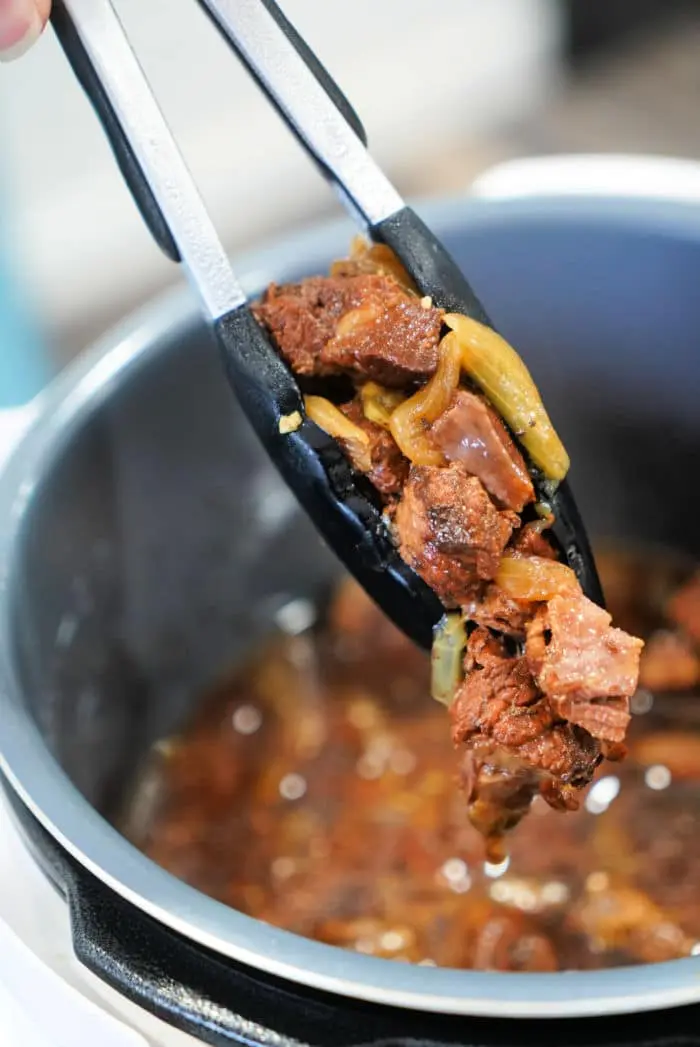
You can see here about how large the chunks were. I wanted it to shred easily and this is key. Smaller pieces means fork tender and delicious if you ask me. Don’t ask me about specifics, just “chunk it” alrighty. 😉 Cooked under high pressure is key, and the best way to cook beef arm roast. In the Foodi you’ll need the lid that isn’t attached.
How to Cook Frozen Arm Roast
You can, a few different ways. If you use an electric pressure cooker the timing really isn’t any different actually. the biggest issue is getting it to fit. If it does then you’d use this same sauce but the timing for our Instant Pot frozen roast timing. Believe me, it comes out just as tender, you will be amazed.
Is arm roast tough?
It is less tough than a shoulder roast actually. It can become quite tender if cooked low and slow in a Crockpot or using high pressure in an Instant Pot. I compare it to our Instant Pot tri tip kinda’. Let me show you what we added to our meat to make it ultra delicious.
Balsamic vinegar, I mean really this stuff is pretty darn amazing. There are tons of different flavors, brands and price points out there you can get. This one I bought at a local fair in Idaho and is amazing.
Not sponsored at all, just like to support local when I find something amazing, and this is one of those things. 😉 Used as is as a dipping sauce for steaks, or a sort of marinade as we did here it takes meat from good to out of this world.

Ingredient Notes
Ok so our arm roast was about 3.5 lbs. before trimming and removing the bone. I would say this is typical, from 3-4 pounds is likely what you will find and that range will work with the cook time listed below.
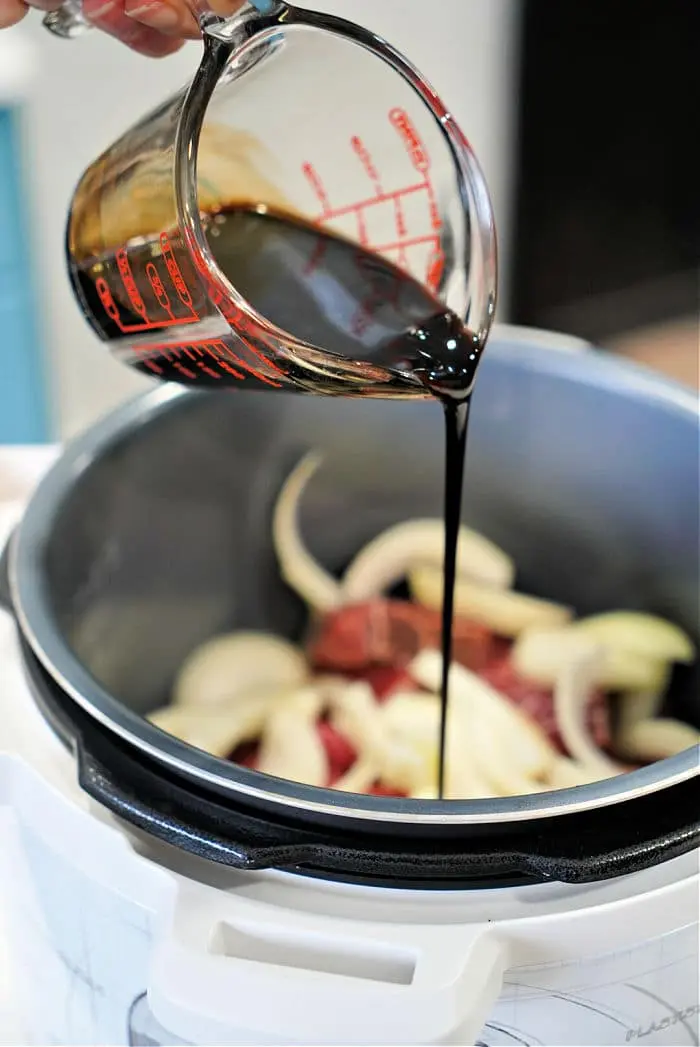
The key to toning down the strong beefy flavor this cut has and giving it the most amazing flavor is cooking it in some Balsamic vinegar. Use the good stuff that is nice and thick, this is most similar to the one I used.
- Beef broth or stock is better than water
- Onion sliced is great for flavor and texture
- Salt is a basic seasoning
- Garlic minced or diced
- Worcestershire sauce
- Soy sauce or gluten free aminos
- A bit of honey for a touch of sweet
- Red pepper flakes – just a bit but not to make it spicy
- If you feel like you must put bay leaves in with any large piece of meat, go ahead. Just remember to remove it once cook time is up.
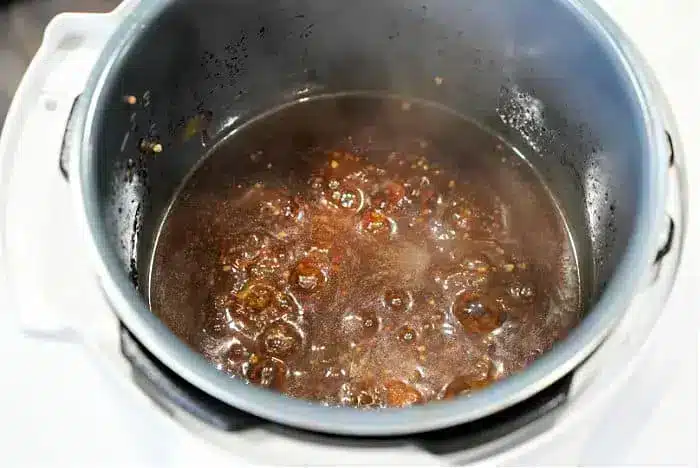
Thinned out with a bit of beef broth it made a great “sauce” or beef marinade of sorts for sure. I used a bit of cornstarch at the end to thicken the “gravy” at the end. Now keep in mind that it will take 20 minutes to 30 minutes for the pot to even reach pressure and start the cook time count down. Beef roasts take longer than other foods.
I think it’s great to make shredded beef served over Ninja foodi rice or to make sliders. If cut into smaller pieces and cooked under pressure it falls apart nicely and has a rich beefy flavor.
Arm Roast with Gravy
A roux isn’t necessarily I guess but boy is it nice to pour that thick sauce on the top when you serve it. Just takes a few minutes on saute after the initial cook time to get to this perfect pressure cooker gravy consistency. You just remove everything other than the liquid when done, set to saute, whisk 1 tbsp of cornstarch + 3 tbsp cold water until smooth and stir that in, heat until thick to your liking and serve.
How Long to Cook Arm Roast in Instant Pot
You are going to want to pressure cook on high for 45 minutes if it is cubed into large bite size pieces like you see here. Then allow steam to naturally release for 15 minutes. Release rest of steam quickly, there won’t be much. Then you will thicken sauce into a gravy.
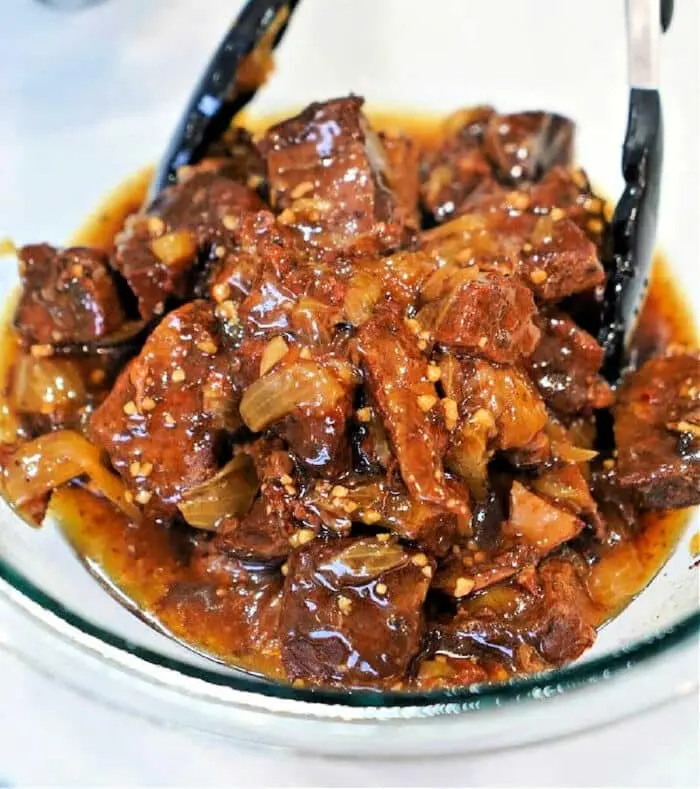
Shred meat with forks in bowl. Pour this on top so it is coated well and serve over white or brown rice! Thicken sauce over medium high heat on the stovetop alternatively…..but why would you dirty another pot?
Whether you needed a fresh, defrosted or Frozen roast in the oven instructions <—– you would follow these directions here. In a dish with wonderful drippings you can make in to a gravy at the end it is a wonderful way to break down the connective tissues for perfectly tender shredded beef.
Frequently Asked Questions
This is a tough piece of meat with a lot of connective tissue so you really want either a long time cooked low and slow or under high pressure like we did here. That way it loosens them to make it less chewy and more melt in your mouth texture.
If cooked like we share here in a pressure cooker with our balsamic vinegar sauce you will get the most flavorful moist beef ever that can be served a number of different ways. Inside tortillas it’s great for beef arm roast tacos. Served over rice or alongside vegetables is wonderful too.
I doubt you would have this issue cooking under high pressure but if you made it on the stove and it isn’t as tender as you would like, cook it longer in that wonderful sauce. The longer it cooks the more the connective tissues will break down in order for you to shred it with 2 forks.
You can see how fall apart tender this turns out, just like barbacoa . Use some red wine instead of beef stock if you preferred. I add a sprinkle of salt and pepper once this is done but it doesn’t need much.
Yes you could use this same recipe with other cuts of meat if you wanted too. Of course a chuck roast would work the same way. It would be a good Ninja Foodi pot roast recipe too if cut into smaller chunks at the beginning.
Beef Arm Roast Recipe
Equipment
Ingredients
- 3-4 lb arm roast, trimmed, bone removed, cut into large chunks
- 1 large onion, sliced
- 1 tsp salt, plus salt and pepper to taste when done
- 1/2 cup beef broth
- 1/3 cup balsamic vinegar, thick, dark
- 3 tbsp minced garlic
- 1 tbsp Worcestershire sauce
- 2 tbsp soy sauce
- 1 tbsp honey
- 1/2 tsp red pepper flakes
- 3 tbsp cornstarch, optional, to thicken broth at end
Instructions
- Remove bone and fat from arm roast. Then cut it into large chunks. Put into pressure cooker and sprinkle salt on top of meat.
- Slice onion and put that on top and around meat.
- Pour in all other ingredients in EXCEPT cornstarch, close lid. Seal steam valve and set to high pressure for 45 minutes.
- Allow steam to naturally release for 15 minutes, then release rest.
- Lift lid and remove meat and onions into a bowl. Set pot to saute. In a small bowl add 1/2 c of your hot broth from pot. Add cornstarch and whisk together until you create a smooth roux.
- When liquid is bubbling pour your cornstarch mixture in. Stir continuously for about 3 minutes allowing this sauce to thicken.
- Shred meat with forks in bowl. Pour this on top of meat so it is coated well and serve over rice!
Video
Nutrition
Nutrition information is automatically calculated, so should only be used as an approximation.
What sides go good with roast?
Air fryer vegetables are soft with a bit of crispness on the edges and perfect with this as a side dish. You could make slow cooker mashed potatoes and corn on the cob with it too which are low in saturated fat.
What is the difference between an arm roast and a chuck roast?
The arm is less expensive and leaner than chuck, go figure right? Some people braise it but we used it as an easy Ninja Foodi recipe in pressure cooker mode this time. Any pressure cooker will do and my preferred method of cooking this.


How could I make this is a crock pot?
Will do this next but I’m planning on using the same ingredients on low for 8 hours or until it shreds.
Meat was super tender!! I actually came home for lunch out it on and then it went to warm once it was done. In other IP put quinoa on and when I got home from work put meat on sauté and added cornstarch thickener!!! It was fabulous
I made this exactly as written, and HOLY COW. This is a keeper for sure! I served it with mashed potatoes instead of rice because I just had a taste for them. My family loved it!
OH so glad
My husband went crazy for this recipe! He said he never wants to eat a roast any other way! Definitely a five star keeper! We get a 1/4 cow every year and most gets made into burger because he said roast tends to be too dry. After this he said he wants it all made into roasts! I made it in the Instant Pot and used a red onion. This is the first recipe I’ve made in the Instant Pot and can’t wait to try more!
Oh good glad it was a hit for your first go around
I made this last night, we just got a 1/4 of a cow and I had no idea what to do with an arm roast…I have never had a better roast in my life. I made it in the crockpot on low for 6 hours, then did the sauce on the stove with flour instead of cornstarch. I have nothing but the most amazing things to say about this recipe. I can’t wait to make it again. I’m excited for leftovers for the next few days. 🙂 thank you for this recipe!
You’re welcome!
Made this last night, exactly as written and no changes, and I served it over my homemade mashed potatoes. Absolutely delicious!! Everyone loved it. Thank you.
Glad it was a hit
Delicious! Served with rice and steamed broccoli. No leftovers!
OH yay!
My two teen girls ate almost the entire beef in one sitting!! They LOVED it! Thank you for sharing this delicious recipe.
I didn’t know how to cook the arm roast I was given, and turned to your recipe. I made it exactly as written, and it was so delicious! I will definitely be using this recipe again, even with other cuts of meat. Thank you!
So glad I could help!
I’m new to the Instant-pot, if I would like to keep the bone in and roast whole, would I need to change the actual time set for cooking? You mentioned 45 minutes of cook time after heating. Thank you!