Ready to preserve the sweet flavors of the season? A few of our favorite ways to capture these tastes is by making a batch huckleberry jam and homemade plum jelly. Its tangy sweetness and vibrant color make it the perfect addition to any breakfast or brunch table.
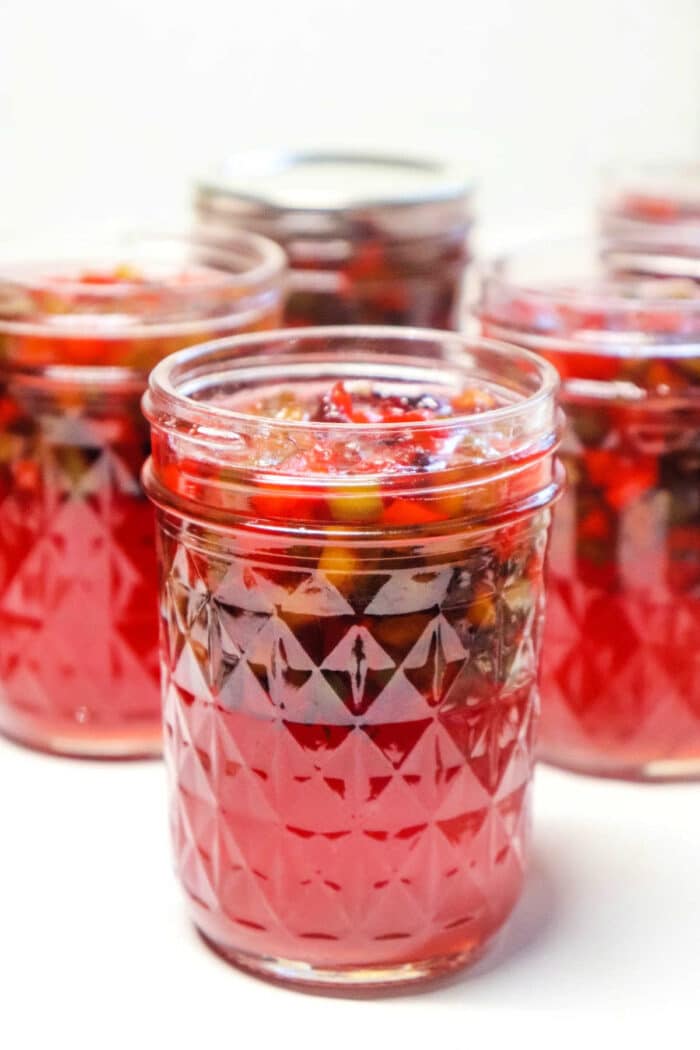
This plum jelly recipe walks you through the steps of transforming fresh, juicy fruit into a delightful spread. Its taste, reminiscent of late summer afternoons, is captured in a jar, ready to bring joy even on the coldest winter morning. Plus, it’s surprisingly straightforward to make. By the end of the day, you’ll have jars of plum jelly that you can enjoy yourself or give as thoughtful homemade gifts.
The process begins with selecting the right plums. Fresh and ripe ones are the best; they lend a vibrant color and a deliciously sweet and tangy flavor to the jam. To make this delicious spread, you’ll need plums, butter, sugar, water, and fruit pectin. Start by removing the pits from the plums and chopping them into pieces.
Then, you simmer the fruit on the stove with water, releasing the plums’ juicy essence. Enjoying fresh is always best, cooled in the fridge but if you want to cook a large batch, this is how to can jam so it stores for a good year to enjoy!

Can I use different types of plums to make jelly?
Yes, absolutely! Feel free to experiment with different varieties to find the flavor profile you like best. You might even try a mix of several types for a complex, layered taste. Just like our Homemade Green Pepper Jelly, it’ll definitely be one you’ll one to make over and over again. (this post may contain affiliate links).
How to Make Plum Jelly on Stove
As with anything else that is made from scratch, like our Pumpkin Jam without Pectin, you can add other items here and there beyond the base ingredients. As you can see above we have experimented with bits of bell peppers too for a bit of texture. That is an option as well as if you wanted to make this spicy you could dice jalapeno and add that too.
To begin, you’ll want to pit and chop your plums. Place them in your Instant Pot with the specified amount of water. Allow the fruit to simmer under pressure for the recommended time, then proceed with the recipe as you would if you were using a traditional stovetop pot.
Simmer your fruit in a pot with cups of water. Once they’re soft and juicy, you’ll need to drain the fruit, separating the juice from the pulp. Don’t rush this step; give it time to allow as much juice as possible to collect.
Next, you’ll take your plum juice and combine it with butter and pectin, then bring to a boil. Then, it’s time to stir in the cups sugar and continue boiling. Finally, once the jelly is ready, it’s time to pour it into your jars. Remember, skim off any foam and discard. This recipe you’ll notice doesn’t call for any lemon juice or cups of juice of any kind. I find it tastes great the way it is and you don’t need those things at all.
Instant Pot Plum Jelly
This jelly can also be made using a pressure cooker like our Instant Pot jam here. For this method, you’ll need the same ingredients as before: plums, unsalted butter, sugar, water, and fruit pectin. An Instant Pot can be a game-changer for many home cooks, and making jelly is no exception. It can save time and keep your kitchen cooler, which is a bonus during the warmer months.
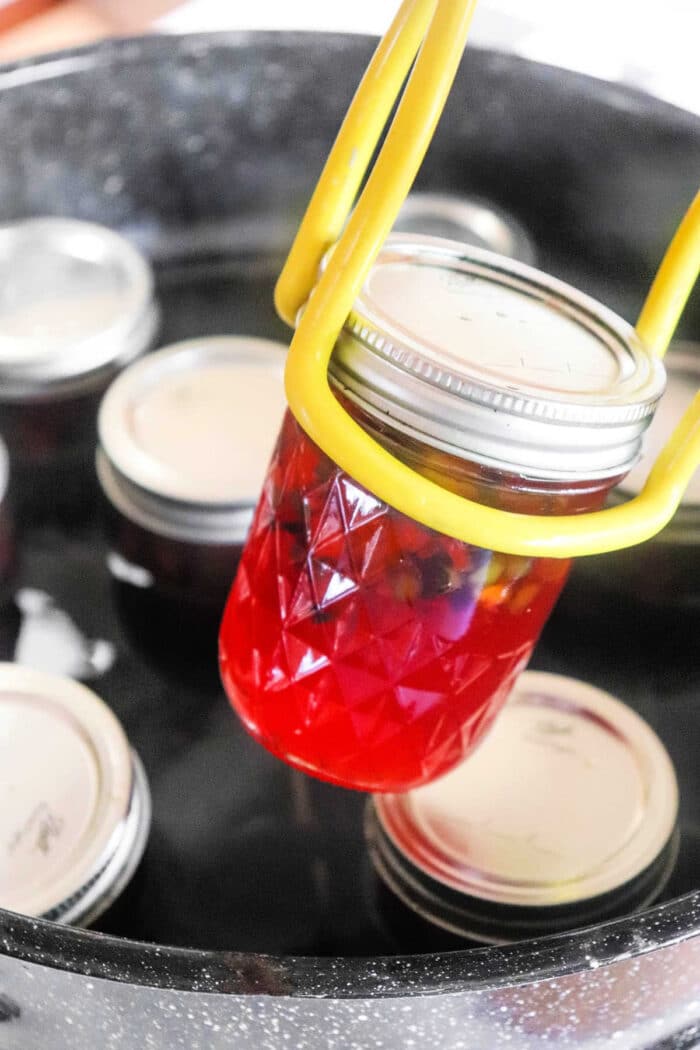
Canning Jam
Throughout this process, there are a few key things to keep in mind. Ensure your jars are clean before you start filling them, and make sure your jelly achieves a full rolling boil when cooking. This will help it set correctly, leading to a better end result. Also be sure to give the jelly enough time to set! I like to let it cool and sit for a full 24 hours before cracking open a jar.
What Goes Well with Plum Jam?
While your plum jelly is fantastic on a slice of Toast in Air Fryer, there are other ways to enjoy it. Consider using it as a glaze for a pork tenderloin, adding a unique sweetness to the savory meat. It can also make a lovely addition to a cheese platter.
The tangy-sweetness of the jelly paired with creamy cheese and crisp crackers is a delight to the palate. And don’t forget about desserts! A spoonful of plum jelly can add a lovely touch on top of a bowl of vanilla ice cream for sure.
You can certainly use this as a filling for our cheesecake peanut butter and jelly bars or peanut butter and jelly cookies. Pretty much anywhere you could use strawberry jam, you could also use plum jam.

Safety Tips When Cooking Jelly
When making homemade preserves like this plum jam recipe, always follow the best practices for home canning. This includes using clean and sterile jars, correctly processing your jars in a water bath canner, and storing your canned goods in a cool, dark place.
Always use safety precautions as far as using oven mitts when lifting jars out of the pot after sealing to store as they will be very hot and can burn you.
Plum Jelly Recipe
Equipment
- 1 pot or pressure cooker
Ingredients
Instructions
- Remove pits and slice fruit into pieces. Put them all into a pot on the stovetop over medium high heat with the water. Once it starts turn heat down to medium to boil and put the lid on. Heat for 10 minutes, then remove.
- Use a cheesecloth to drain the juice from the fruit with your pot or a bowl underneath. Squeeze tightly and let it sit and drip for a good 20 minutes until you have all the juice you can, then discard the remaining fruit chunks.
- At this point you should have at least 5 cups of plum juice minimum. Pour this into your pot over medium heat with the butter and pectin. Bring to a rapid boil.
- Stir and add sugar, continue to stir and boil for one more full minute. Then remove pot from heat. If there is any foam on the top scoop that up and discard.
- Pour into glass jars and allow to cool, put lids on and store in fridge. Or can properly to store for longer.
Video
Nutrition
Nutrition information is automatically calculated, so should only be used as an approximation.
