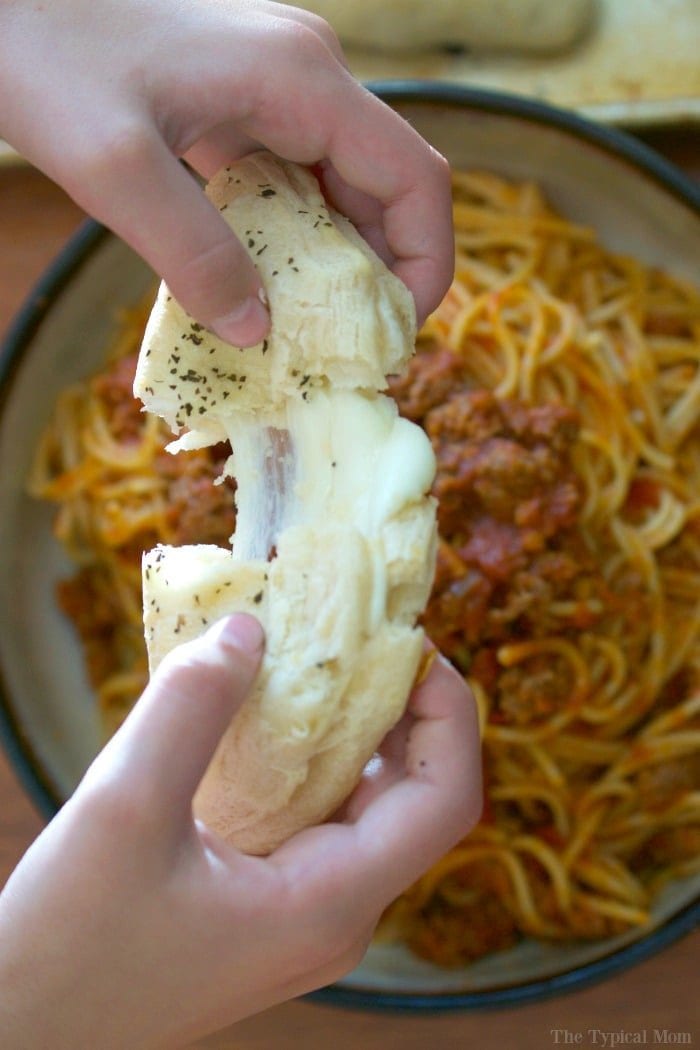
Easy refrigerated biscuits filled with cheese with string cheese, cheddar or mozzarella and Pillsbury refrigerated biscuits recipe is here. Great side dish or after school snack for kids.
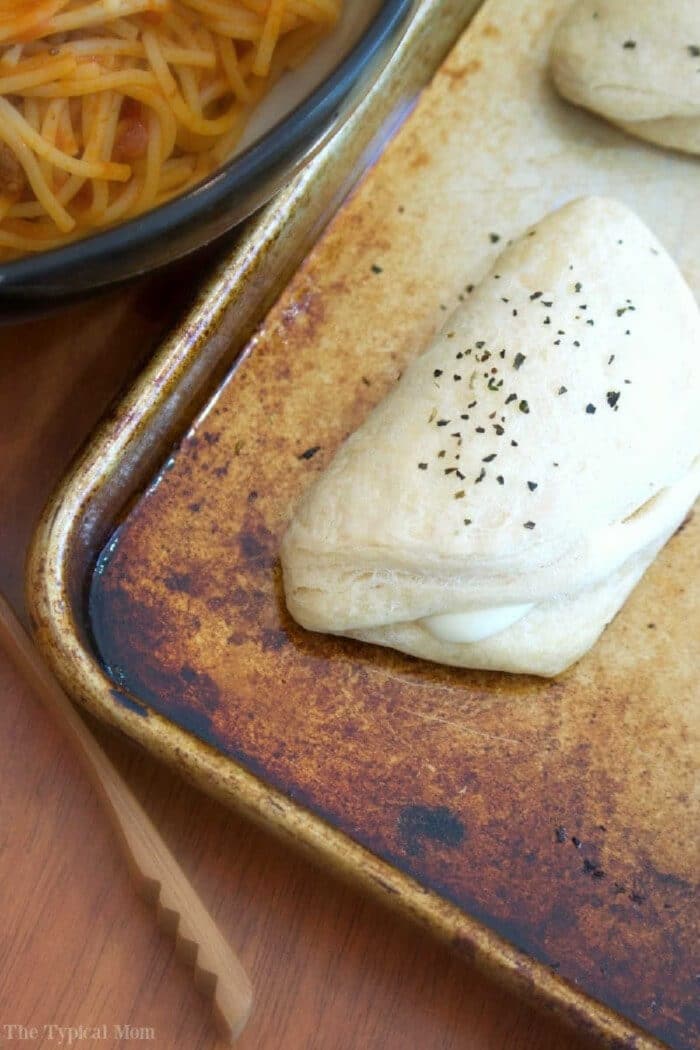
We usually have some sort of pasta dish during the week, and always need some sort of yummy bread to go with it. This easy cheese biscuit recipe makes a perfect duo for a family meal, and your kids can help you make them! Let us show you how. (affiliate links present)
Refrigerated Biscuits Filled with Cheese
You only need a few items to make these cheesy biscuits. With kids in the house you surely have the most important one…string cheese!! My kids LOVE it (ok, I do too). As a snack, in their lunchbox, it’s perfect when we’re on the go for picnics. Let your little helper assist you with this several parts of this recipe.
Take out your package of string cheese and let them open 4 of them. Ok they can snack on a few during the process too. If you haven’t seen these fun versions of cheese yet you can find them in your Walmart dairy case. Of course you can make pull apart bread with the same Pillsbury rolls but cheesy is easy.
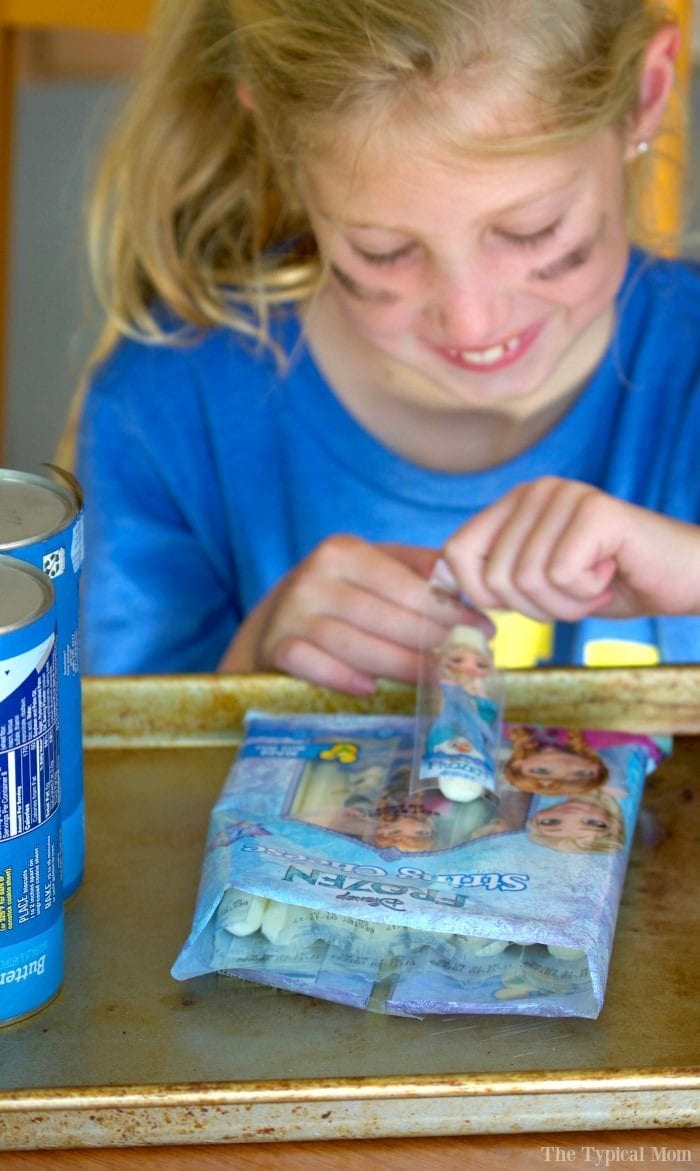

My littlest one had just returned from school where they had a jog a thon. After that she had one for herself she got to unwrapping 4 more to make our easy cheese biscuit recipe together.
They usually don’t last long since each one takes their lunch to school. It’s a perfect addition to their lunch boxes as string cheese gets calcium and protein in them and tastes yummy. Now cut each piece into fourths and we’re going to stuff our biscuits full of garlic, butter, and cheese!
Frozen Rolls Filled with Cheese
You could use Rhodes rolls too but you need extra time to let them defrost. For those you’d need to follow the instructions you need to read how to bake frozen rolls first. You just need to use it to defrost enough to roll out which takes about 45 minutes.
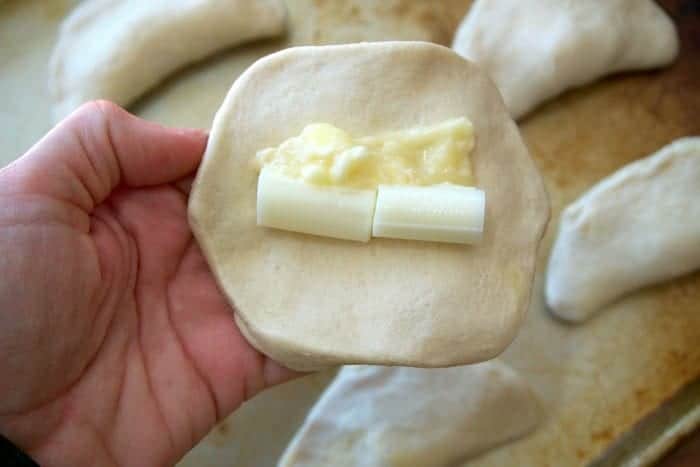

How to Make Cheese Rolls with String Cheese
- You want to flatten your refrigerated biscuit out with your hands.
- Position the 2 pieces of cut string cheese side to side as you see above.
- Add a bit of your softened butter and garlic mixture inside so it’s stuffed with tons of flavor.
- Next, press the edges together well so it resembles a half moon or an empanada shape.
- Make sure the edges are tightly pressed together. You could even put it on your cutting board and use a fork on the edges to ensure they don’t come apart in the baking process.
- Then brush the melted butter and garlic mixture on top and put a dash of basil on top for a bit more flavor and color.
- Now they’re ready for the oven!
Looking for other easy bread recipes?
Easy Cheese Biscuit Recipe
You can try this easy roll recipe, they’re great with Instant Pot spaghetti and more. Or if you want to add cheese to another, our Red Lobster cheddar bay biscuit recipe is amazing. This is how to make Challah. It’s a bit sweet and beautiful to serve.
Refrigerated Biscuits Filled with Cheese
Equipment
- 1 baking sheet
Ingredients
- 4 String Cheese, cut into 4ths
- 1 pkg refrigerated biscuits, 8 biscuits
- 1 stick butter, some softened and some melted
- 2 tsp minced garlic
- 1 pinch basil
Instructions
- Cut string cheese into fourths. Spray pan. Melt 3 tbsp. butter with 1 tsp. minced garlic in 1 bowl. Mix 3 tbsp. softened butter with 1 tsp. minced garlic in another bowl.
- Flatten a biscuit and put 2 pieces of cut string cheese inside with 1/2 tsp. softened butter/garlic mixture. Fold ends together so it is half-moon or empenada shaped and place on cookie sheet.
- Bake at 325 degrees for about 15 or until lightly browned. Serve with melted butter mixture brushed on to the top of each one.
Nutrition
Nutrition information is automatically calculated, so should only be used as an approximation.
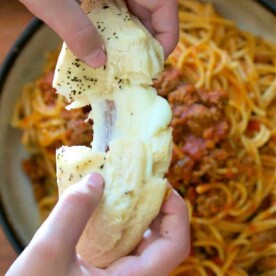
Your kids can help you with most of this recipe which is great to get them involved so they enjoy cooking, and to spend time together too. When your cheesy biscuits come out of the oven they are ready to serve and packed with flavor. It adds a good source of calcium and protein to your biscuits too and is perfect to pair with pasta or even soup!
