We tweaked our popular Philadelphia cheesecake bars recipe to make these peanut butter and jelly bars with vanilla wafer crust are here. Cream cheese squares with a PBJ layer are addicting!
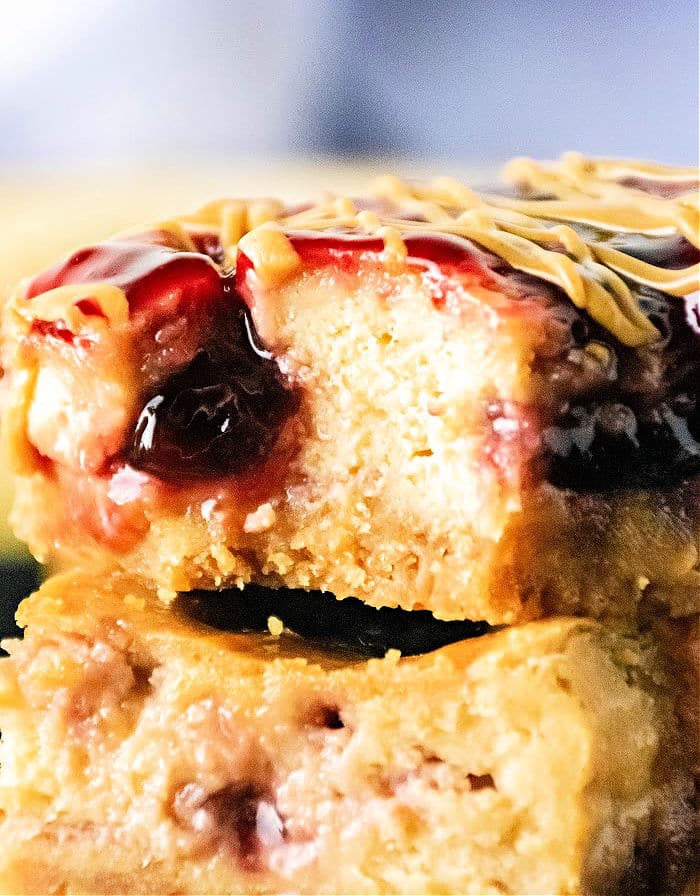
OMG if you are looking for a peanut butter and jelly dessert this is the bomb. We combined these two favorite flavors with cream cheese and BAM, another delicious creation was made. These didn’t last long in our home. (affiliate links present)
Cheesecake Bars with Peanut Butter and Jelly
We shared our lunch lady peanut butter bars the other week and just couldn’t stop there. Those were no bake, these take a short trip in the oven, but both are a few faves we make during the holidays. If you are like other millions of people out there, you love PB&J, in any form. If you have never thought outside of the box yet, you’re about to fall in love.
This combo works well beyond two slices of bread. It gives you a bit of sweetness, chunks of fruit, protein and creaminess. We have even filled the insides of peanut butter and jelly donuts with crescents in the morning to get out days going. Oh yes we did….

Use whatever flavor jam you like to make this Philadelphia Cream Cheese Cheesecake Recipe, I prefer this over jelly as it has more chunks of fruit but to each their own. I also like to keep the whole bite smooth so creamy PB is the way for us, but if you wanted a bit of crunch you could use chunky.
Ingredient Notes
2 cups of Nilla wafers, vanilla flavored hard cookies, or make graham cracker crust
Butter melted, or use dairy free alternative
- I block of cream cheese, room temperature
- White granulated sugar
- Eggs should be added in one at a time, at room temperature
- Vanilla extract or almond works great too
- 1/2 cup marshmallow creme comes in a tub
- Creamy peanut butter is best if you ask us
You can use any flavor of jam or jelly you like, make huckleberry jam on the stovetop, or add any flavor for Instant Pot jam.
Repeat the same microwaving process with the remaining ¼ cup of peanut butter. Place the peanut butter into a piping bag and drizzle over the top of the cheesecake. Cover the pan with plastic wrap, place in the refrigerator for at least 3 hours to cool completely. Once chilled, take out and cut into 16 squares. Serve and enjoy.
Made in a muffin tin
It is easiest if you use a stand mixer. You want to really blend everything together so there aren’t any chunks so the whisk attachment is best. A hand mixer works too. The size of these dessert bars are similar to our muffin tin cheesecakes once sliced. You don’t need a huge piece, they are pretty darned rich.

Variations
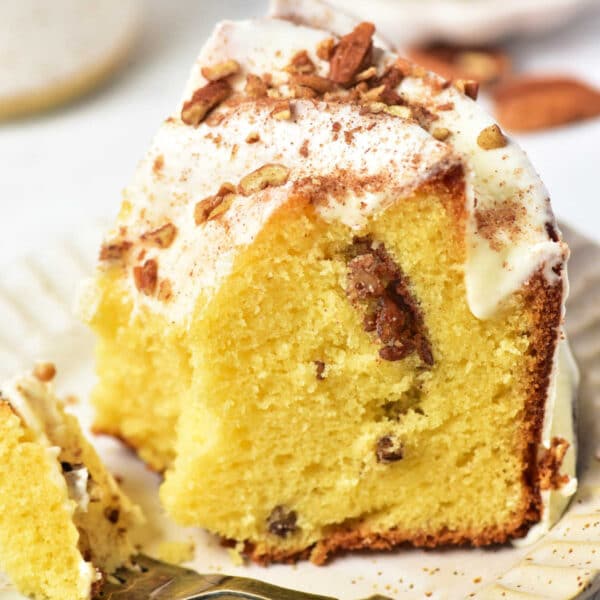
What else could you add to this to change things up? Of course you can swap out different types of jelly flavors but beyond that…… Some chopped peanuts or crushed pretzels works on top once they are cooled to add a bit of savory salty to the mix.
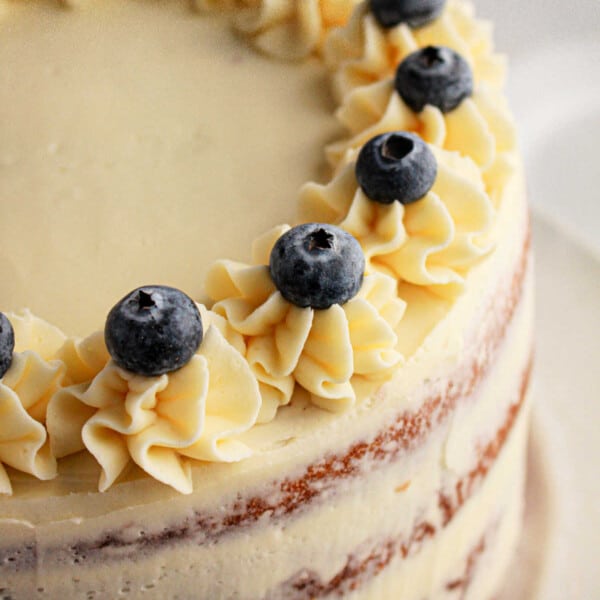
Like we do with our Instant Pot cheesecake some diced fresh fruit is great on top too. I like strawberries during the summertime, or blueberries. Slices of bananas or a drizzle of caramel is fun….I mean the list goes on and on…. Let your kids think out-loud and see what comes to their mind to make them even more fun.
Dairy Free Option
If you are lactose intolerant you can find alternatives out there I have found. There is a vegan plant based butter and cream cheese that tastes very close to the “normal” options. We’ve used it to make our Gingerbread Cheesecake and you surprisingly can’t tell the difference. Give it a whirl and let us know what your family thinks!!
Peanut Butter and Jelly Bars Recipe
Equipment
- 1 8×8 pan
- 1 Bowl
- 1 mixer
Ingredients
Vanilla Wafer Crust
- 2 c Nilla wafers
- 1/2 c butter, melted
Instructions
- Preheat oven to 350 degrees F. Start the crust by mixing the Nilla wafer crumbs and melted butter until the butter has fully saturated the crumbs. Pour into a 9×9 pan and distribute evenly across the bottom.
- Press down gently to compact the crust. Bake in the oven for 8 minutes. Set the crust aside and leave the oven set at 350 degrees. To start the filling, place the cream cheese and sugar into a mixing bowl.
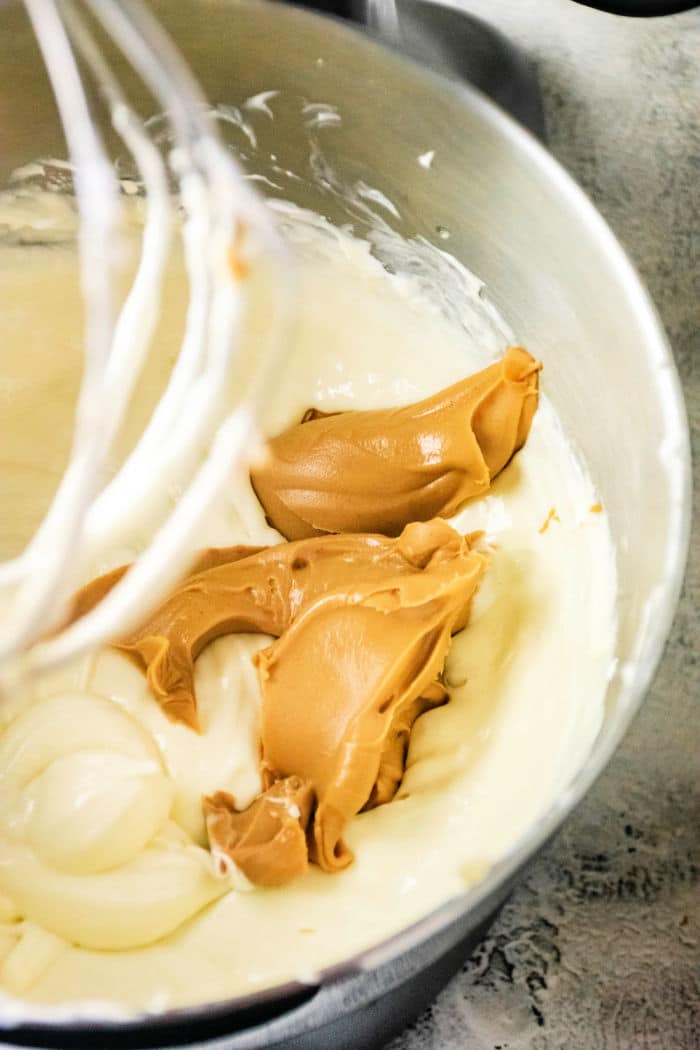
- Beat until smooth and creamy. Add in the eggs and vanilla extract. Once combined, add in the marshmallow fluff and mix. Add in ¼ cup of the peanut butter and mix until the mixture is streak free.
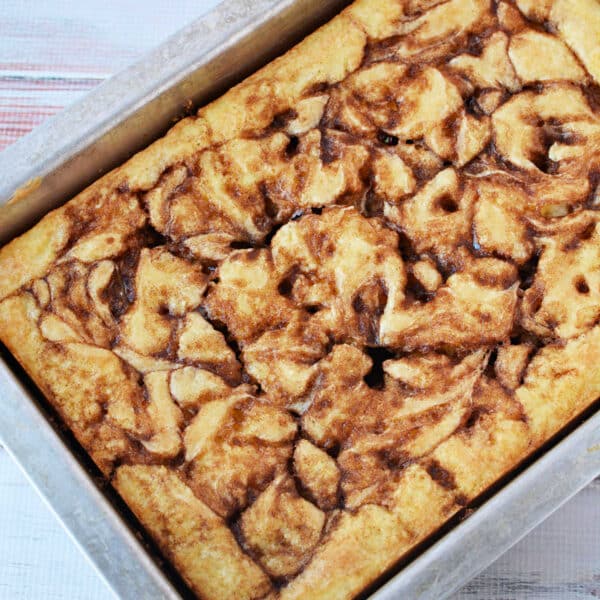
- Pour over the crust and spread evenly. Take ¼ cup of the jam and place in the microwave for 30 seconds. Using a spoon, dollop jelly throughout the top of the cheesecake mixture. Use a toothpick or fork to swirl the jam into the cheesecake.
- Bake for 20 minutes. Once the 20 minutes are up, without opening the oven door, reduce the heat to 200 degrees and bake for an another 30 minutes. Once finished baking, turn the oven off leaving the cheesecake inside for 10 minutes.
- Remove and allow the cheesecake to come to room temperature. Once at room temperature, place the remaining ¼ cup of jam in the microwave for 30 seconds. Pour over the top of the cheesecake and spread evenly.
- Repeat the same microwaving process with the remaining ¼ cup of peanut butter. Place the peanut butter into a piping bag and drizzle over the top of the cheesecake.
- Cover the pan with plastic wrap, place in the refrigerator for at least 3 hours. Once chilled, take out and cut into 16 squares. Serve and enjoy.
Video
Nutrition
Nutrition information is automatically calculated, so should only be used as an approximation.
FAQ
If you do have leftovers they save quite well if kept in an airtight container. The best way to do this is to wrap each piece individually with plastic wrap, then slide into a freezer bag. Store in the fridge the whole time until you want to enjoy them again, they will last up to 4 days this way.
Absolutely you can, that is a great alternative that will give you a whole new flavor profile to your dessert. During the Fall months you can even crush gingerbread cookies for that taste on the bottom of your pan. You’d still use melted butter to bind it together and is helpful to brown before adding your filling.