How to take the best picture with your cell phone and how to edit them right on your phone with this free app! If you’re using your phone as your only camera you can take great pictures using these simple cell phone photography tips.
Let’s be honest, I don’t even own a camera anymore! The day I got my first smartphone was the day I never picked up a “real camera” again, sad to say but true. When I began blogging about 3 years ago I took pictures of products and at events with my cell phone just as I had been taking pictures of my kids, but now that other people were looking at them I began to search how to take the best picture with your cell phone….let me share what I’ve learned with you! (originally published 6/15, affiliate links present)
Yes I had heard that to take the best pictures you needed to spend upwards of $1000 on some special camera to get the best shots. I just didn’t believe it.
- I believe in using what you have, being as frugal as possible, and researching ways to get what you want with little money out of pocket. So I created this post filled with tips for taking the best iphone photography.
Believe me, it took almost this entire time (3 years) to really perfect what I have learned thus far. There is always room for improvement so I am under no allusion that I can’t still learn more, but the difference between the mobile photos I used to take 3 years ago vs the ones I take today are night and day!
- (update) Fast forward 3 years and I now do use a separate camera lens to take most of my photos. I have a Sony a9000 and love it. But, I still send them to my phone and use the same photo app to edit mentioned below before sharing on social media.
How to take the best picture with your cell phone tips
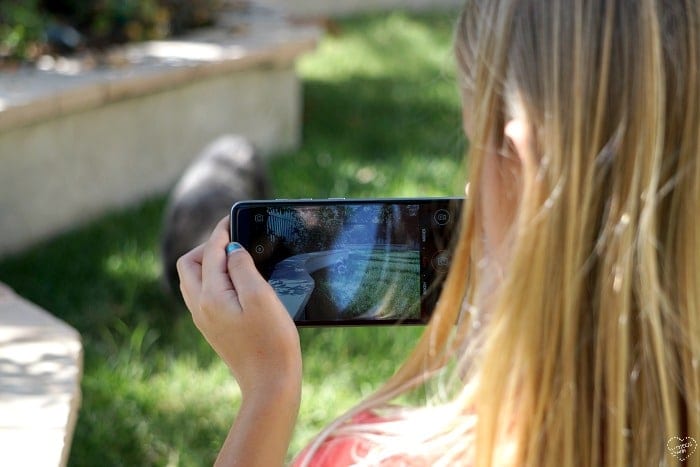
- Get down to their level – When you are pointing and shooting photos of kids (or animals) you need to get down to their level. Have you ever had a child take a picture of you only to notice all the wrinkles on your neck and the hairs inside your nose?? Well, that is because they aren’t at your level. The same goes for taking pictures of something or one who is smaller than you.
- Crouch down to eye level and then take the picture. You can see what I am talking about in this post where I am at the same level of my kids to get them straight on. Now, take a look at the picture below….I will talk about how I improved the clarity in a minute. 😉
- Put the sun behind you – As you can see in this picture the sun is in front of me and that causes the what you’re focusing on to be dark. If you walk to the other side and let the sun be behind you you will get a much better picture.
- Natural lighting is always best with mobile photography or with a digital zoom. Artificial light sources create odd shadows. I just don’t like it.

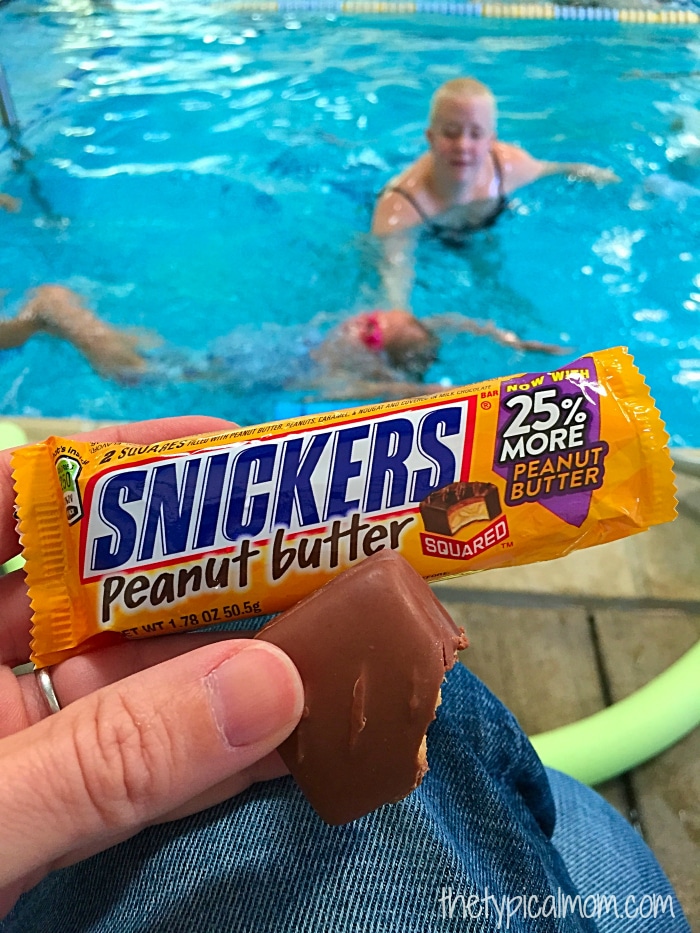
- Focus – If you’re taking a smartphone photo of scenery or something large (like the picture above) you don’t necessarily need to hone in on an object and focus on it, but if you are featuring let’s say a SNICKERS bar but you want to show where you are in the background you need to focus on the object and have everything else somewhat blurred in the background.
- All you have to do is when you’re holding your phone to take a picture, just touch the object on your screen that you want to focus on.
- The rest will become blurry and what you touch will come to life and be what your eye is drawn to. 😉
- You can see the picture below, there are a few others here in this post.
- Interesting angles – When taking a picture don’t always think about taking it face to face or face to object straight on. Think of an interesting angle you could take in order to get someone’s attention.
- Taking a picture looking down at the object or event makes it interesting. Yes that means you need to find a chair to climb on in order to get that shot.
- Take this shot here of the plants. It would be hard to get all 5 plants in 1 shot without taking it from up above. It creates a different feel. You can also create an area to the side or below where you can add text later.
- You can see a few examples of focusing on an object and taking a picture looking down on objects here.

- Editing apps – THIS is probably the most important part in taking the best picture with your cell phone. The funny thing is it is probably the easiest part to do. It took me a while to find just the right APP and software to do it though. I wanted one that was absolutely FREE. I found a few. 😉
- Use free editing software called PicMonkey. My favorite one I use daily.
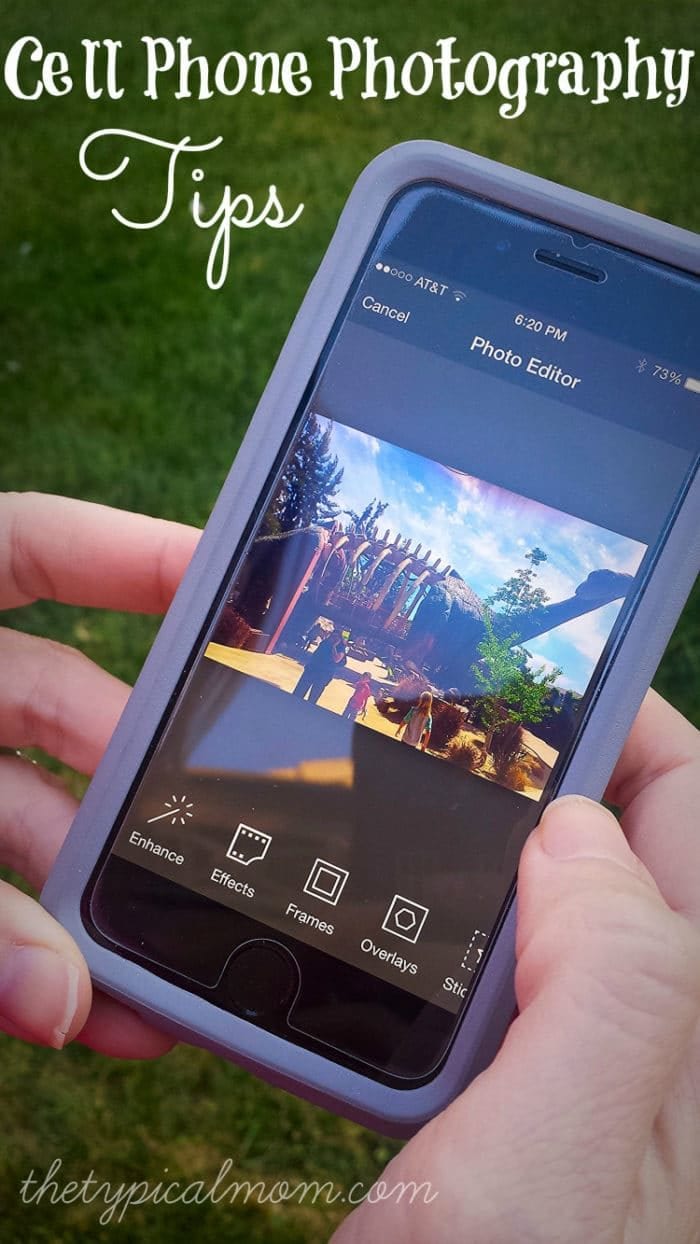
- Then, download the free APP called Aviary, then once you have taken your picture touch the APP and it will bring up all your photos.
- From there, tap the picture you want to edit and enhance. Tap further enhancers like “scenery”, “food”, or “portrait”. If you are featuring a person and want to soften their features. It is GREAT and did I mention it is Free??!!
- Let me show you the difference between one photo that was taken on my phone vs one enhanced in Aviary. Look at the picture at the top of this post with the dinosaur. Now look at the one below. This took literally 20 seconds to do!
- It will save your original image and the enhanced one. No worries loosing one or if you wanted to alter it in a different way later. What an amazing difference right??!!! From ok to dynamic in less than a minute. 😉

- Adjusting – Once you have your image enhanced and you are ready to develop your picture (if you are not a blogger you would be done at this point and go on to step #6) or you want to put it online or in a blog post you can further enhance or adjust the size of your picture or make it into a collage for Free using PicMonkey.
- If you want all the features they offer it is just $33 a year. That’s super cheap but the free version offers you a lot too!!
- Developing – I develop all my pictures right on my phone!
- Did you know you can print free photos on your phone? I know you’re probably so excited at this point you might just need to sit down. 😉
- Snapfish offers all customers 100 free prints using the code 100FREEPRINTS almost all the time.
- Every month you can click the pictures in the photo albums on your phone. Then add them to your cart, choose what sizes you want, and get 100 free 4×6 prints.
- They’re sent directly to your house which is fabulous. Yes, Snapfish lets you develop a total of 1,200 free prints every year!
- Snapfish offers all customers 100 free prints using the code 100FREEPRINTS almost all the time.
- Did you know you can print free photos on your phone? I know you’re probably so excited at this point you might just need to sit down. 😉
- Free Images – If you are a blogger, web designer, or looking for free stock photos or graphics try GraphicStock here. There are several places online to find images and graphics. Many sites do not offer high quality dynamic images. This one has over 250,000 and they are very high quality too.
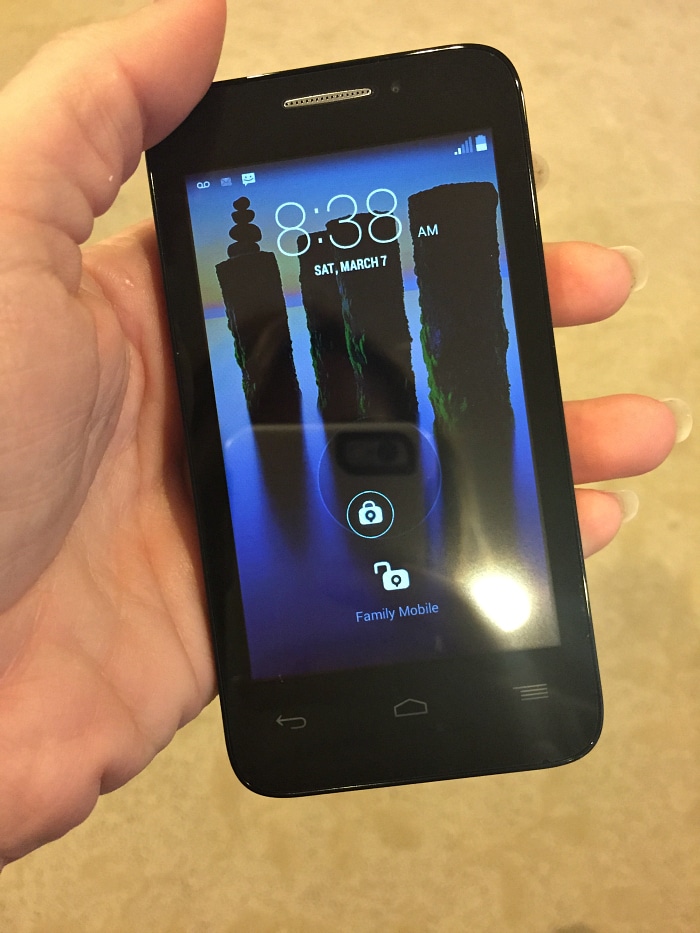
- Mobile phone – Of course an upgrade is always going to help the clarity. If you have an iPhone XS you’re obviously going to get a better photo than an 8.
- The smartphone camera for each upgrade is usually pretty substantial.
Looking for the best cell phone for tweens, here’s a recommendation.
I hope these tips help you improve your cell phone photography skills. I’ve shown you how to take the best picture with your cell phone. Plus here are a few ways to enhance your photos for free too!
For more tips and tricks please sign up for my newsletter!




I am a beginner photographer. Wanted to learn photography, I hope your blog will help us to improve my photography. Thank you
You are giving me hope and confidence that I can start my blog without running out to buy a camera. You sound just like me frugal and using what I already have. I am working on starting a lifestyle blog, with a huge focus on food. I have read/ listened to things that made it sound almost impossible to start a food blog with out professional photography. Lighting background is very important, because well lets face it, if the food doesn’t look appealing in the pic why would someone want to make it right ! However this information was hindering me because it has caused me to not even get started. If I dont post anything I defintely wont get anywhere. This has given me the confidence to know that it can be done!
For the first two years I blogged I used ONLY my cell phone and they weren’t that great back then (compared to today). Use picmonkey to edit which is free too and you’re good to go.
Wow ,good tips for beginners, hope this will help me in tuning my efficiency as I m fine arts student. Thanks a lot ,pls help further.
I just downloaded Aviary and it’s amazing!! Thanks for the tip!
Thank you for the tips!! I am downloading Aviary now!
http://www.keystothegenuinelife.com
It’s the best.
I am working on improving my photography with a camera, but most of the times, all we have is our mobile.
Your tips are great. It would be a pleasure if you joined my Tip Tuesday Linkup Party with it. Thank you in advance for considering it. #SITSblogging
These are great tips (a few I knew already) and thanks for the links to the app and free stock photos.
Love the tips and that you used examples of what you mean by each, too! Will definitely try to put some of these into use, especially the standing on the chair.. haha.
you may look silly but it works great