Melting peppermint candy into ornaments, bowls, plates or other gifts is an easy! Christmas craft for kids and adults. Just one ingredient is all you need, use either round candies or candy canes baked in the oven or microwave to make all sorts of shapes.
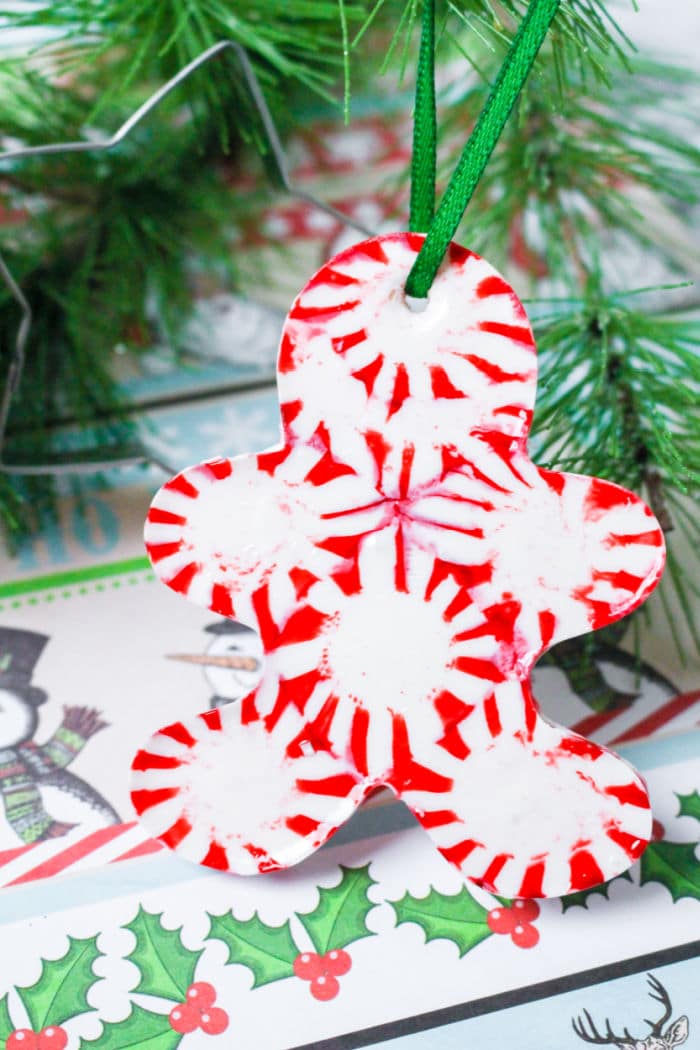
With a baking sheet and some cookies cutters you too can make all sorts of homemade gifts with melted candy this way. They are fun edible crafts everyone in your house will love to make together.
This is what we made this time because it was Fall and why not?? Especially if you are in need of some indoor activities for kids this one is a great (and cheap) one.
Even little hands can help you make these. Have your kids pick out their favorite shape and unwrap their own peppermint candies. All you need to do is slide the sheet in and out of the oven for safety purposes but beyond that they can say “I made it all by myself!” Their goal in life usually at that point right?? 😉
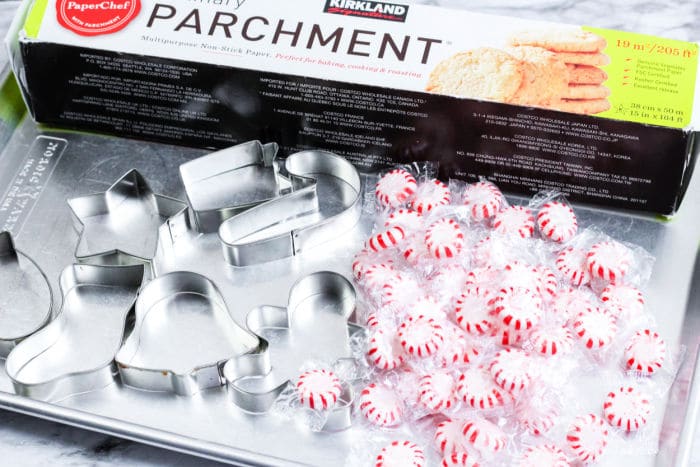
This would be a really fun idea to serve some crinkle cookies on!! Just imagine your guests reaction when they realize it is lick-able and edible as well as serving as a pretty tray. This is what you’ll want to get out to start on this:
What You Need to Make Peppermint Christmas Ornaments
You are going to need to pick up a Bag of peppermint candy, or you could use candy canes and break them up a bit so they fit inside the shapes. The smaller the pieces the quicker they will heat up and melt down into a pliable piece to work with and shape.
Cookie cutters of all kinds are great so you can pick and choose what you want yours to look like.
If you want to hang these from the tree you will need some ribbon or twine of some kind. You can buy a bag of the thin metal pieces but I think that string is prettier and more secure. And to make the necessary hole in this case you would need a skewer with a bit of olive oil on it to make a hole in order to thread your piece thru
You could easily make all sorts of things though. Want a fun peppermint candy plate for serving up goodies at your Christmas brunch table? Just use a really large cookie cutter or shape aluminum foil into a ring to make the size you want.
Melting Peppermint Candy in Microwave
- Unwrap the peppermint candies and place them in a microwave-safe bowl. A glass or ceramic bowl works best.
- Arrange the candies in a single layer so they melt evenly.
- Set the microwave to a low to medium power setting (about 50% power) to prevent the candies from overheating or burning.
- Heat the peppermint candy in 15-30 second intervals. Stir the candies between each interval to ensure even melting.
- Keep a close eye on the candies, as they can easily overheat and burn if left too long without stirring.
- Once they start melting, stir them frequently to help them melt completely. Depending on the number of candies and your microwave’s power, this process can take anywhere from 1-3 minutes.
- Once fully melted, they will start to harden again as they cool, so shape immediately for your desired shape.
And use a cookie sheet so they all lay flat as they bake and spread out to pretty perfection. If you want to make them into bowls an upside down muffin pan works well so you can mold around it. Use this to make small edible bowls for a candy charcuterie board!
The way you would create these is to use a small glass bowl. You will use this to shape your plate essentially. You could use some light cooking spray on the bottom for ease of taking it off. The way you make the plate and/or bowl is to:
How to Make a Peppermint Bowl in the Oven
- Lay parchment paper on baking sheet with 1 unwrapped candy in the center.
- Then make it like a flower adding a row around the outside of that piece so they touch but not overlap.
- Keep going to make it as large as you want it.
- Preheat oven to 300 degrees F and bake for about 8 minutes but you need to watch at about min. 6.
- Once it is shiny but before it is bubbling take it out!
- Allow to cool if making a bowl for a few minutes.
- Use oven mitts to avoid burning your hands and have your bowl flipped upside down.
- Carefully lift the paper up with the plate on top and flip it over on top of the upside down bowl.
- Use hands to mold melted candies into a bowl shape.
- Allow it to cool that way so it keeps shape.
The parchment paper underneath makes cleanup a lot easier and make sure it doesn’t stick to the tray itself.

How to Make Peppermint Candy Ornaments
You can make Christmas trees with them, even bone shapes for your favorite pooch. Even more fun you should document when you made them with the date using a sharpie on the front or pack. A super easy way of personalizing this gift for others too.
Less than 20 minutes and voila, so cute! Use this idea for a holiday party craft or for a girl scout meeting around this time of year. Costs under $20 typically for everything you need and most times you can gather cookie cutters of all kinds from friends and family.
Want another one to add to the list of activities for your guests? Try our 2 ingredient cinnamon ornament recipe too. This one is even cheaper to make and just as much fun for the kiddos.
You can do a lot of things with these. Make into bowls for serving candies, into shapes and decorate the top of your Peppermint Cake with them or ornaments. Here’s a step by step for how this is done.
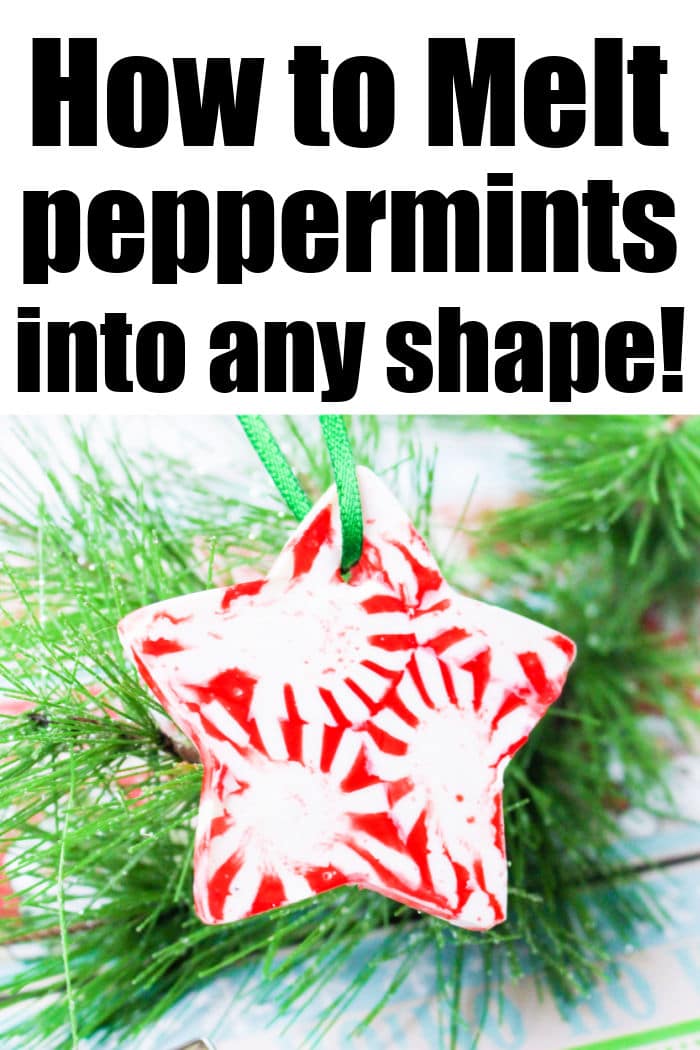
How to Melt Peppermint Candy into Ornaments
Equipment
- 6 Cookie cutters
Ingredients
- 1 bag peppermint candy unwrapped
Instructions
- Unwrap a bag of peppermint sticks, candy canes, or small round peppermints. Line baking sheet with aluminum foil and place metal cookie cutter shapes on top. Preheat oven to 350 degrees F.
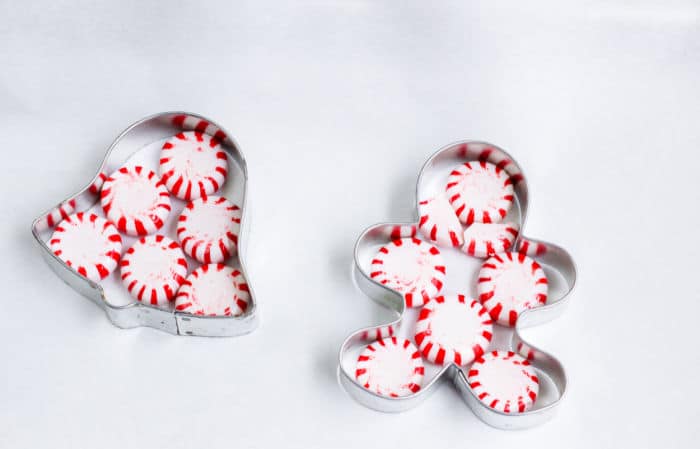
- Place as many peppermints into the shapes in a single layer without overlapping them. Bake for approximately 5-8 minutes but check at 5 to see if you need more time. You don't want them bubbling, just once they spread and are shiny take them out immediately.Larger will take a few more minutes than small shapes.
- Remove from oven and set aside to cool slightly. If making into ornaments dip a skewer end into a bit of oil and create a hole at the top so you can slide a piece of twine or ribbon thru it when it is cool.
- Allow to cool completely before removing from cookie cutter and baking sheet. Thread ribbon into hole, tie at end and hang on tree.


