This is how to make liquid butter on the stove or microwave is here. NO need to buy it, you can make drawn butter, also called clarified butter, or Ghee in a pot at home to use in recipes. Pure butterfat free from solids have a higher smoke point, are dairy free, lactose free and offer a longer shelf life.
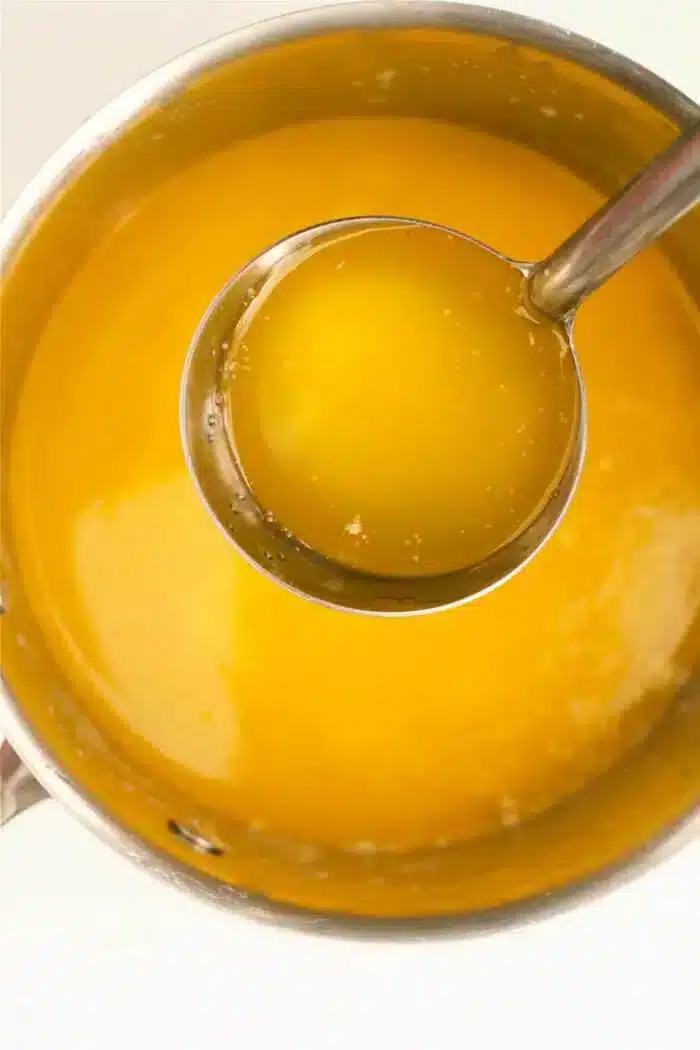
A type of clarified butter or homemade ghee, is a type of butter that has had its water and milk solids removed. This process leaves behind just pure butterfat. It involves simmering to separate the liquid from the solids, then straining out the milk proteins. The result is a clear, liquid gold with a rich, nutty flavor with a higher smoke point than regular butter. (affiliate links present)
How to Make Liquid Butter for Popcorn
Why would you do this and what are the benefits of taking the time to do so? Clarified butter as it is sometimes called has a higher smoke point which means it can withstand higher cooking temperatures without burning. This makes it ideal for sautéing, frying, and other high heat cooking methods.
The removal of milk solids and water during the clarifying process also gives this a longer shelf life compared AND it can be stored at room temperature shelf stable for an extended period without spoiling. With a richer, nutty, brown butter flavor due to the caramelizing at the bottom of the pan. This flavor profile can enhance the butter taste of both savory and sweet dishes. From sauteeing meats to a popcorn topping.
How to Make Ghee
Traditional Indian Ghee is a type of liquified butter that is lactose-free and is often used as a dairy-free alternatives for cooking oil and baking. People with lactose intolerance or dairy sensitivities may find ghee to be a suitable option. My husband has switched to this and it has really helped his tummy without changing the flavor of dishes.
Drawn Butter
You DO need to remember that this is still high in saturated fat and calories. Like all fats, it should be used in moderation as part of a balanced diet. The name may vary in different cultures and cuisines, so you may come across variations like desi ghee in Indian cuisine or beurre noisette in French cuisine.
How to Use Clarified Butter
- For some of this can be used as a dipping sauce for seafood, cooked frozen crab legs, lobster, and other dishes.
- When it is served in a small container or dish alongside the seafood it is kept warm to maintain its liquid state and is often seasoned with a pinch of salt or a squeeze of lemon juice to enhance its flavor.
- Excellent for cooking at high temperatures, such as sautéing vegetables, searing meats, and stir-frying. Its high smoke point prevents it from burning and producing a bitter taste.
- Some people add ghee to their coffee as part of a ketogenic or high-fat diet trend known as “bulletproof coffee.”
- Use in baking as a substitute for regular butter. It provides a rich flavor and can yield tender and moist baked goods.
- Can be used for roasting vegetables or meats to impart a delicious, buttery flavor and help achieve a crispy, golden exterior.
- This is a popular choice for drizzling over popcorn, providing a rich and savory flavor.
Ghee is a staple ingredient in Indian cooking and is used for frying, sautéing, and as a flavor enhancer in various dishes, including curries and curry lentil preparations.

Another use for this in my world is for adding moisture and flavor when reheating dishes like our Cream Cheese Corn Casserole if we have leftovers. Just drizzle a bit over the top and warm in the microwave to liven it up after sitting in the fridge overnight. Game changer to make it taste fresh once again. 😉
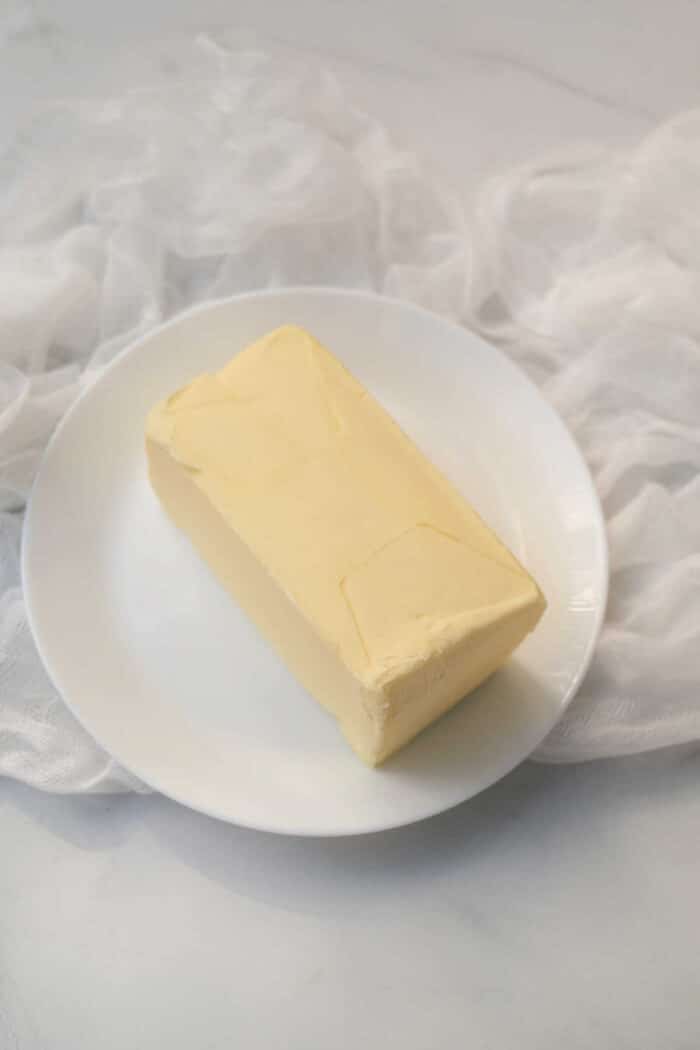
Unsalted butter is commonly used because it allows you to control the salt content in your dishes. If you use salted, the salt will remain in there, and you may end up with saltier dishes overall than desired.
I love Kerrigold!! Let’s be clear, this is the best. You can buy it unsalted or “regular”, use what you need for the dish you are making. If I am making Ghee I typically will use salted because he will use it as a spread on toast and that adds flavor.
What You Need to Make Clarified Butter on the Stove
- Use as much butter as you need for your recipe
- A pot is necessary
- Have a small fine mesh strainer handy
Store bought is much more expensive. After making it yourself you’ll see how easy it is to make this.
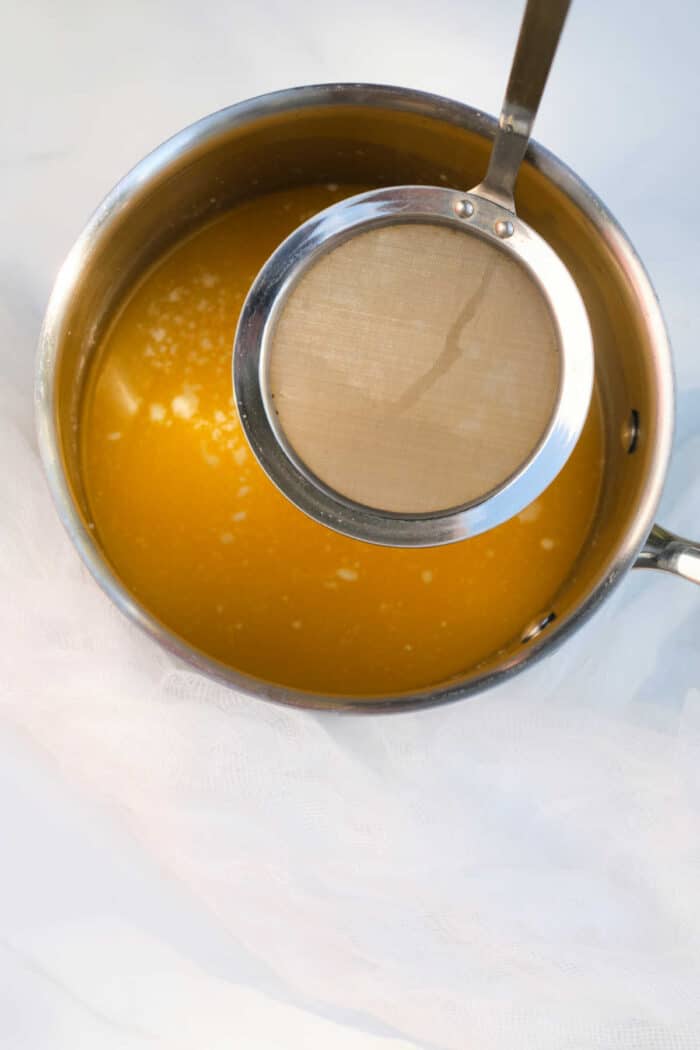
How do you make liquid butter at home?
- Cut the Butter into smaller chunks or cubes. This will help it melt more evenly.
- Melt the Butter in a saucepan or a microwave-safe container. Heat the butter gently over low to medium-low heat (or in short intervals in the microwave) until it completely melts.
- Simmer and Skim once the butter is melted. Continue to cook it at a gentle simmer.
- As it simmers, the water content in the butter will evaporate, and the milk solids will separate and rise to the surface.
- Use a spoon, to skim off the foam and solids that float to the top.
- Strain after skimming off the solids. Remove from the heat source. To strain the liquid, you can pour it through a fine mesh sieve, cheesecloth, or a clean coffee filter into a container. This will remove any remaining solids and leave you with clear, clarified butter.
- Cool to room temperature before transferring it to a storage container. This can be stored at room temperature for an extended period, but it can also be refrigerated if you prefer for longer.
How to clarify butter in the microwave
- Cut Butter into Pieces: helps it melt evenly.
- Place in Microwave-Safe Dish or glass measuring cup, which will make it easier to see the layers separate.
- Melt the Butter in microwave on medium power for 1 to 2 minutes or until fully melted. Keep an eye on it to avoid overheating.
- Remove the Foam: Using a spoon, carefully skim off the white foam that has formed on the surface. You can discard this or save it for other uses. Slowly and carefully pour the yellow clarified butter into a separate container. Be cautious not to disturb the bottom layer of milk solids.
- Strain if you want extra clarity, you can strain the clarified butter through a fine cheesecloth or coffee filter to remove any remaining milk solids.
I love mason jars for all the things. They come in all sizes with tight fitting lids and keep scents out that can contaminate it if not sealed well. If you want to let it cool it will solidify, then you can flavor into Cowboy Butter later.

How to Store Ghee
You always must use clean airtight containers. I suggest glass jars with a strong seal like mason jars. Always seal tight after each use and use a new spoon each time to avoid cross contamination.
Properly stored, homemade ghee can have a shelf life of several months to over a year, depending on storage conditions and the quality of the initial ingredients used. Its longevity is due to the absence of water and milk solids, which are the main factors contributing to spoilage in regular butter.
Keep away from heat or sunlight in a dark cool location such as a pantry is best. If it develops an off smell or taste if it has been contaminated or stored improperly. Always check for any signs of spoilage before using it in your cooking. If it has a rancid odor or an off taste, and it should be discarded.
How to keep butter in liquid form?
You need to maintain it at a temperature above its melting point and use certain methods to prevent it from solidifying. Butter melts at about 90-95°F (32-35°C), so keeping it warm is key. You can set a slow cooker or fondue pot to its lowest heat setting. Pour the melted butter into a small heatproof dish that fits inside the cooker or pot.
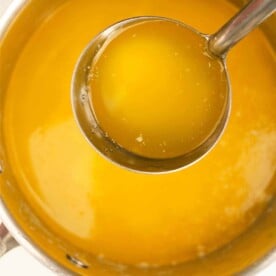
How to Make Liquid Butter
Equipment
- 1 strainer fine mesh
- 1 pot
- 1 mason jar if storing
Ingredients
Instructions
- Cut the Butter into smaller chunks or cubes and into a medium size saucepan. This will help it melt more evenly.
- Melt the Butter in a saucepan or a microwave-safe container. Heat the butter gently over low to medium-low heat (or in short intervals in the microwave) until it completely melts.
- Simmer and Skim once the butter is melted. Continue to cook it at a gentle simmer. As it simmers, the water content in the butter will evaporate, and the milk solids will separate and rise to the surface. Use a spoon, to skim off the foam and solids that float to the top. Discard those.
- Strain after skimming off the solids. Remove from the heat source. To strain the liquid, you can pour it through a fine mesh sieve, cheesecloth, or a clean coffee filter into a container. This will remove any remaining solids and leave you with clear, clarified butter.
- Cool to room temperature before transferring it to a storage container with a tight sealing lid. This can be stored at room temperature or in fridge.
Video
Nutrition
Nutrition information is automatically calculated, so should only be used as an approximation.
