This bear claw recipe with refrigerated biscuits or lion claws are the perfect treat to pair with your event! Semi homemade dessert or canned biscuit breakfast recipe that is yummy.
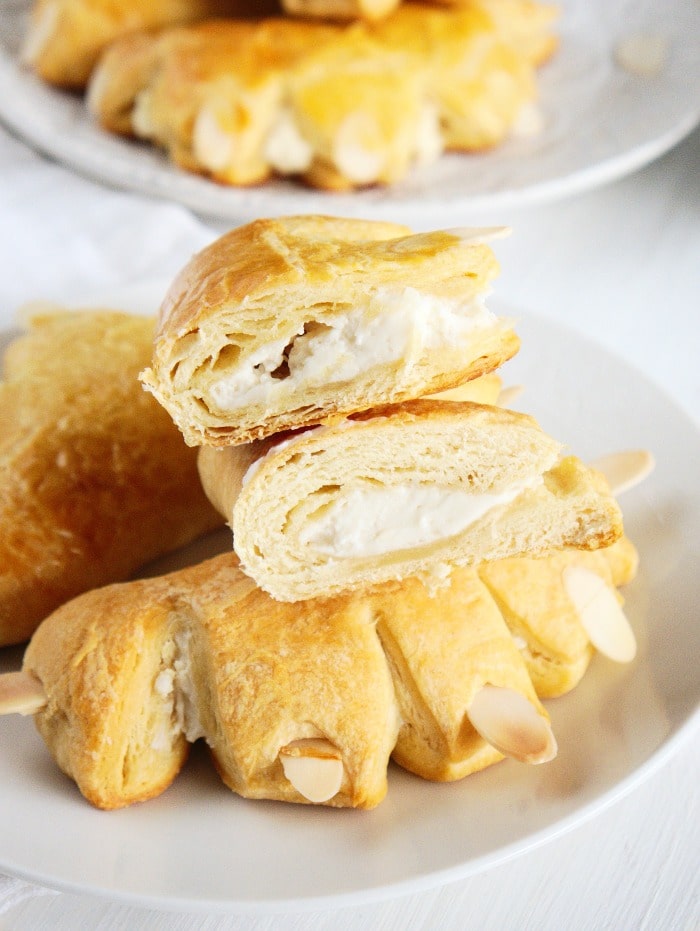
As the weather cools down, is there really a better way to spend time as a family than movie night? We made these lion claws or bear claws recipe for the occasion so our evening would be complete. Let us show you how to make this classic dessert with refrigerated dough.
Have you seen the new Lion King movie yet?? Yes it’s a remake of the original you loved, BUT a bit different! My girls wanted to watch it and then wanted a Lion King birthday party that same year. To make things easy we came up with this fun way of baking their favorite treat.
Now on to the recipe for these dessert biscuits! This is something we came up with after making butter pecan cookies with cake mix….and just couldn’t get enough fun!
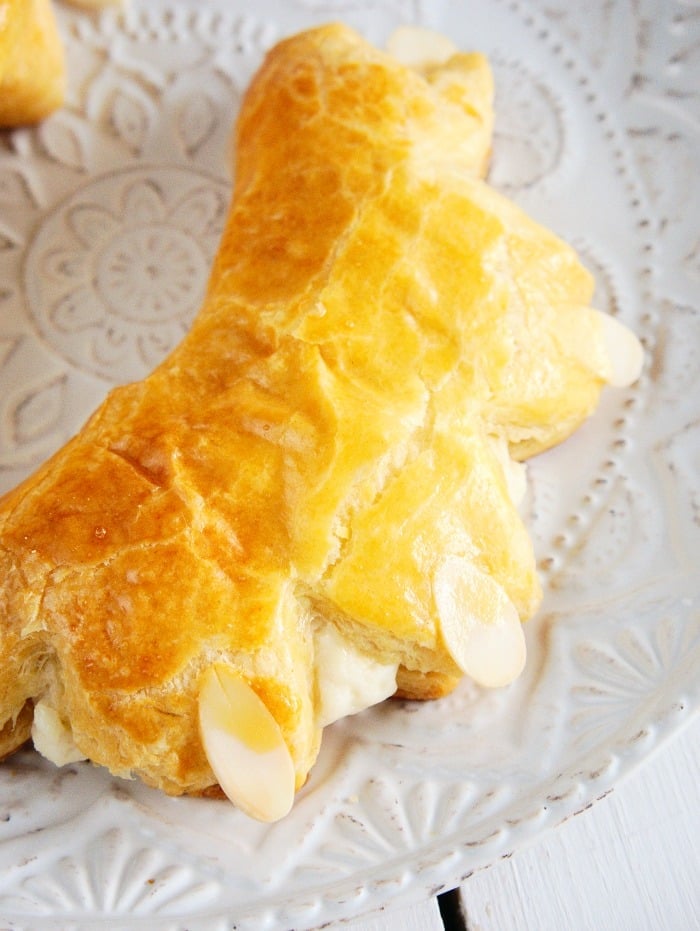
Easy Bear Claw Recipe
They look kinda’ like claws right??!! Well my girls thought of this idea when I said we were going to have family movie night this week. If you haven’t really baked with your kids it is a great activity to do together. Talk about a wonderful learning experience! Showing them how to measure flour properly so a recipe turns out well, the reason for preheating an oven, and everything else in between are life lessons for sure.
When it comes to baking I love it, but I don’t always do homemade. Semi homemade pastries are kinda’ my thing. They’re fresh, sweet, and yummy but with a little less effort on my part. If I read a recipe that says yeast….I’m out. LOL.
You don’t even need all purpose flour for this one since the dough and filling are already pretty much done for you. Yes you do create the middle almond filling, or you could fold in chocolate chips too. Puff pastry could also be used, I just love easy peasy. SO, this is the easy bear claws recipe I came up with to go along with the whole animal movie theme. 😉
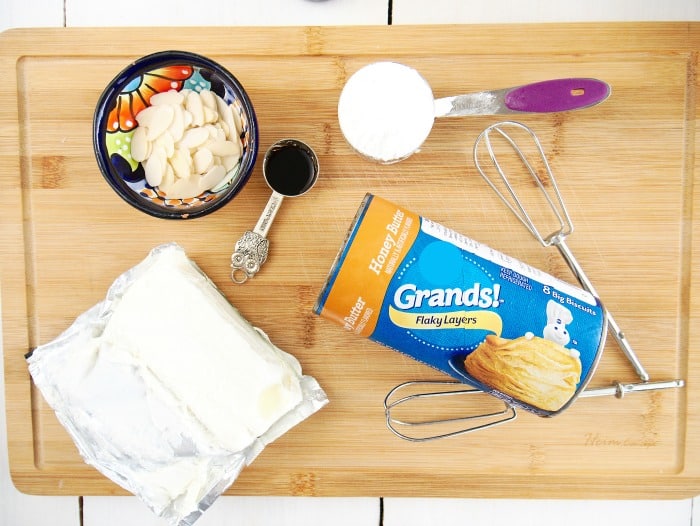
You could add cinnamon into the cream cheese filling if you wanted to or leave out. Add a bit of a dollop of jam is a nice fruity touch in there too. Or just wait until baked and make a fun glaze / frosting over the top.
Ingredient Notes
You will want a roll of large flaky refrigerated biscuits. Choose honey or plain vs. just butter so it stays sweeter.I have heard some make these a great Puff Pastry Breakfast Recipe if you wanted to use that dough, thawed
Cream cheese, softened is best to create a smooth filling for the center. You could use a dairy free alternative
Confectioners sugar or known as powdered sugar will sweeten the inside yum, use more or less for the right consistency.
Vanilla extract is a nice touch, with some sliced almonds to add for the nails. Egg wash is used to make the top a bit shiny

Filling ideas
There are many things you could add into the filling like fresh or frozen fruit as well. Mini Chocolate chips are great too. All in all I would set aside about 30 minutes for this start to finish. Much quicker than if you started from scratch for sure but not a huge difference in the flavor.
If you want to drizzle some glaze over the top you can just whisk together some water and powdered sugar until it’s as thick as you desire. That is simple and inexpensive so that’s kinda’ my go to easy glaze recipe.

Bear Claw Recipe
Equipment
- 1 Rolling Pin
- 1 baking sheet
Ingredients
- 1 tube refrigerated biscuits , Large Grand honey butter biscuits used
- 1 block cream cheese, 8 oz
- 1/4 c powdered sugar
- 1 tsp vanilla
- 1/4 c sliced almonds
- 1 egg, beaten
Instructions
- Preheat oven to 350℉, lightly spray a cookie sheet with cooking spray or have a non-stick cookie sheet ready to use.
- Place the cream cheese and powdered sugar into a small bowl and use a mixer to beat them until the cream cheese is light and sugar has completely been combined well.
Add the vanilla and whip for a minute, just to incorporate it into the other
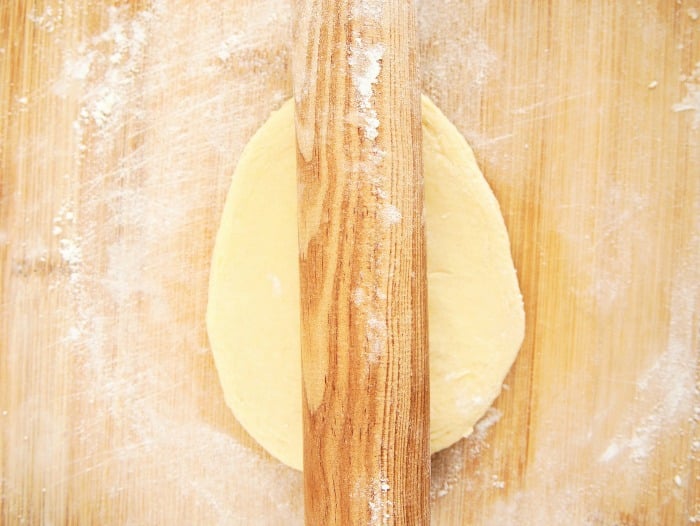
ingredients. Set aside. - Open the biscuits and separate them. On a very lightly floured surface, flatten a
biscuit to about 1/4”inch by first moving rolling pin one direction then the
other, you’ll end up with an slightly oblong shaped biscuit. - Place 1 Tablespoon of the cream cheese mixture into the center of the rolled biscuit. Spread it but don’t go too far to the edge. Next fold the biscuit in half making a
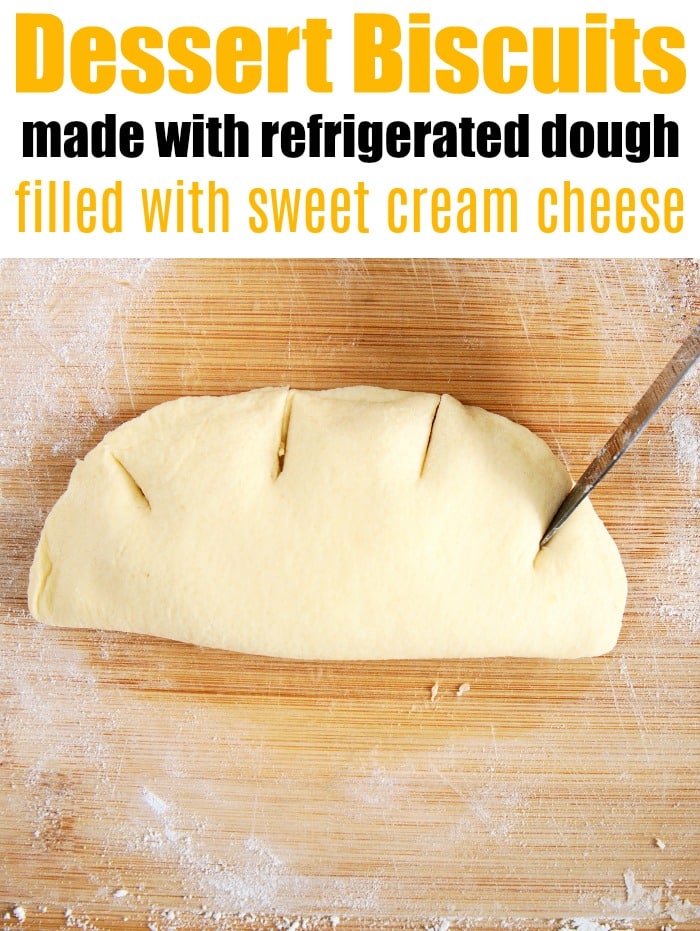
half-moon shape. - Firmly seal the pocket with your fingers to prevent the cream cheese spilling out when baking. Now use a knife to cut small slices around the pocket, see pictures for guide. Pull the 5 sections slightly apart to create the “fingers or claws” Try to pinch or seal down the sections the dough separates. Use your fingers to slightly shape each finger.
- For the almond “nails” push one into center of each finger, make sure it’s securely
in there otherwise it may fall out during baking. Place the claw on the baking
sheet and repeat with the remaining 7 claws. If you’d like to brush the claws
with the lightly beaten egg do so now — this is to give them a shiny surface, it’s fun
to do it on some, if you’d like but not necessary. - Bake in center of oven for 13 to 15 minutes, keep an eye on them around the 12
minute mark. They’re done when they’ve puffed up and the tops are golden brown. - If you want added sweetness you could mix some powdered sugar with a bit of water until you get a thick paste and pour on top as a glaze of sorts.
Video
Nutrition
Nutrition information is automatically calculated, so should only be used as an approximation.
In the baking time if you have little ones they can work on our color by number animals pages which are always a hit.
Frosting
On the outside you could just keep it as is with the shiny top and cute nails or drizzle some frosting on. For that you cold whisk together more powdered sugar with a bit of milk until it is the right consistency or melt a tub of it. Either vanilla or cream cheese frosting works well. Allow them to cool and the top will harden just a bit so it’s easier to eat.
You really could use any filling you wanted but this one works well and everyone enjoyed it. For added sweetness you could sprinkle tops with sugar and almonds for the nails of course. We change it up with our strudel pastry this way too.
How to save leftover filled pastries
If you have leftovers they stay quite well. Your best bet so they don’t dry out is to wrap each with plastic wrap. Put into a closed container and keep in the fridge in this case because of the filling. You don’t want that to spoil so cold is necessary. Reheat in microwave for 30 seconds.

