Hershey Kiss blossom cookies with cake mix or homemade are an easy treat to make for the holidays. These Christmas thumbprint cookies are a simple enough recipe for kids to make and perfect for
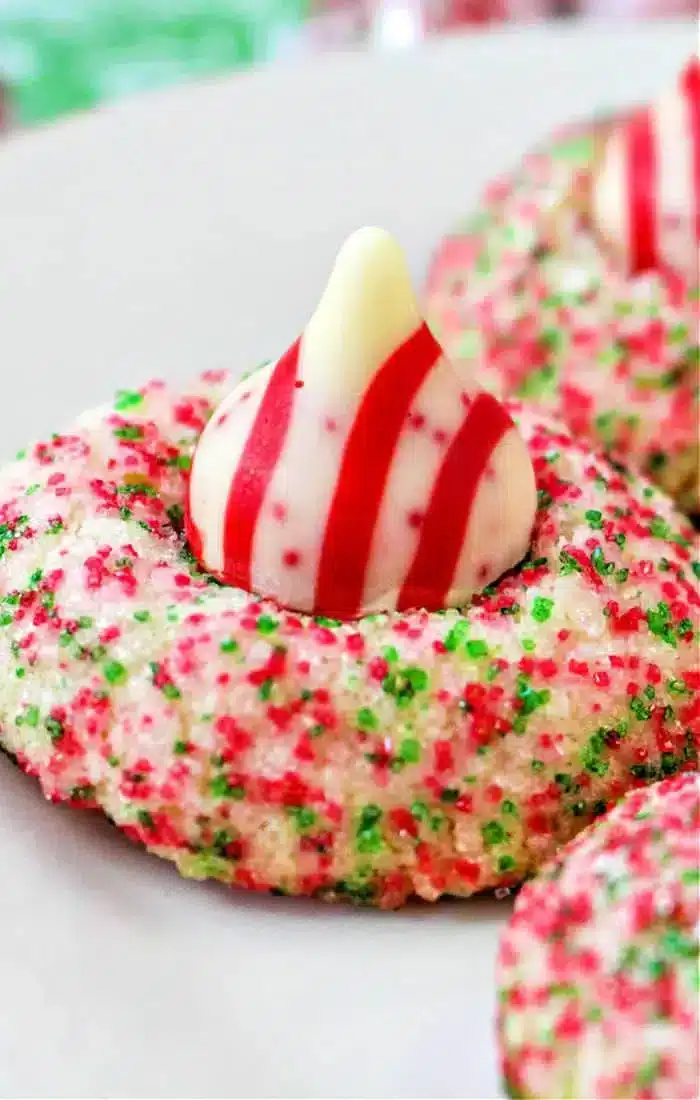
Want to make a different cookies this year for your sweets exchange?? These are super fun and versatile too! You can change them up all different kind of ways with things like peppermint extract, sprinkles, the list goes on and on.
We used to make peanut butter thumbprint cookies all the time. When it comes closer to the holidays we want all things that remind us of Santa though. SO we thought outside of the box, used that base and tweaked it for the end of the year flavors. They were a huge hit!
Get out a bowl of red and green sprinkles or crushed candy canes and let’s get “rolling”, literally and figuratively. The dark or chocolate kiss on top is just the beginning of the YUM y’all.

Ingredient Notes
- You want to use softened, room temperature butter and sugar to cream together in a large bowl. This will need to be smooth.
- For your dry ingredients add all purpose flour into the batter for the base and then you will want to add in the tweaks to give them more flavor and color.
- You can add a bit of almond or vanilla extract to give them that classic flavor. or for the holidays peppermint extract is nice if that is the flavor of thumbprint cookie recipe you want. Sprinkles are optional
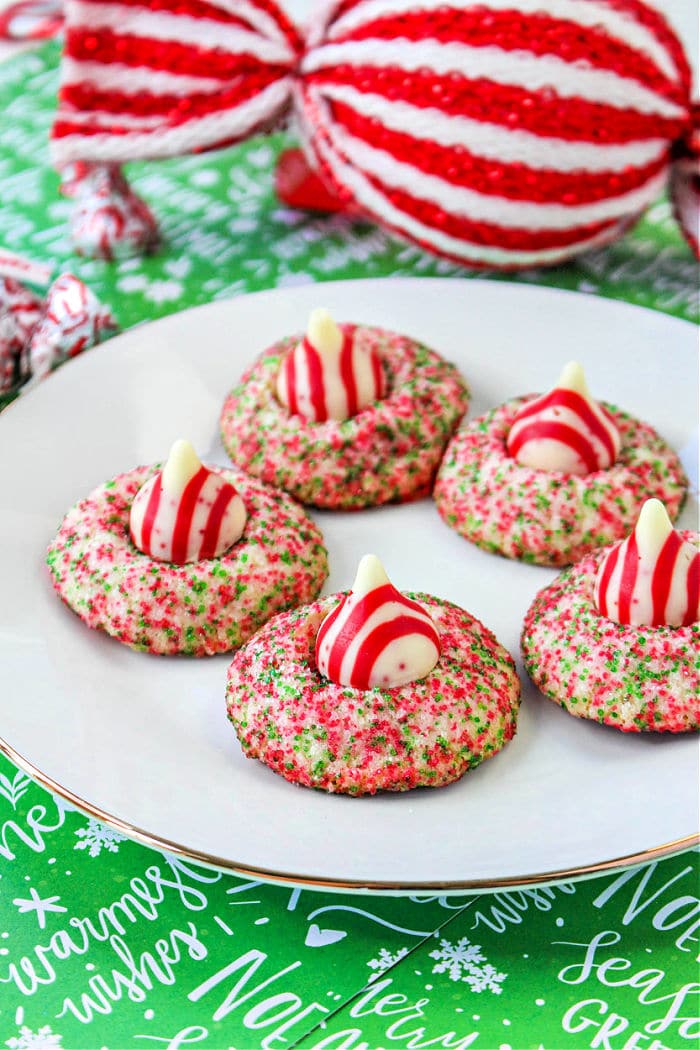
- Hersheys kisses we used these peppermint ones for the center of each one
If you wanted a more subtle taste you could just add the extract into the dough, and use chocolate kisses. For a lactose free version use vegan butter product or margarine as the base instead, just skip the chips.
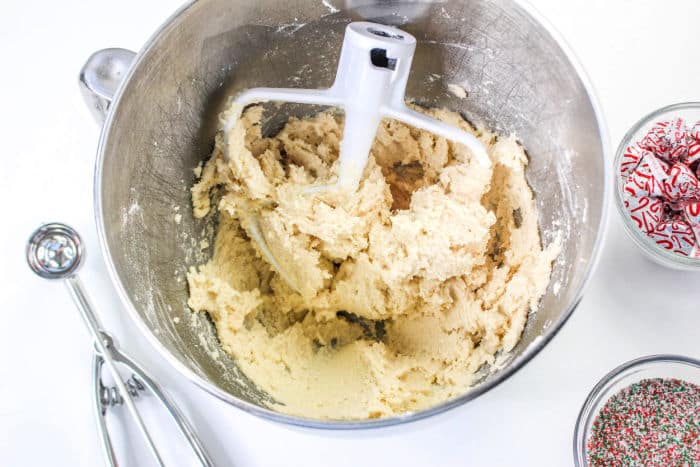
Your dough is going to look like this when it is incorporated. Just scrape the sides of the bowl to get it all out, waste is tragic.
Cake Mix Blossom Cookies
Instead of a homemade batter you can mix together our 3 Ingredient Cake Mix Cookies, refrigerate for an hour in the fridge to stiffen that up so it doesn’t spread so much when baked and use that!! Super easy way to get a similar result and an easy way to try multiple flavors for the base too.
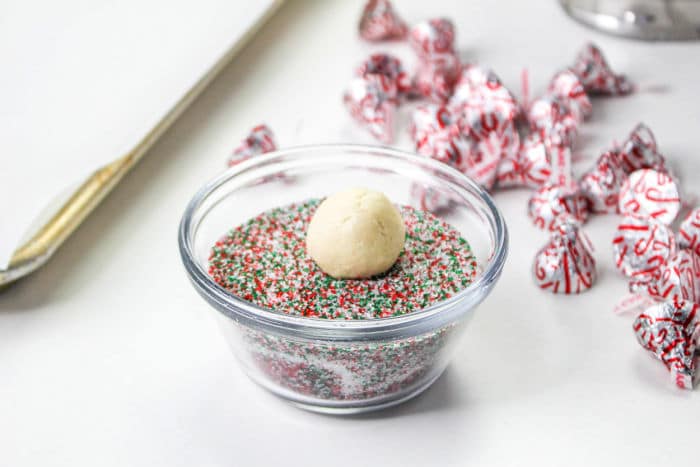
As for what you roll the outside in there are more than I could mention. For the holidays a few great options though would be;
- Crushed peppermint candies
- Red and green sprinkles or colored granulated sugar
Chocolate Peppermint Blossom Cookies
You can make the base of these any flavor you like, these are vanilla. It is easier if you just use a stand mixer to incorporate all the things. If you have ever made peanut butter blossoms before, you make the dough balls the same way. Below is a 3 ingredient shortbread cookies that is no fail, seriously.
You can of course skip the chocolate on top all together but then they wouldn’t be Hershey Kiss cookies now would they? Tweaking it for year round you can make the dough into peanut butter cookies with dark chocolate kisses on top too.
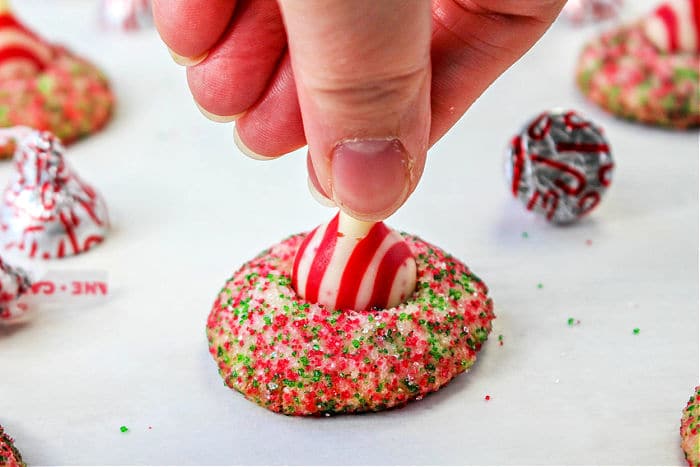
The chocolates will look like they are melting but do not touch them and they will get solid again in the correct shape as they cool. Let kids get involved in this last step. Have them unwrap each one (so you don’t have to do it) and in exchange they get to press each one in.
I have a printable recipe card at the very bottom. You can keep it handy in your recipe box or just come back again and again. We would miss you if you grabbed it and went forever. 🙁
Blossom Cookies Recipe
Equipment
- 1 baking sheet
- 2 bowls
Ingredients
Instructions
- Preheat oven to 350 degrees F. Prepare baking sheet with parchment paper. Beat the butter and medium speed for 5 minutes. Scrape down the sides. Add the sugar and continue beating for 5 to 7 minutes or until fluffy.
- Mix in the extracts until combined. Add the flour and beat until mixed. Using a small (1 tablespoon) cookie scoop, portion the cookie dough and shape into balls with your hands.
- Roll each ball in the colored sugar if desired. Place on the cookie sheet about 1 inch apart. Bake for 8 to 10 minutes or until the cookies are puffed and the edges are set.
- After removing the cookies from the oven, press one kiss into the center of each cookie. Transfer on to a wire rack and allow the cookies to cool completely. The candies will look like they are melting but do not touch them and they will get solid again in the correct shape.
- Store in an airtight container for up to 1 week or refrigerate for up to 3 weeks.
Video
Nutrition
Nutrition information is automatically calculated, so should only be used as an approximation.
We always make these together in the kitchen as well as our Crockpot peanut clusters. Those are also super cheap to create and everyone loves them!
How to save leftovers
You do want to keep these, and 4 ingredient fudge, in a dry room temperature area, and not stacked on top of one another. Best way to do this is in a shallow container with a lid that snaps tight and is as air tight as possible. The more air you can keep out the better they will be. Don’t put into your fridge or they will dry out.
To add moisture you can actually put half of a piece of bread into that container. Believe it or not just sitting in there will keep the cookies moist a lot longer. They will stay tender 2-3 days. If you won’t finish them in that time you can freeze, but it isn’t as recommended as the texture will change when defrosted.
What’s the best way to freeze leftovers
For best results you want them to be completely cooled. Then use plastic wrap to wrap each one individually. Line an airtight container with foil or use a freezer bag to add them in in one layer, do not overlap.
They will freeze for up to 3 months this way. This way you can take one or two out at a time and thaw on the countertop. Just note that the kiss will likely change shape a bit when coming to temp and may be a bit white too if it gets a bit of freezer burn.
FAQ
I mean there are hundreds to choose from but a fun way is to just make sugar cookies. Allow to chill in the fridge to harden a bit. Roll the dough into balls and then into sprinkles. Bake and gently press a chocolate kiss on the top when done.
Um well chocolate. These were actually created out of the waste created when they made Hershey bars at the factory. Instead of throwing away the scraps they were melted down and plopped on a sheet, cooled and there you have their origin!

