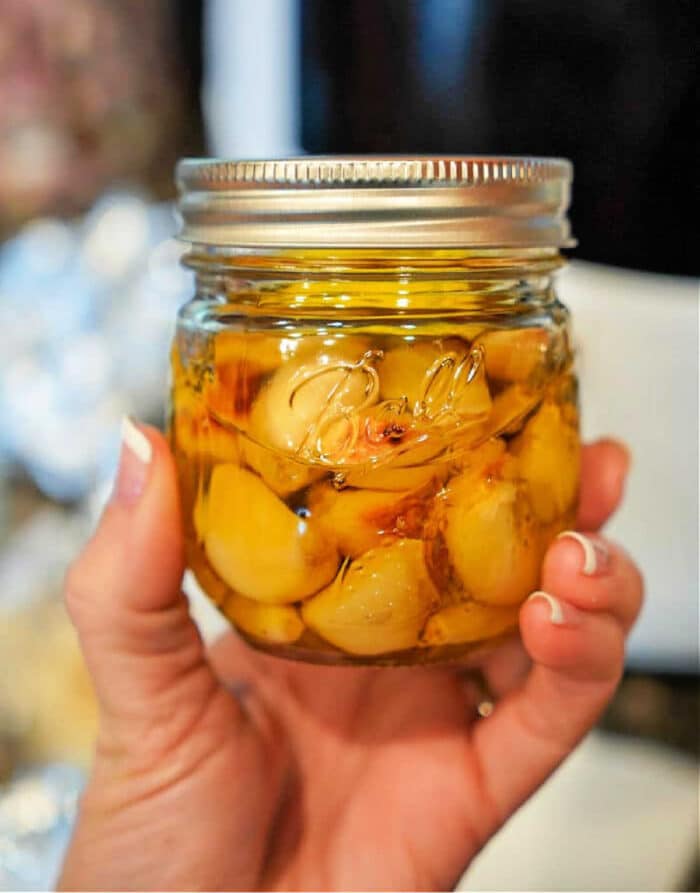
We make garlic in oil 2 ways and both are delicious. A wonderful way to infuse olive oil for cooking in recipes throughout the week. From roasting Cloves to Minced Garlic or leaving them raw and making this, we will explore both and why we make each one.
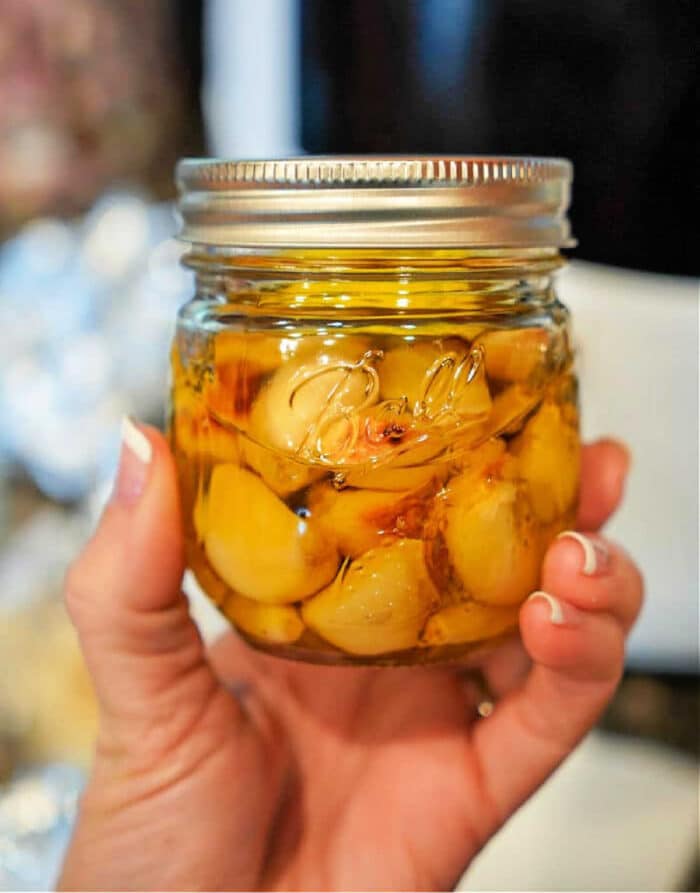
How to make garlic oil is quite easy but needs to be done safely. This typically refers to whole or sliced cloves that have been submerged and preserved in oil. This process infuses it with the flavor you love, creating a versatile ingredient that can be used in various recipes.
Garlic in Olive Oil
There are 2 ways to do this. You can start with whole cloves of garlic or slice them. If you just want the oil to be flavored then there is not really a need to roast them. However, if you want to dice tender contents and use in your recipes AND use the infused oil then you would want to bake on a sheet pan or make Roasted Air Fryer Garlic first. We will share both.
- Peel the cloves and slice them thinly or leave them whole, depending on your preference.
- Place in a clean, sterilized dry mason jar or container with an airtight lid.
- Pour enough olive oil or neutral oil over it to completely submerge.
- Seal the jar tightly with the lid and shake it gently to ensure that they are evenly coated.
- Store the jar in the refrigerator for at least 24 hours to allow the flavors to meld together.
- This can be kept in the refrigerator for up to several weeks if tightly sealed every time it’s opened.
When using, be cautious about food safety. Homemade garlic oil should always be stored in the refrigerator and used within a few weeks to prevent the risk of bacterial growth.
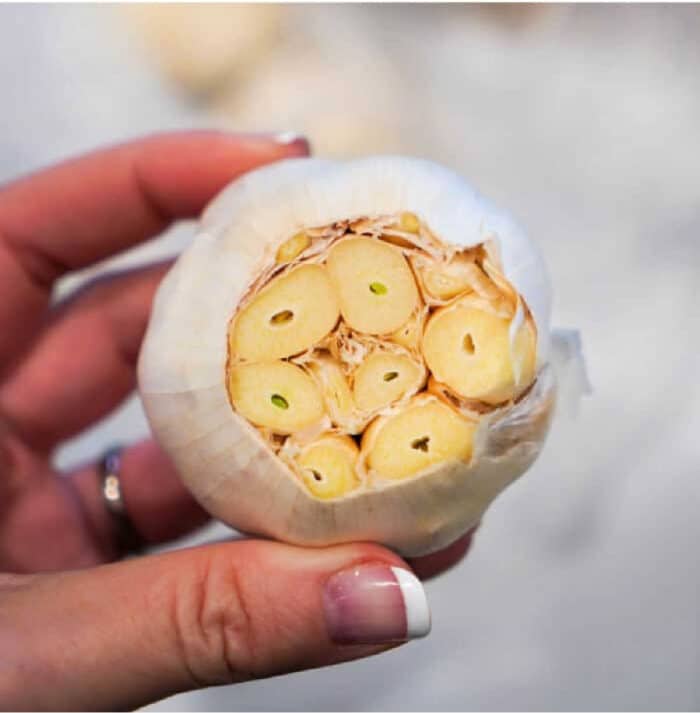
How to Make Homemade Garlic Oil
We show you How to Make Garlic Confit here a number of different ways. When done it’s essential to ensure that the garlic cloves are completely submerged to prevent the growth of harmful bacteria. Any that show any signs of spoilage, such as a cloudy appearance or off odor should be discarded immediately and not used.
If you do choose to roast it first you need to store in oil in an airtight container in the refrigerator at or below 40°F to prevent/slow down bacterial growth to extend it’s shelf life. Even when refrigerated, if it had been cooked, it should be used within a week or two. Discard any leftovers after this time.
Always check for signs of spoilage before using such an off smell, strange texture, or mold, discard it immediately. Do not taste it if you see or smell any of these may pose a risk of botulism which is in fact tasteless and odorless but can be deadly.
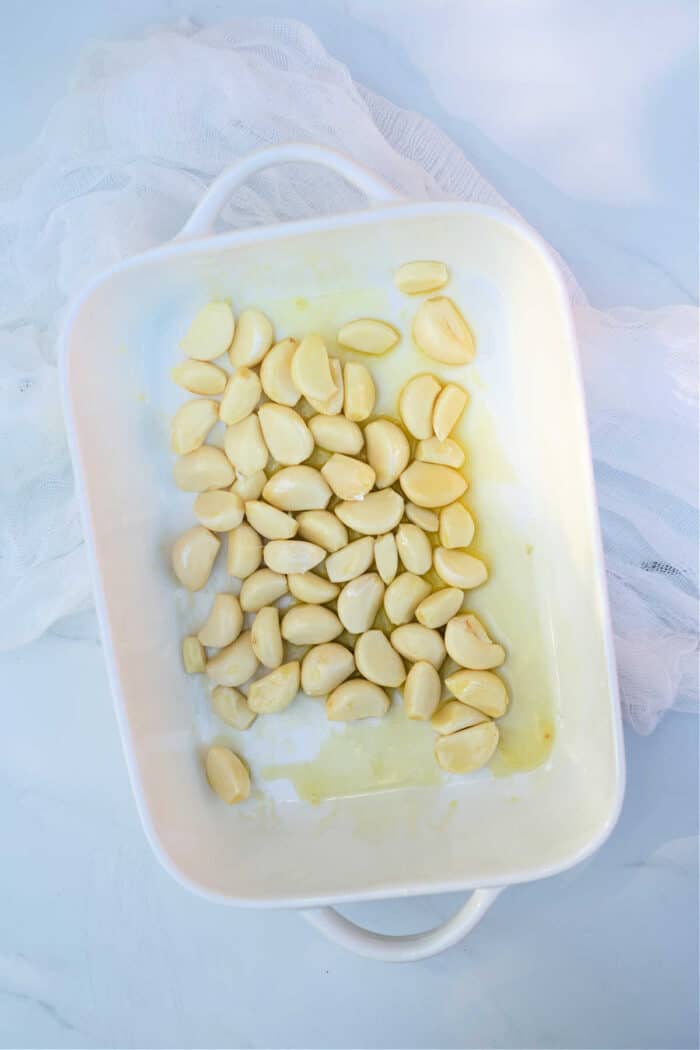
How Long to Roast Garlic in Olive Oil
You are going to want to remove the cloves and lay in one single layer to roast in oven for bout 20 minutes or until it is tender and soft. If it is not soft enough, roast for another 5-10 minutes and check again until you reach perfection.
I like to make this if I am making a batch of Garlic Cowboy Butter to use, and know I will be dicing it for dinner dishes that week as well. I’ll plan my meals accordingly if I know I have them already tender and ready to be used in the fridge. Then I can pull a few out, mince and throw right into the pan with a bit of the liquid in that jar to add a TON of flavor.
How to make garlic oil safely
If you want to cook in the extra virgin olive oil itself that is referred to as Garlic confit and garlic oil. This is a cooking technique where raw garlic cloves are slowly cooked in oil until they become soft, sweet, and flavorful. It’s a simple yet versatile way to prepare that can be used in various dishes to add depth and richness.
Peel or use pre peeled garlic cloves from the store, sold in bags, and trim off any tough ends. Place in a small saucepan or ovenproof dish in a single layer. Pour enough olive oil or neutral variety to completely cover them. Bake in the oven or on the stovetop at barely a simmer, not boiling, until they are very soft and tender.
Pour oil to fill rest of jar. Set on counter to cool completely to room temperature before sealing and transferring to fridge.
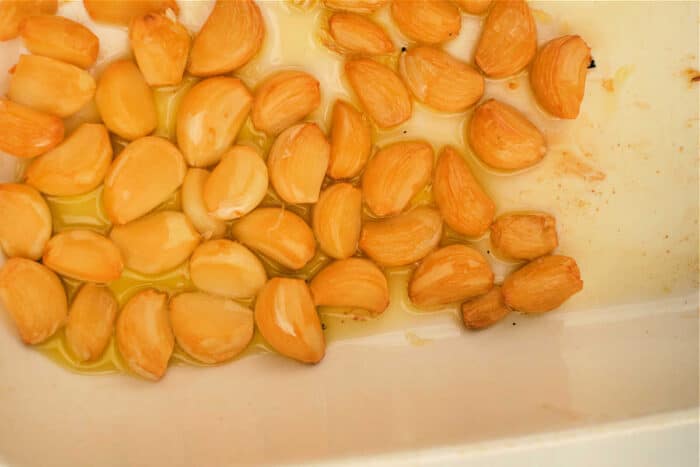

Garlic Oil Recipe
Equipment
- 1 mason jar
Ingredients
- 2-3 heads garlic, cloves removed from head
- 1-2 cup olive oil, or enough to fill rest of jar and submerge cloves
Instructions
- Remove whole garlic cloves from the whole head and put into a clean and sterilized mason jar. Fill the rest of the jar so cloves are submerged and there is not much air left inside the jar. (choose a jar fit to size how much you want to make, there are small, medium and large out there)
- * You can add herbs of your choice and/or red pepper flakes into the jar for heat if you would like now.
- Seal the lid and place inside your refrigerator for at least 24 hours. When using, remove lid, stir once, use the amount of oil you'd like and ensure lid is tightly closed again. Store again in the fridge. It will stay fresh this way for 1-2 weeks.
- * Always smell every time you open the lid to ensure there is not a rancid odor, if so discard. If you see any mold inside, discard.
- If you want to roast cloves first, remove and set inside a baking dish. Cover with olive oil so they are submerged. Bake in a preheated oven at 375 for 20 minutes or until soft to your preference. ALWAYS make sure contents in jars are completely cooled to room temperature before sealing or bacteria will grow.
Nutrition
Nutrition information is automatically calculated, so should only be used as an approximation.
What Can You use Garlic Infused Olive Oil for?
When you take this out after it has been tenderized you can spread it on bread, mash it into mashed potatoes or pasta sauces, blend it into salad dressings or dips, or use it to flavor roasted vegetables or meats. I mean cooked garlic is amazingly different than minced fresh garlic in it’s flavor I will say.
How do you Store Garlic in Oil?
I have explained how to do this in jars to keep fresh in the refrigerator below but there is an option to keep this safe for much longer. If you put 1-2 cloves in an ice cube tray per hole and pour oil to fill almost all the way to the top you can sit flat and freeze for longer!! I mean this will save for months this way.
To prolong that timing you can wait until they are hard, pop them out and put into a freezer bag. Suck the air out and keep in the freezer that way. Take one out at a time and set in a pan over low heat to defrost and use. Or transfer to a sealed jar and put into the fridge overnight to thaw and use the next day! Jump to recipe below and get started.
