This is how to make quick cooking videos at home! Tutorial on what equipment to use and how to edit your videos on your computer too. Easy step by step.
So I’m a former Teacher turned full time blogger and create a lot of easy recipes. A few years ago I began creating easy cooking videos to show people first hand just how simple these dishes were to make…I’m all about easy! It took me quite a bit of time to figure out the best way to make food videos, how to edit them well, and what equipment to use in order to make as many as possible but still work into my busy every day life filled with three kids and a husband who works full time too. I wish I had a tutorial such as this one when I was looking for help, so I decided to create a step by step how to create quick cooking videos post for you here today. I hope it helps you in your journey of creating easy recipe videos too. 😉
Making quick cooking videos
- Decide whether you’re going to use a camera or your phone – When I first started creating videos for Facebook I just used my phone. It is a great way to begin if you have never created any, because it’s a bit cheaper and you will need less equipment. If you already have a camera like this that has video capabilities and are comfortable with just diving in, us it!!
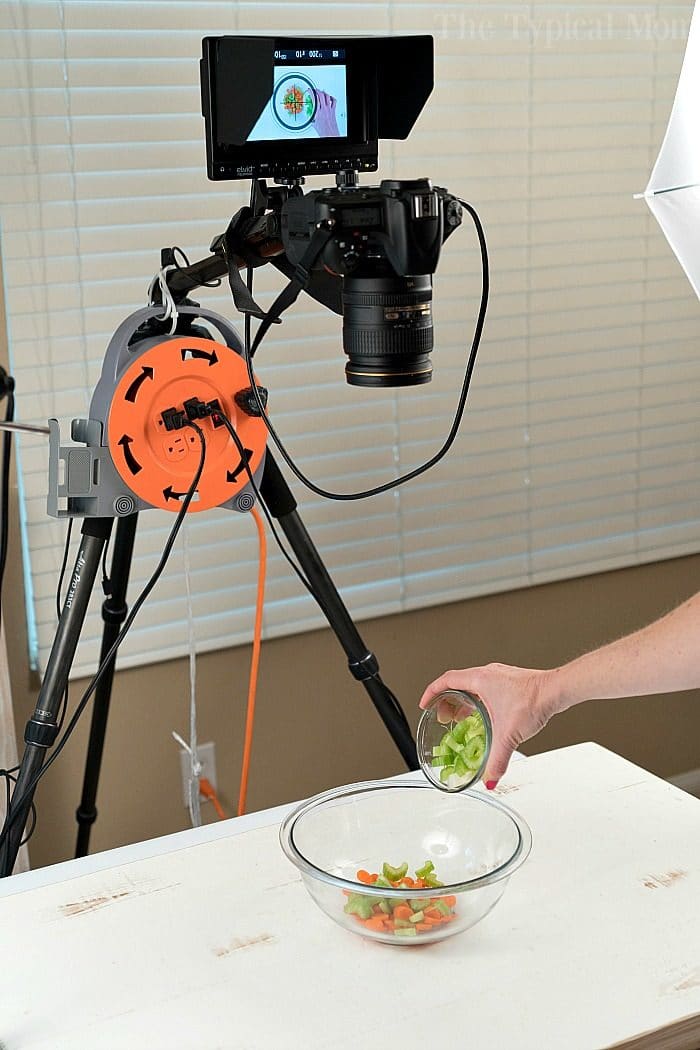
- Use the right BASIC equipment – you do NOT have to spend a lot of money when you’re beginning to make quick cooking videos. The table you see here is a thrift shop coffee table I found for $10 that was just the right height for me. I used it as is for a while and then put this board I use to take photos on on top just because I wanted a white background. This is what you will need
- Table – can use the floor but I want to save my back and you might too.
- Tripod – find one that fits your camera or phone.
- Lights – something on either side (umbrellas facing out if you have them) is best to balance the color and eliminate shadows but you can try natural light too (less predictable).
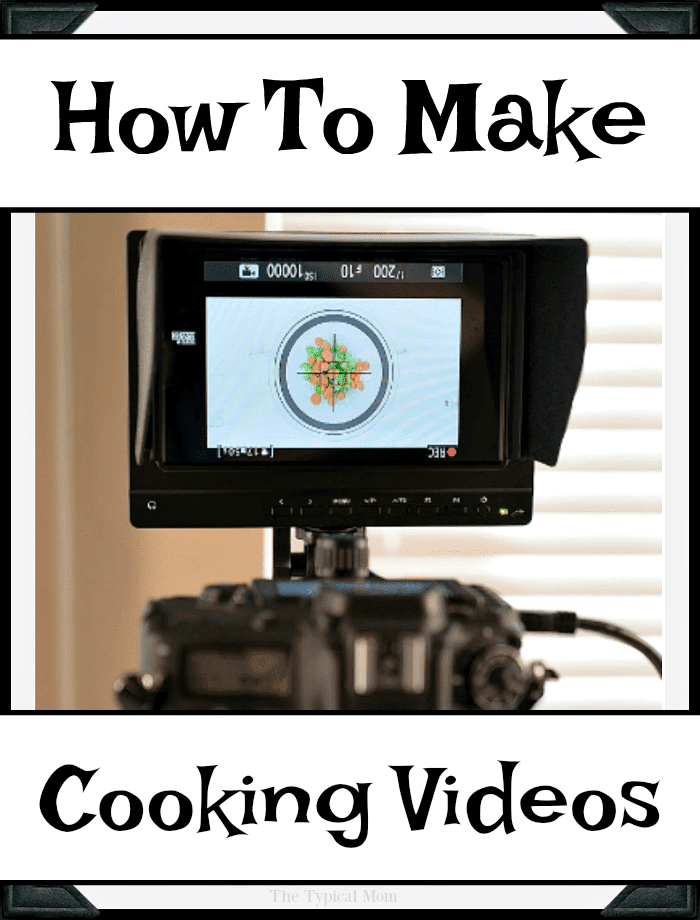
- Screen – so you can see what the heck you’re doing and if your food is in focus.
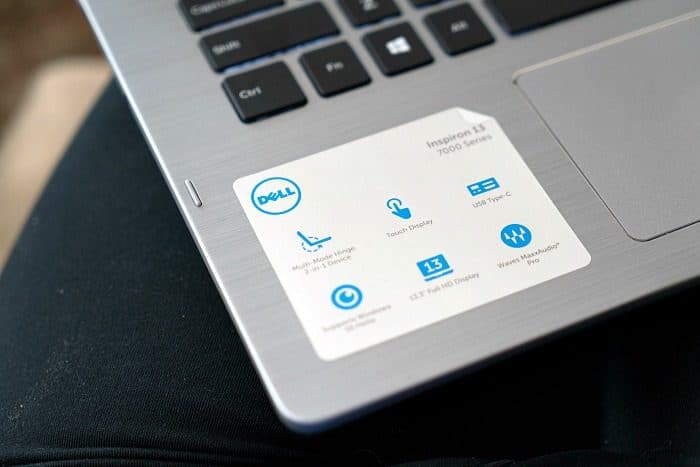
- Laptop for editing – I use my Dell Inspiron 7000 because the 8th Gen Intel® Core™ processor allows me to get things done fast, easy, and when I’m on the go!
- Set your camera to the correct settings according to the lighting in your video area – If you’re using artificial lighting eliminate all natural lighting from the room as much as possible (seen here blinds are shut and lights in room are all off) refer to your camera instructions if you are unfamiliar with manual mode (auto will not work well for video). If you are using your phone to video you do not have to do any of the below focusing as the phone will do it for you however just keep an eye on where it is auto focusing throughout the process.
- Line your bowl up with the middle focal point – you want the circle to be a bit inside the rim of your bowl in order for you to create a good distance away (I’m able to create a YouTube and square version this way).
- Press record – make sure you have a disk (preferably 64GB) inside your camera first!!!
- Do a test shot – put a little bowl of something inside your big bowl and focus your camera on it, remove (you want to do this after hitting record as focus shifts from photo to video).
- Empty contents out one at a time slowly – focus camera in between adding new ingredients into your bowl and mixing them together to ensure everything is in focus thru the entire process (different colors alter the focus). Add ingredient slowly (so you can add overlay text later), remove hand swiftly out of frame, look at monitor and make sure it is still in focus. Continue….
- DO NOT WORRY – if you mess up you can edit it… just do your best and in time it will become more natural and you won’t have to think about it.
If you take pictures of food you probably are all too familiar with editing already, but when it comes to taking video you will need to ensure that the computer you’re using to edit your pieces is fast enough! I had an older (hand me down from my husband) laptop that drove me CRAZY because the speed.
Just wasn’t up to par with what I needed to upload all the video snippets I had, upload them to my video editing software program, and do everything in a timely manner. There is nothing more frustrating than having what you need and waiting for the scrolling, scrolling, scrolling…..to STOP! You know what I mean…..
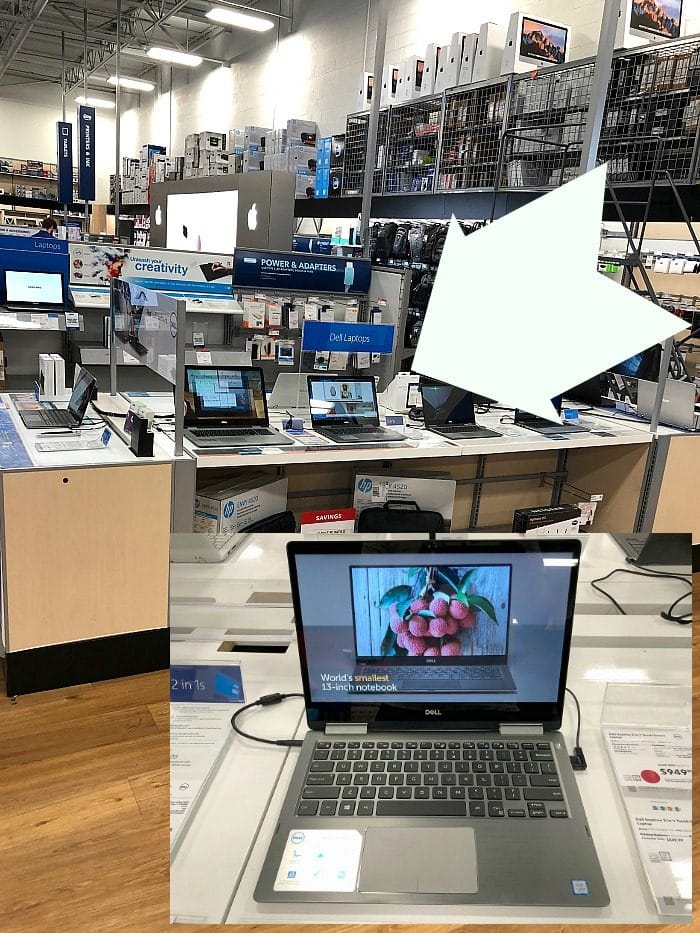
So….do yourself a favor and pick up something that has the 8th Gen Intel® Core™ Processor. There are several from Dell but I chose the Inspiron 7000 at Best Buy….here’s why:
- It’s screaming fast – allows you to create, edit, and share immersive 4K, VR, and 360 content + perform tasks like editing photos and videos in dramatically less time (hello, I needed that).
- Allows you to multi-task: work on many things at once – moves quickly between different programs and windows (yes, I usually have like 20 open at once).
- 2 in 1 device – the screen folds over so the device folds flat + you can write on it with a special pen like a tablet! “Inking” allows you to write and erase easily. With Windows Ink and 3D you can create, draw, and edit 3D images in photos, videos, and presentations too!
- Great for streaming entertainment – you can stream the latest in film and TV right on your laptop (great when I’m on business trips and on the airplane, I can binge watch Netflix for 10 hrs. straight if I want).
Once you have your video setup and laptop you’ll be ready to create quick cooking videos from start to finish easily! Once your food video is done and on your disk you’ll need to edit it on your Dell Inspiron 7000. There are several editing software programs out there that work well with Windows but we will talk about Adobe Premiere right now.
How you edit cooking videos
- Open up the video editing software on your Dell Inspiron laptop.
- Pull your SD card out of your camera and place it into the SD Card reader.
- Go to File – Import – find your SD card – import video file you’ve made.
- Drag your raw videos into the timeline and start to make your edits.
- To start the video push the space bar, and to stop use the space bar.
- When you need to splice/cut the video move the cursor over the section of video that you would like to cut and double click the section of film you want to cut out. Use control X to cut the film.
- To delete the video that you don’t want to use use the back-space key and it will pull the video over to where it was cut. You can also hit the delete key and it will leave the gap that was created in place.
- To copy a clip use control C to copy the section of film and move it to where you want.
- You can separate the audio by using the mouse and clicking on the audio section on the bottom and then dragging the audio portion down from the video clip.
- Add text overlay portions if desired.
- Speed up portions of your video clips by going to clip, and then clicking on speed/duration to adjust.
- Save your edits often as you go to make sure you don’t lose them. If possible, create a backup of your work.
- Always use the same place to store them and name them accordingly so you can identify them later.
- To share the video once you’re done you can upload it to a Drop Box or elsewhere.
Here’s one that has been completed and is a simple recipe with few ingredients and transitions:
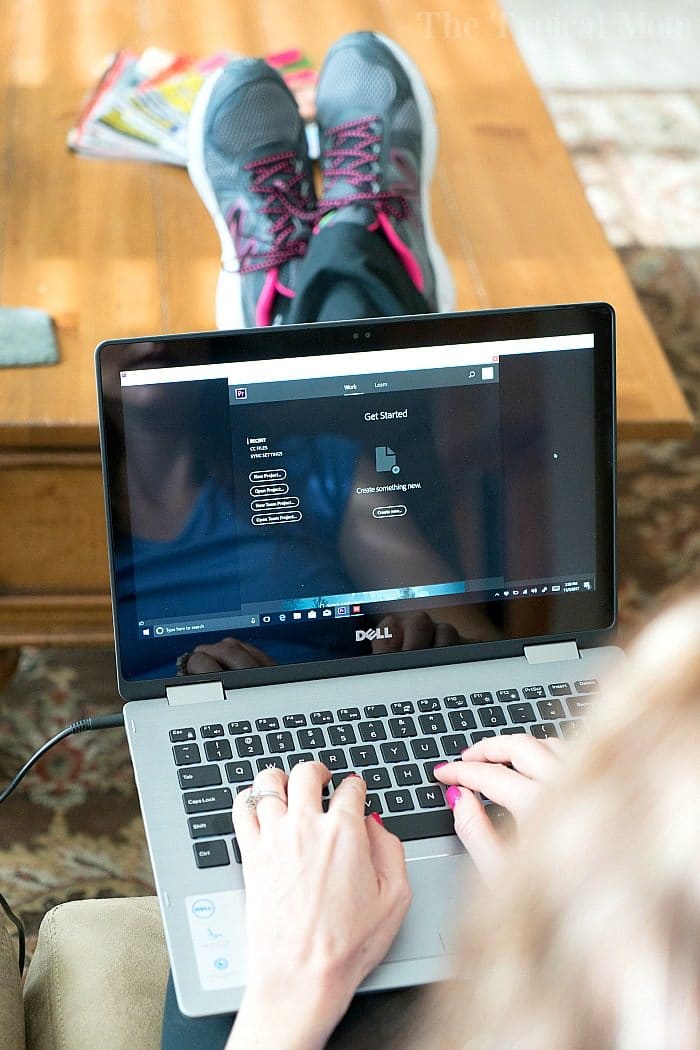
Why did I choose a laptop you might ask….well THIS is why!! I can continue working on the couch in between helping my kids with their homework AND I can use it when we are on a road trip in the car!!
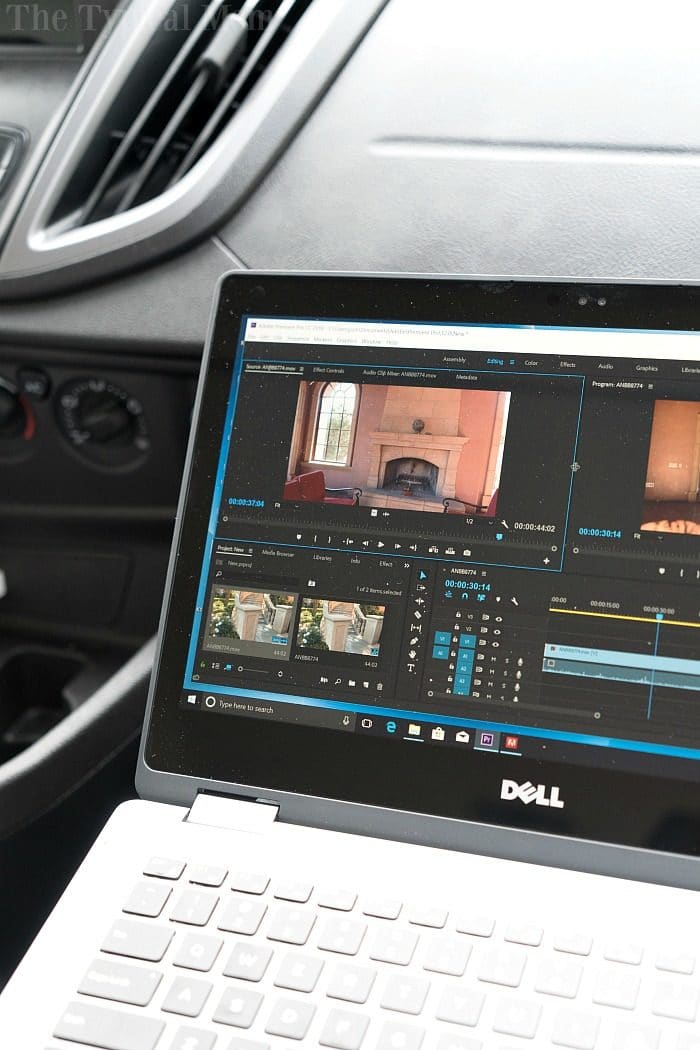
Yes…we go on road trips every time my kids are on a vacation from school but in my line of work I have to be able to work on the go. I just plug in my Dell Inspiron and I can respond to emails, write blog posts (like this one), and edit videos as we cross state lines with no problem. 😉
You’ve known you’ve needed to upgrade for a while, well now is the time to do it. There is a 40% performance jump between the 7th Gen and 8th Gen Intel core and 2x better performance compared to your 5-year-old PC….there’s really no comparison between a new PC experience vs. your old one……and YOU deserve it!!




Some chances are there which use complimentary work at home chance and some require an investment. To certify for working at house task you just require to meet some basic requirements. These mainly include a PC and an internet connection. However there are also some work at house tasks which require a quantity of investment at the start. For instance, the organization might ask you to pay some quantity of money throughout the training period as their training fees and after conclusion of the training duration you will begin earning yourself. A major downside of work at home jobs is the possibility of frauds.