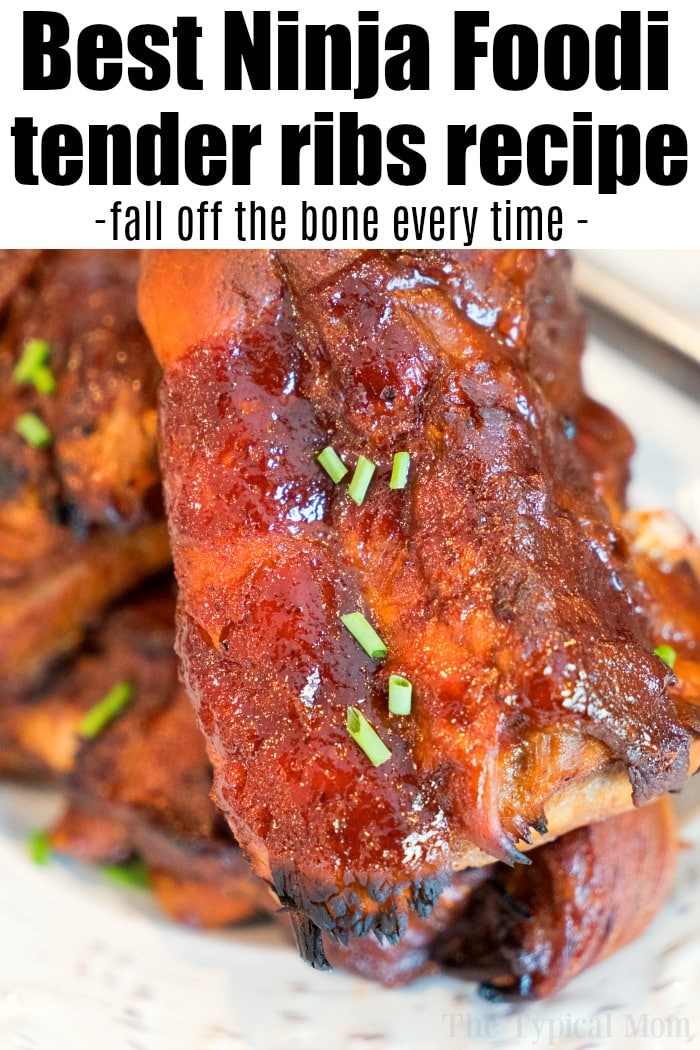
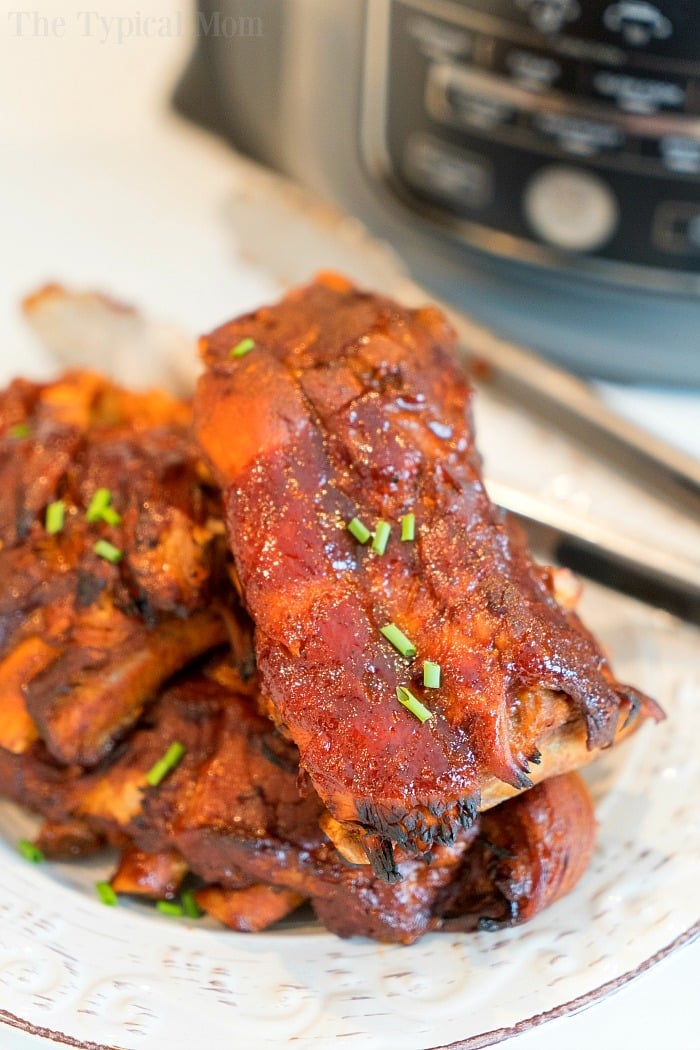
Our easy Ninja Foodi ribs recipe we love is here! Fall off the bone tender pork ribs pressure cooked with barbecue glaze and then crisped to a golden brown to caramelize the sauce at the end with the other lid that is attached yields the best results.
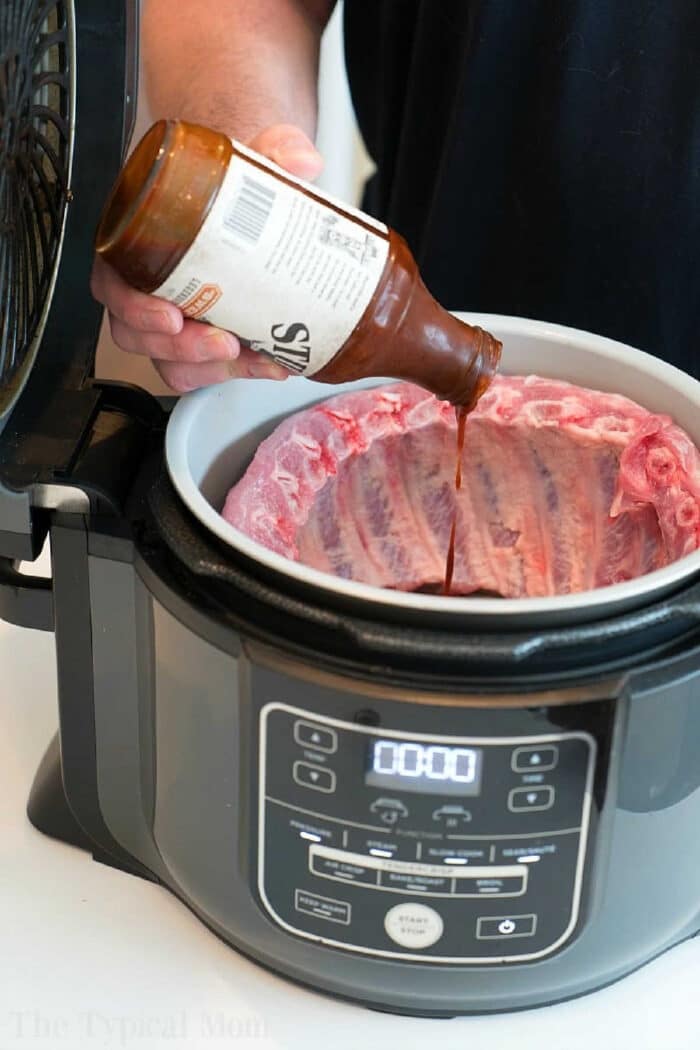
Have you tried making pork Ninja Foodi ribs yet??!! They’re really easy and so tender they’ll melt in your mouth. Using both functions in this multi cooker appliance you can get the tender meat you want plus a crispy outside everyone loves. A favorite Ninja Foodi recipes we make every month.
How Long to Cook Ribs in Ninja Foodi
30 minutes if you just want to pressure cook or an additional 8 if you want to air crisp at the end. I like both so the bbq sauce caramelizes all over. Here are a few resources to start with:
Whether you’re new to using your Ninja Foodi pressure cooker and air fryer, or an expert you’ll love this Ninja Foodi ribs recipe. You are going to use both lids, both functions to make these pork ribs super tender tender with a crisp on the outside in the same machine.
We will show you the biggest TRICK to making your ribs fall off the bone every single time! If you need directions for pressure cooker short ribs, we have that too here.
Should you remove the membrane on ribs?
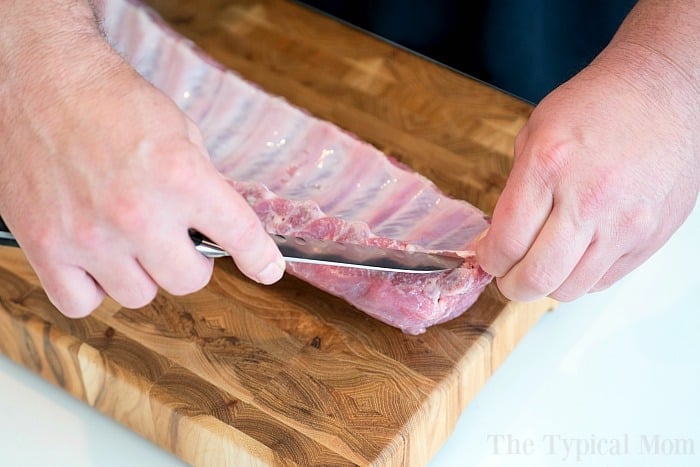
The first thing you MUST to do when making ribs in a Ninja Foodi is to remove the rib membrane. This thin layer is tough and inedible. If you do not remove it your ribs will not be able to fully release from one another and create that ultra tender taste you’re looking for.
That is why we created a post above all about how to get rid of it. Taking this extra step that only takes 5-10 minutes will make a world of difference and change the way you make ribs forever more.
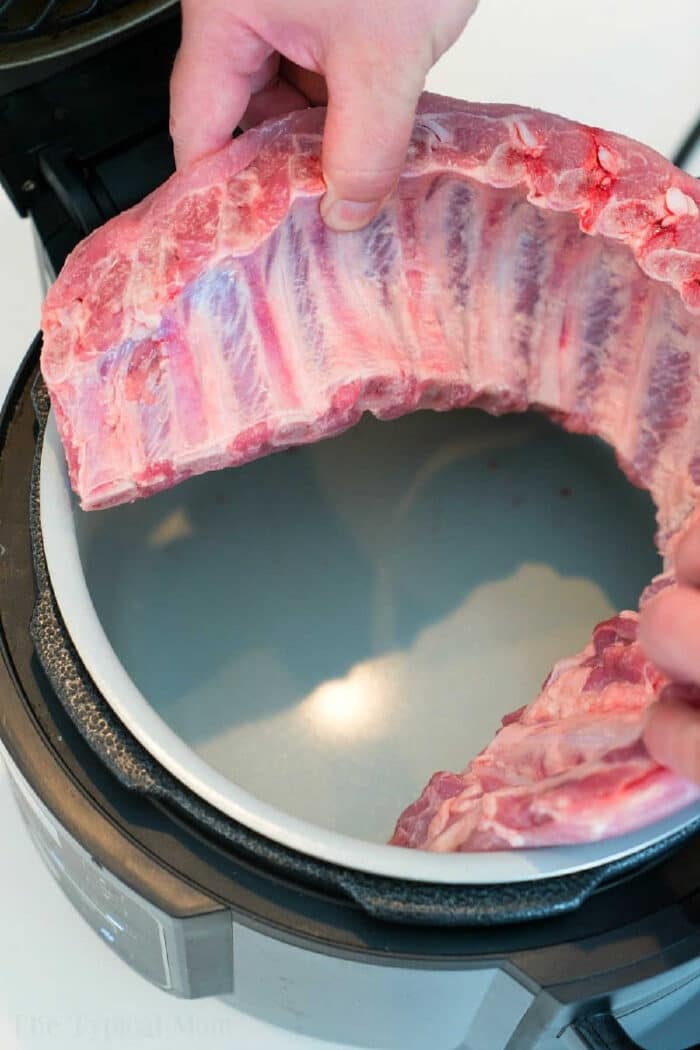
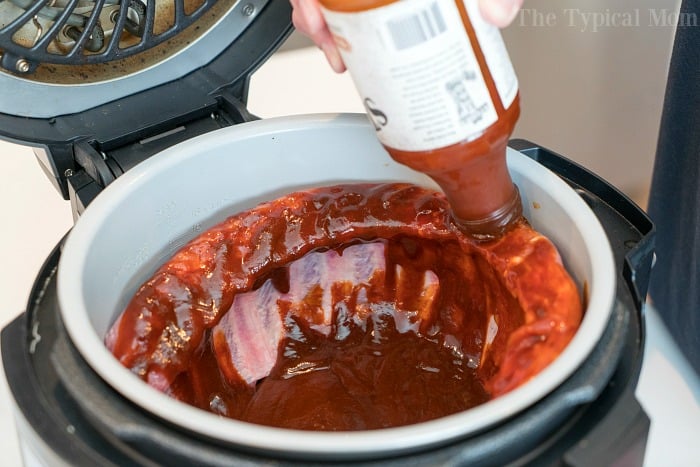
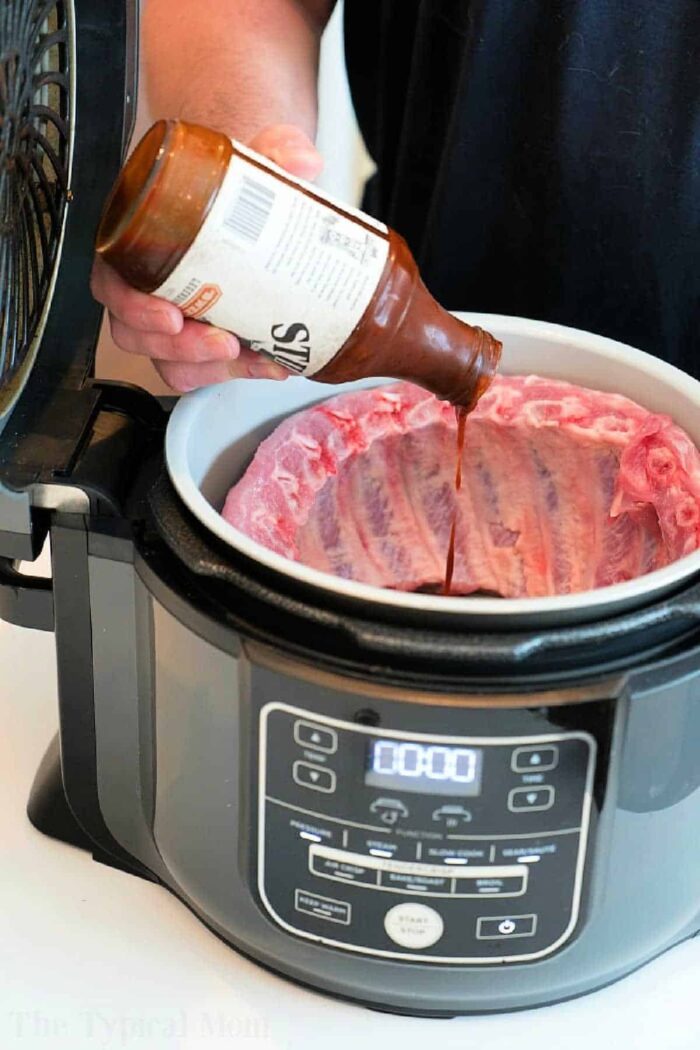
Then you’ll want to place your rack of ribs into your pressure cooker as you see here. You do not want to set them down with the meat flat on the bottom, they will burn and cook unevenly. This is how we cooked our Crock Pot Express Ribs and Instant Pot teriyaki ribs recipes too.
Best Ribs to Cook in Ninja Foodi
Now of course there are several types out there, pork is the best by far if you ask me. There are baby back style as well which have less meat but cheaper, take your choice. Now country style is the meatiest and typically is boneless. If you insist on beef then go ahead, use the same timing and tell me your thoughts. 😉 So grab a rack of pork ribs – ours were 3.5 lbs and get started.. We have the 6 qt. pot, you could probably fit more in the 8 qt.
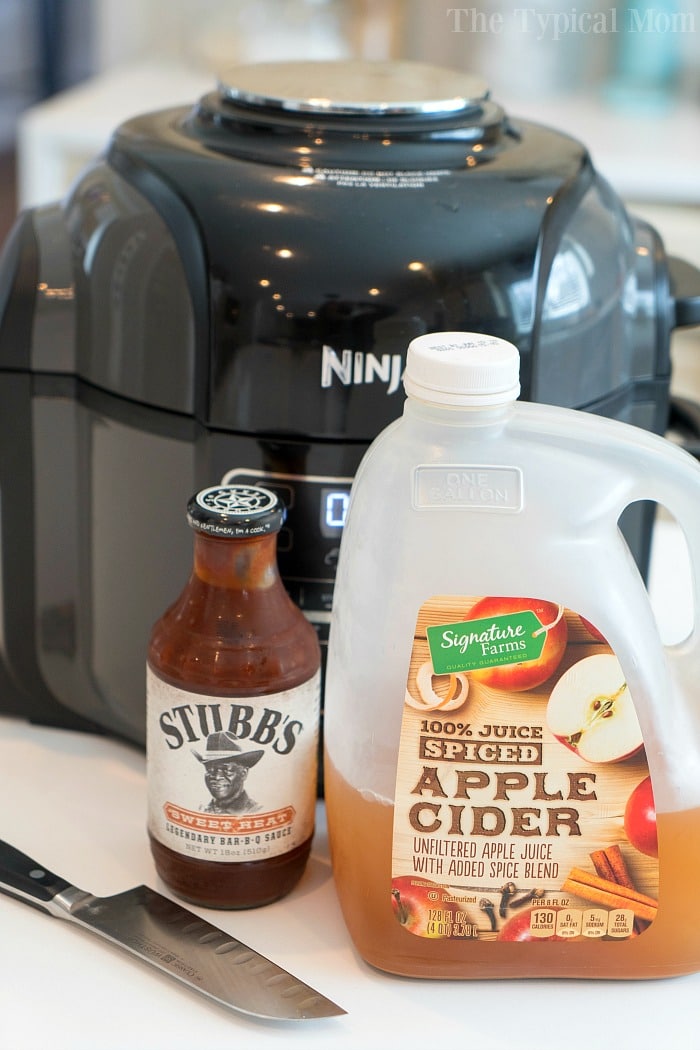
Barbecue sauce of your choice. You could substitute Frank Red Hot sauce but beware, that would be over the top hot
Apple cider or apple juice which helps break down the meat to tenderize too vs. using water
Can you cook beef ribs in Ninja?
Yes we have also made this batch of Pressure Cooker Beef Ribs this way because high pressure makes them REALLY tender! You’ll use the pressure lid for this step. It is the one that isn’t attached. That means you get fall off the bone meat with a bit of crispy on the outside.
How to Cook Ninja Foodi Ribs
You will want to pressure cook first to make meat fall off the bone (almost). Using the air crisp mode at the end crisps up the outside. Just like you’d get them at a restaurant. For this step the crisping lid will be used. The one that is attached to the machine. Adding more bbq sauce during this step creates a thick layer of OH MY goodness yumminess you’ll love.
Tips
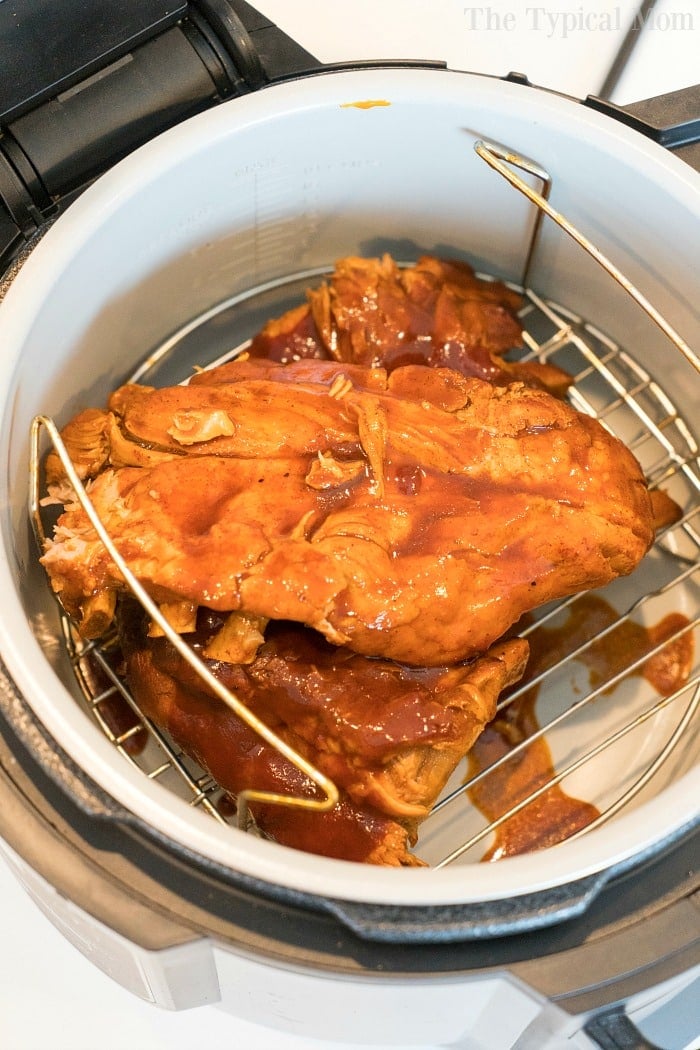
You only need the rack that comes with your machine for this. Flip it upside down (seen here) so the lid can close during the air fryer process. You can really use any sort of trivet with little legs to keep it up a bit off the bottom of the pot.
Of course you can skip the last step if you want and not crisp the top at all, but we like it. You just want to keep it off the bottom so the hot air can circulate around the meat and not just the top. You can see what ours looked like here once the pressure cooking process was done and it was ready for air crisp.
Ninja Foodi Ribs Recipe
Equipment
- 1 air fryer
Ingredients
- 1 rack ribs, we use pork, 3.5 lbs. is seen here
- 18 oz barbecue sauce
- 1/2 cup apple cider, or apple juice
Instructions
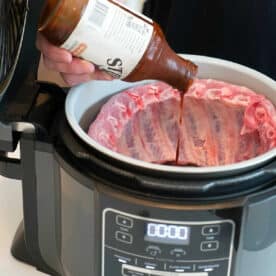
- Remove membrane from ribs (instructions above in post) for very tender ribs. Then place inside your Ninja Foodi with the meat side facing the sides of the pot, wrapped around. See photo above in post.
- Pour bottle of barbecue sauce on ribs and into pot. Then add apple cider. Make sure ribs have bbq sauce on them, can spoon over.
- Close pressure cooker lid, one that isn’t attached, and close steam valve.
- Turn pot on, then press pressure button. Set to high for 30 minutes (timing is good for 3-4 lbs of ribs to completely fall off the bone). Allow to naturally release steam for 5 minutes at end, then release remaining steam.
- If you want to make outside cripsy then gently cut rack of ribs into 3-4 equal pieces.
- Gently lift out and on to a plate (they will want to completely fall apart so handle with care).
- Pour sauce from pot into a bowl and rinse out inner pot if desired. (you can leave as is but sauce will get more stuck on during the air frying process if you don’t wash off now)
- Place rack into pot upside down so rack is lower to the bottom and ribs will fit with lid closed.
- If you want really crispy ribs only place 2 pieces of ribs in at a time on to rack. Pour a bit of sauce from pot, or more bbq sauce from another jar on top of each piece and close air fryer lid (lid that is attached).
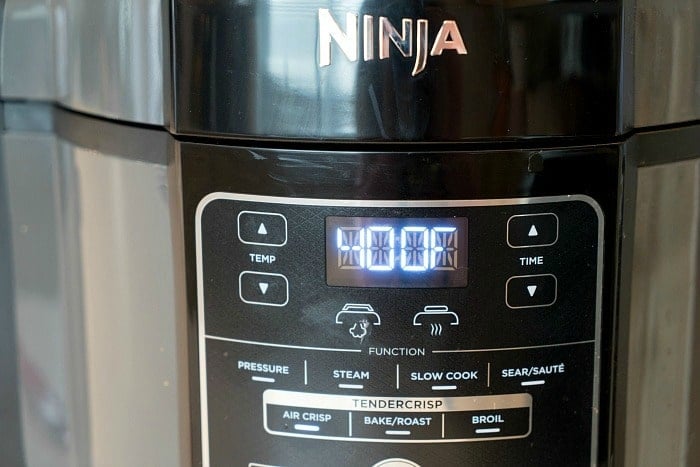
- Set to air crisp, 400 degrees for 8-10 minutes. Check and if you want them crispier then add a few more minutes. Remove and add other racks the same way to crisp outside.
- Enjoy!
Video
Nutrition
Nutrition information is automatically calculated, so should only be used as an approximation.
Other easy Ninja Foodi recipes you’ll love
This is how to make Ninja Foodi chili or go on to make cheesy chili mac. You can also make pressure cooker frozen chicken wings and crisp those after in the Foodi!


I’d give this recipe 6 stars if I could. I think my husband is jealous because I can make flavorful, super tender ribs in the Instant Pot in a fraction of the time and with so little effort compared to what he has to do for half the day in a smoker. The best cooking hack!
It is necessary to strip that membrane off, but after that, it’s so easy it feels like you’re cheating. Thanks for sharing this recipe!
LOL love it
This recipe is my go to recipe for me when it comes to cooking ribs. The first time I made this recipe, I didn’t trust the timing and put it on longer (big mistake), LOL. I also add a few drops of liquid smoke to give it that smoky flavor. The crisping part makes it even better but I prefer to put them on the BBQ grill in a grill basket because they do fall off the bone. It adds to it. I really love and use The Pompous Pig BBQ sauce and their pork rub. It’s like getting their ribs without traveling to Anderson, SC to get them.
so glad