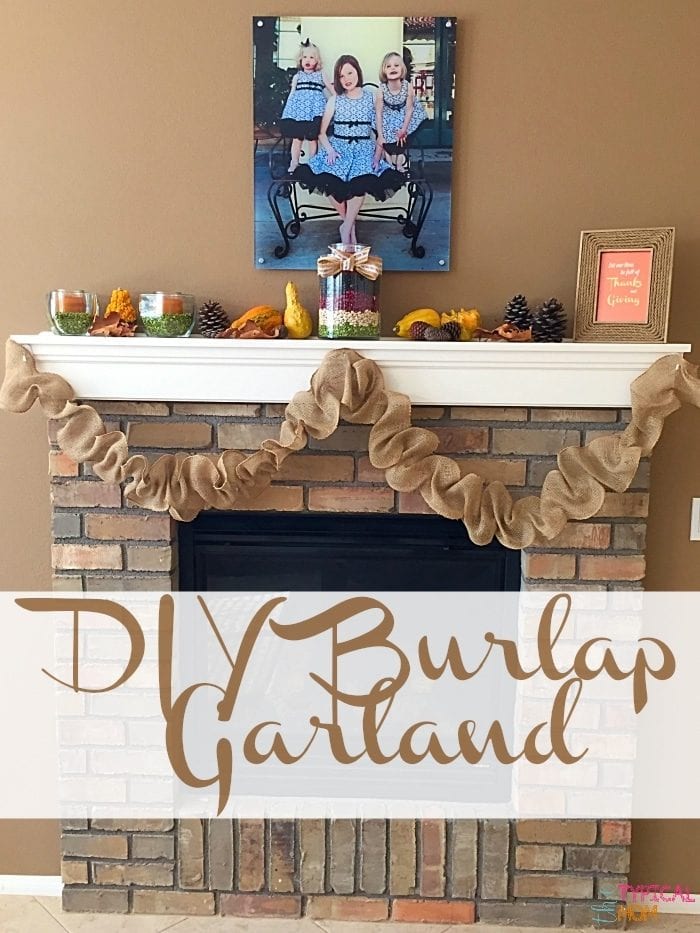
DIY burlap garland tutorial so you can make one yourself for your mantel or staircase. Christmas or Fall decor for your home that’s inexpensive and pretty.
I want to start off by saying that I don’t make things that are super complicated or take a lot of time. They can’t require a lot of items from the store either. However…..I am cheap (frugal is a better term) too. I can make something easily and save myself some money I am always up for the challenge. This is how to make burlap garland. A tutorial that is super easy and looks great when you are decorating your mantel for the Fall, or anytime really. (affiliate links present)
How to make a burlap garland
First I bought a roll of burlap at Walmart. For about $4 I got a roll that was 30 feet long. Plenty for the project and probably one more! I also bought a thick needle and some wire that is normally used to make bracelets in the craft section.
All in all it cost me $7.50 out the door and took me about an hour to make.
How do You Make a Christmas Garland with Burlap
I will try to show you step by step because that helps me when crafting…believe me this is simple.
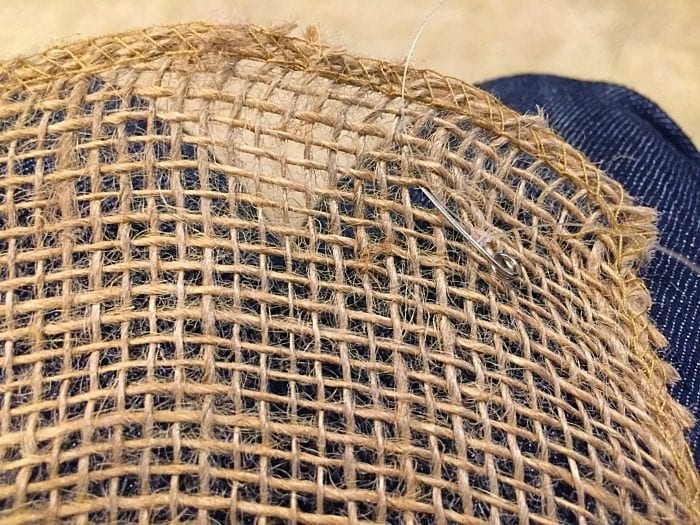
- First you will want to unroll some of the burlap and put a safety pin at the top corner to hold the string in place (I used clear wire but you could use string too).
- Tie the thread/string on to the safety pin tight so you can tug on it to make the crinkled garland and not have it come loose.
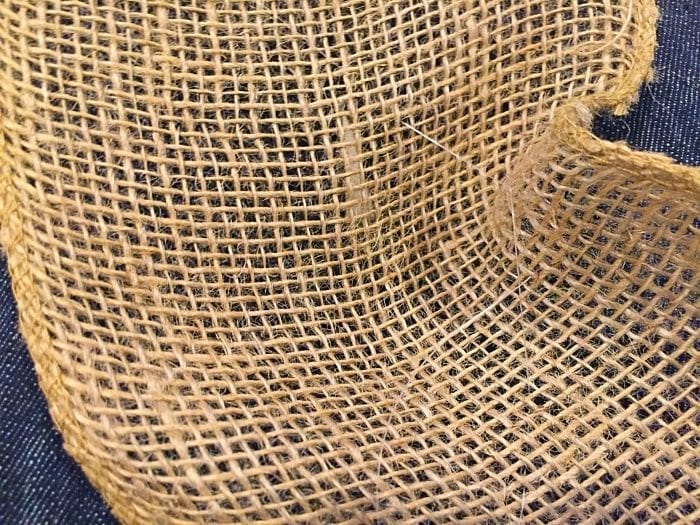
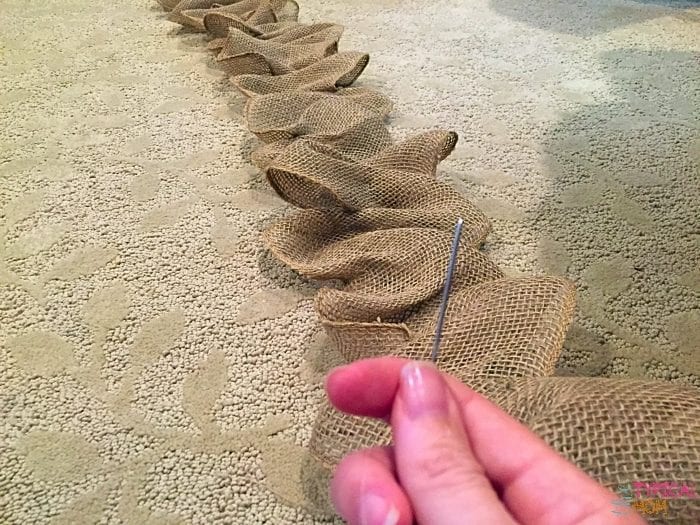
- Then you will want to make a wide zig zag pattern with your wire/string.
- I made two stitches going under and up with about 1.5″ of burlap with each stitch on each diagonal.
Look at picture below where the clear wire is going zig zag so when you pull it the burlap will gather together.
Christmas Decorating Ideas DIY
After about 2 zig zags you will want to pull it as tight as you want it to create a bunching effect.
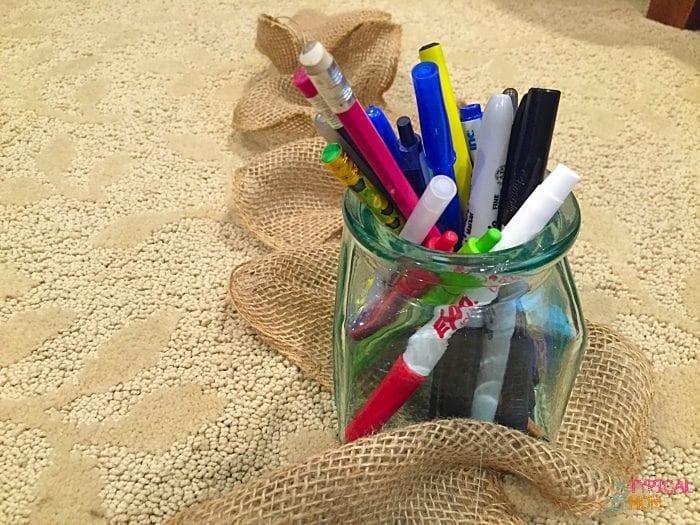
I used my pen jar to put on the end of the piece that was done and pulled tight so I could continue to work on the rest without it coming undone.
DIY Burlap Garland
When you have stitched and pulled enough just knot the end by looping your wire/string into the end of your burlap piece a few times creating a tight knot. You are done!
It is really easy, even my teen daughter gave it a try.
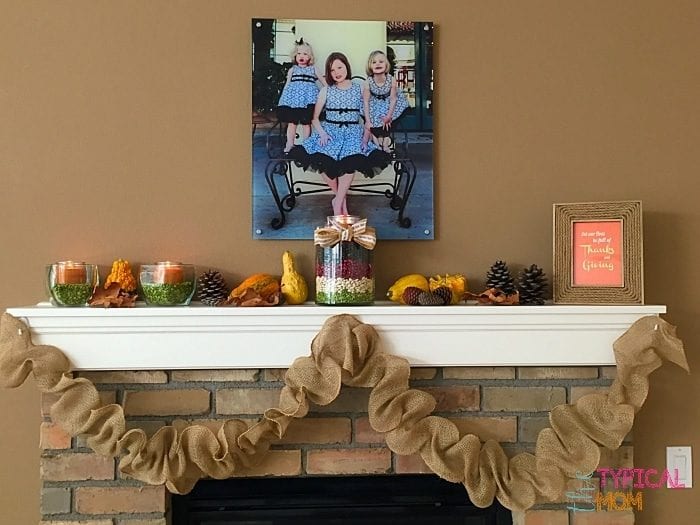
- And that is how to make burlap garland to decorate your mantel for the Fall or just in general really.
Now you have some pretty burlap garland you’ve made for yourself and will have enough to make something else. Or make another one to go up your staircase too! Here is a free Fall printable
To see how I made this Fall mantel decoration you can enjoy too, enjoy the season!
For more tips sign up for my free newsletter and follow me on Pinterest.





So pretty!!! I have some burlap around here somewhere. May have to give this a go! 🙂
so easy, you should!
I love the simple elegance! It turned out lovely.
Thank you!