Our easy bbq chicken legs in oven at 400F. come out super juicy with crispy skin! No flipping needed, just set on a sheet pan with a wire rack and bake with your favorite barbecue sauce on top.
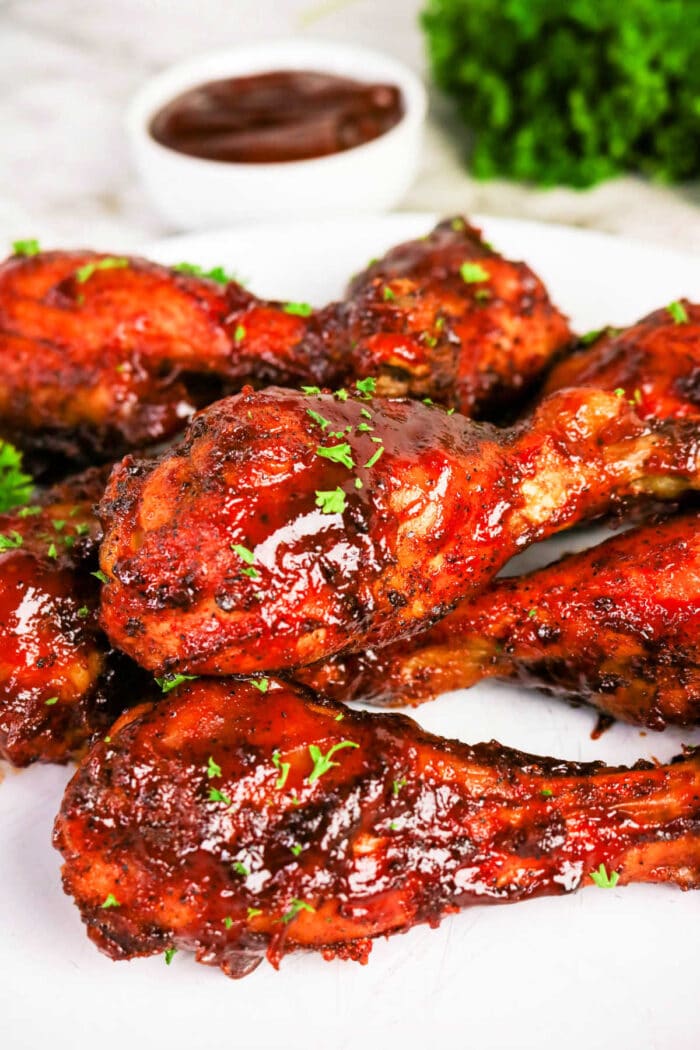
If you love our pan fried chicken legs but want a healthier option we have that for you here!! With a dry rub plus your favorite sauce lathered on the skin we will show you how to bake the best healthy dinner even your kids will go crazy over.
This time we left them whole but we have made butterflied chicken legs this same way too which is a fun variation. This only takes me about 15 minutes to prep and I can get a lot done around the house when they are baking and making the house smell amazing.
If you have kids you know that this part of the chicken is their favorite part. I get it. Drumsticks are easy to eat and if baked properly the meat just pulls away from the bone super easy. 8 typically is enough for us but it is easy to double too.

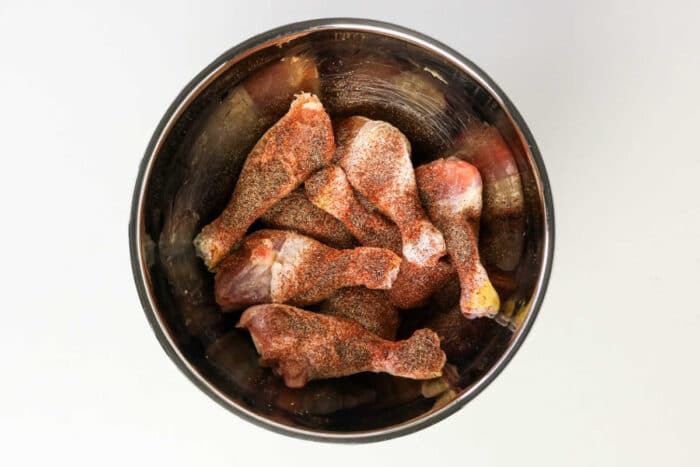
Ingredient Notes
You’ll want a bit of olive oil to coat the outsides of the skin after blotting dry with paper towels to remove all of the moisture. The oil will allow the dry seasonings to stick well as well as get it nice and crispy too.
When it comes to seasonings you can go with super simple with just salt and pepper or go all the way which I recommend. We like onion powder, garlic powder, paprika and chili powder is optional for just a touch of heat. If you wanted them spicy use dry Sriracha or red pepper flakes instead.
As for the bbq sauce there are tons of options out there to choose from. Sweet Baby Ray’s is almost always the cheapest but I really am loving this one nowadays which is smoky and sweet.
Can you use frozen chicken legs?
You can follow our Baked Frozen Chicken Legs but you’d need to add 5 more minutes or so to get to 165 inside. The best chicken legs to buy for super tender and juicy meat are organic free range birds. Just my opinion but I have tried it all and swear by this, try for yourself and see.
When it comes to the pans and such you want a baking sheet with a wire rack on the top. The reason why this works so well is it allows the hot air to circulate around each piece of meat so there isn’t a real need to flip them. You can of course but I like as little work as possible when it comes to dinner.
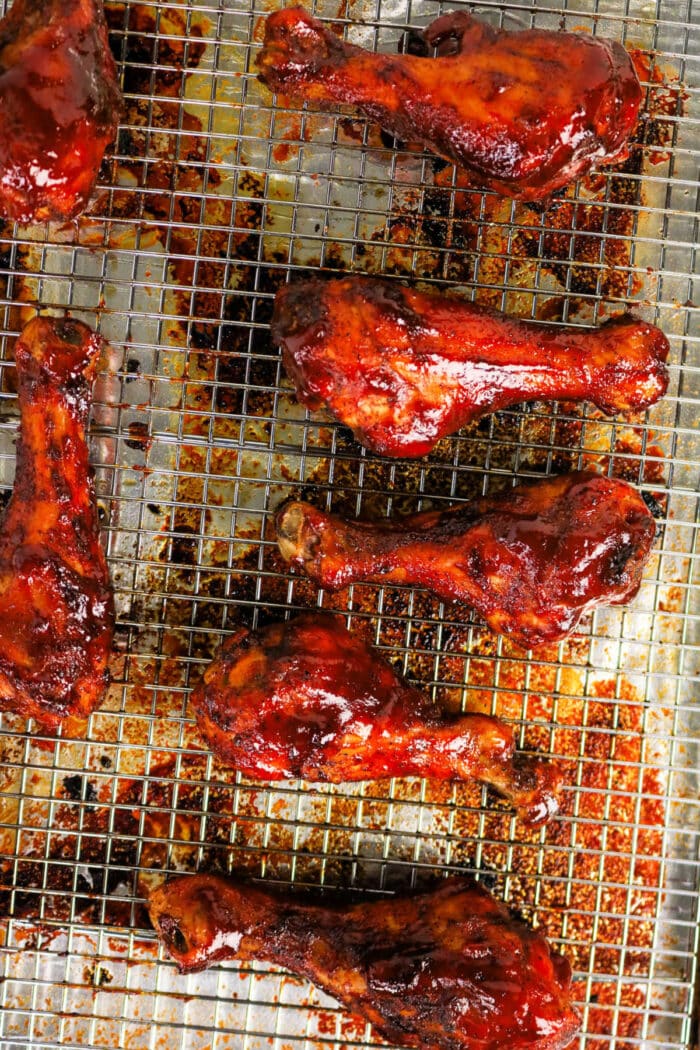
How Long to Bake Chicken Legs with BBQ Sauce
There is a range of course. If you choose really large ones (typically store brand, not organic would fall into this category) it will take maybe 5 minutes longer to reach a safe internal temperature. However typically 40 minutes is usually about right.
Do you put bbq sauce on before or after baking?
The best way to do this is added near the end. If you add at the beginning it will burn since they are in for a bit. If you wanted really extra crispy chicken skin you can switch to broil when you add the sauce instead of just baking another 5 minutes.
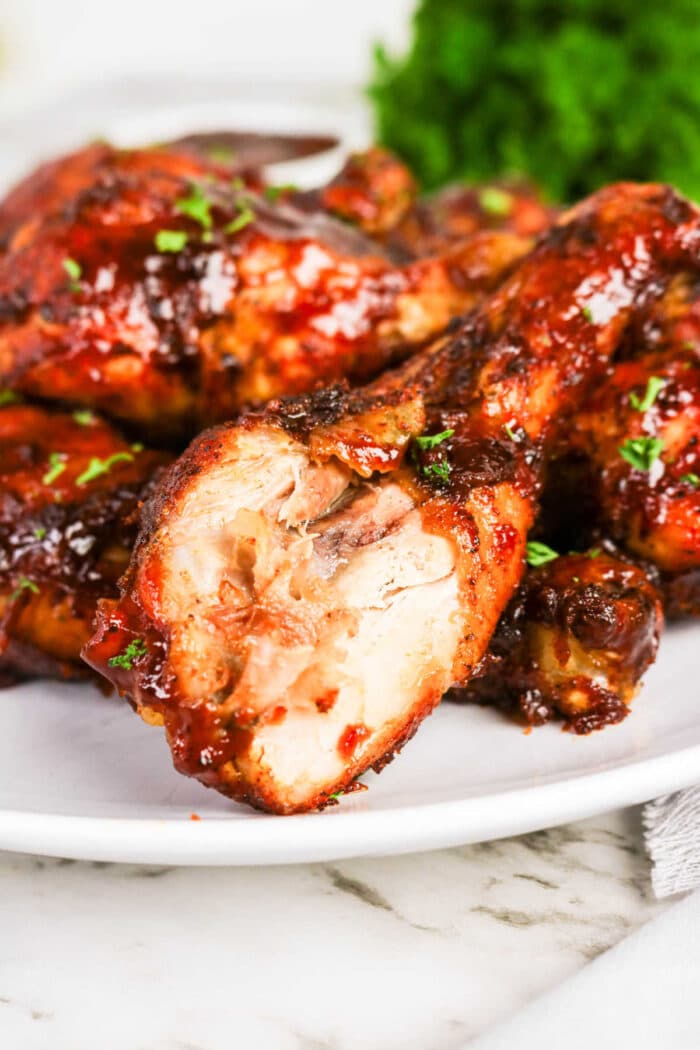

BBQ Chicken Legs in Oven Recipe
Equipment
- 1 sheet pan
- 1 cooling rack
- 1 Bowl
Ingredients
Instructions
- Preheat oven to 400 F. degrees. Line sheet pan with foil or parchment paper for easier cleanup. Set wire rack on top (spray with non stick spray) to keep them crispy all the way around without flipping.
- Use paper towels to press against each piece to remove as much moisture from the skin as possible, this will get them nice and crispy.
- In a bowl mix all the seasonings together. Rub olive oil on each piece and then coat each piece on all sides with dry seasonings and set on the wire rack.
- Bake for 35-40 minutes or until thickest part of meat reaches 165F. Brush bbq sauce on each piece and bake for additional 5 minutes until skin is crispy and sauce has caramelized.
- Enjoy immediately for best results.
Nutrition
Nutrition information is automatically calculated, so should only be used as an approximation.
How do you know when are done (without a thermometer)?
I mean obviously you want to make sure that poultry reaches a safe 165F before consuming. If you don’t have a thermometer though you can check a few different ways. First off the juices should run clear, not pink.
Also the meat should be pulling away from the bone. You will notice this at the ends where it is thicker that it kinda’ pops out. You can use a fork to gently pull on the end too. If it doesn’t move it needs more time, it should pull off easily.